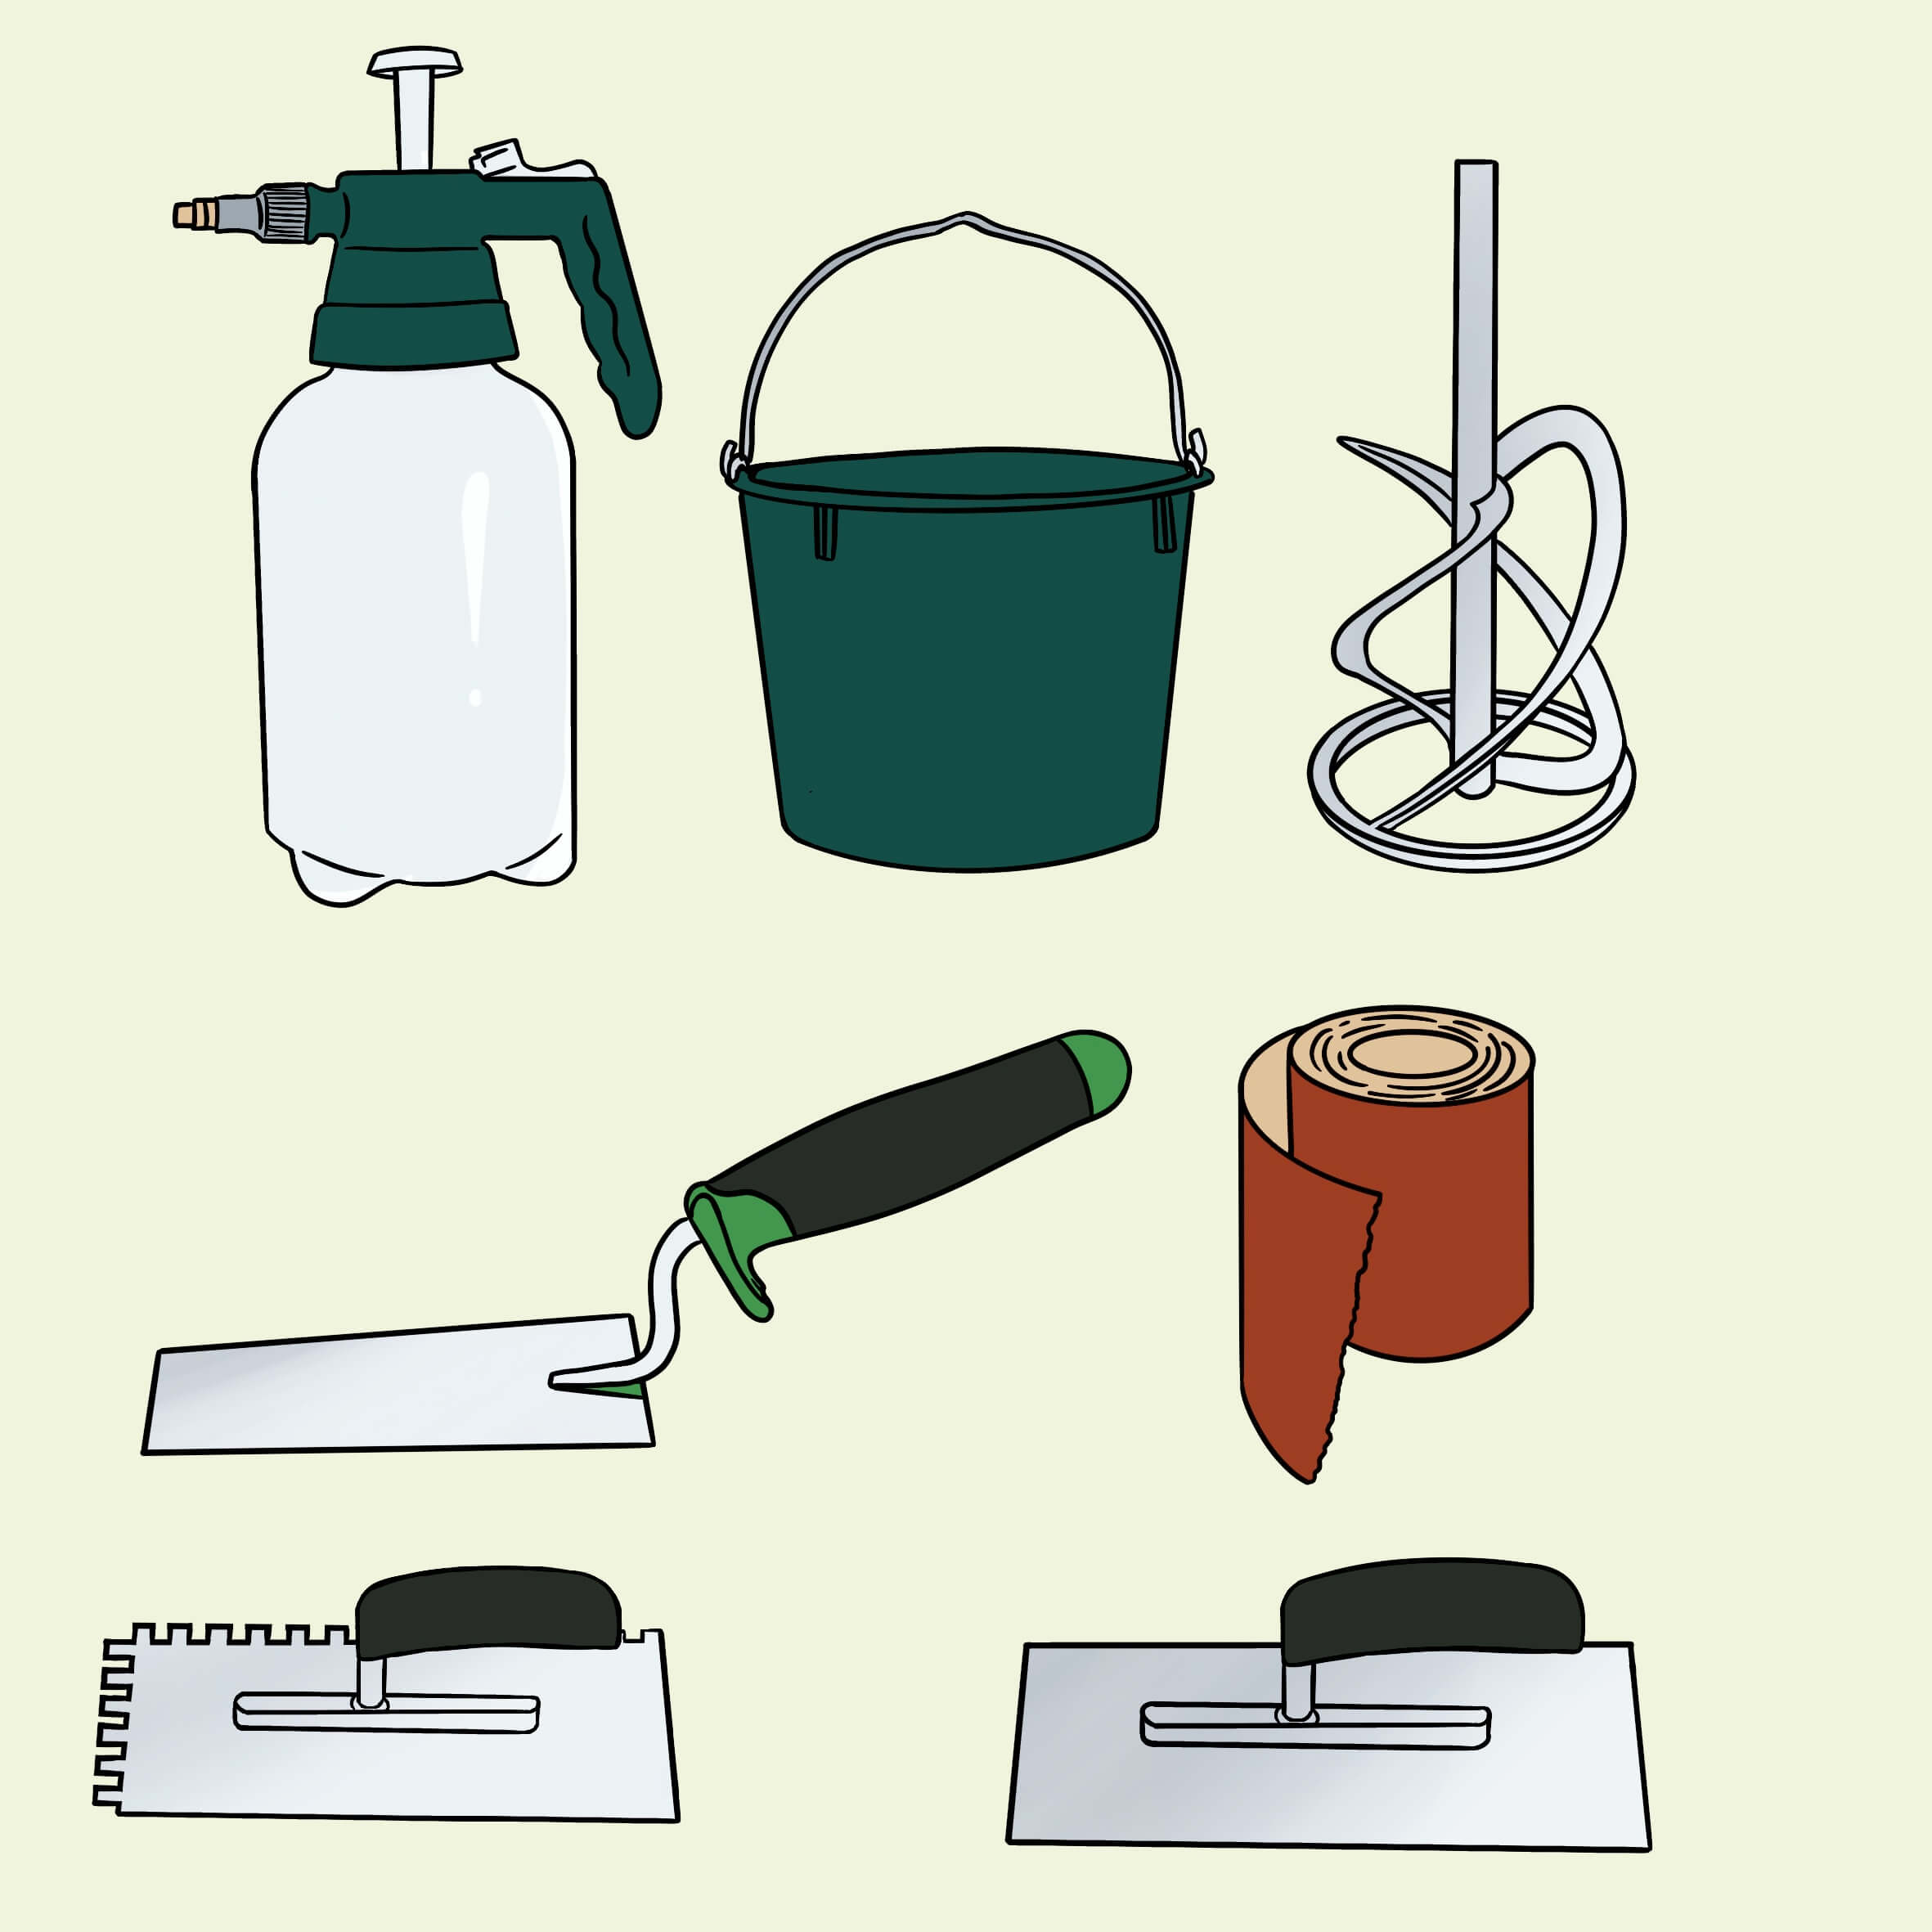
Calcium silicate boards Tools for easy processing
Although the following tools cannot yet be described as "special tools", they are probably not found in every household.
- Pressure sprayer/pumper
- Construction bucket (recommendation 3 pieces clean/new)
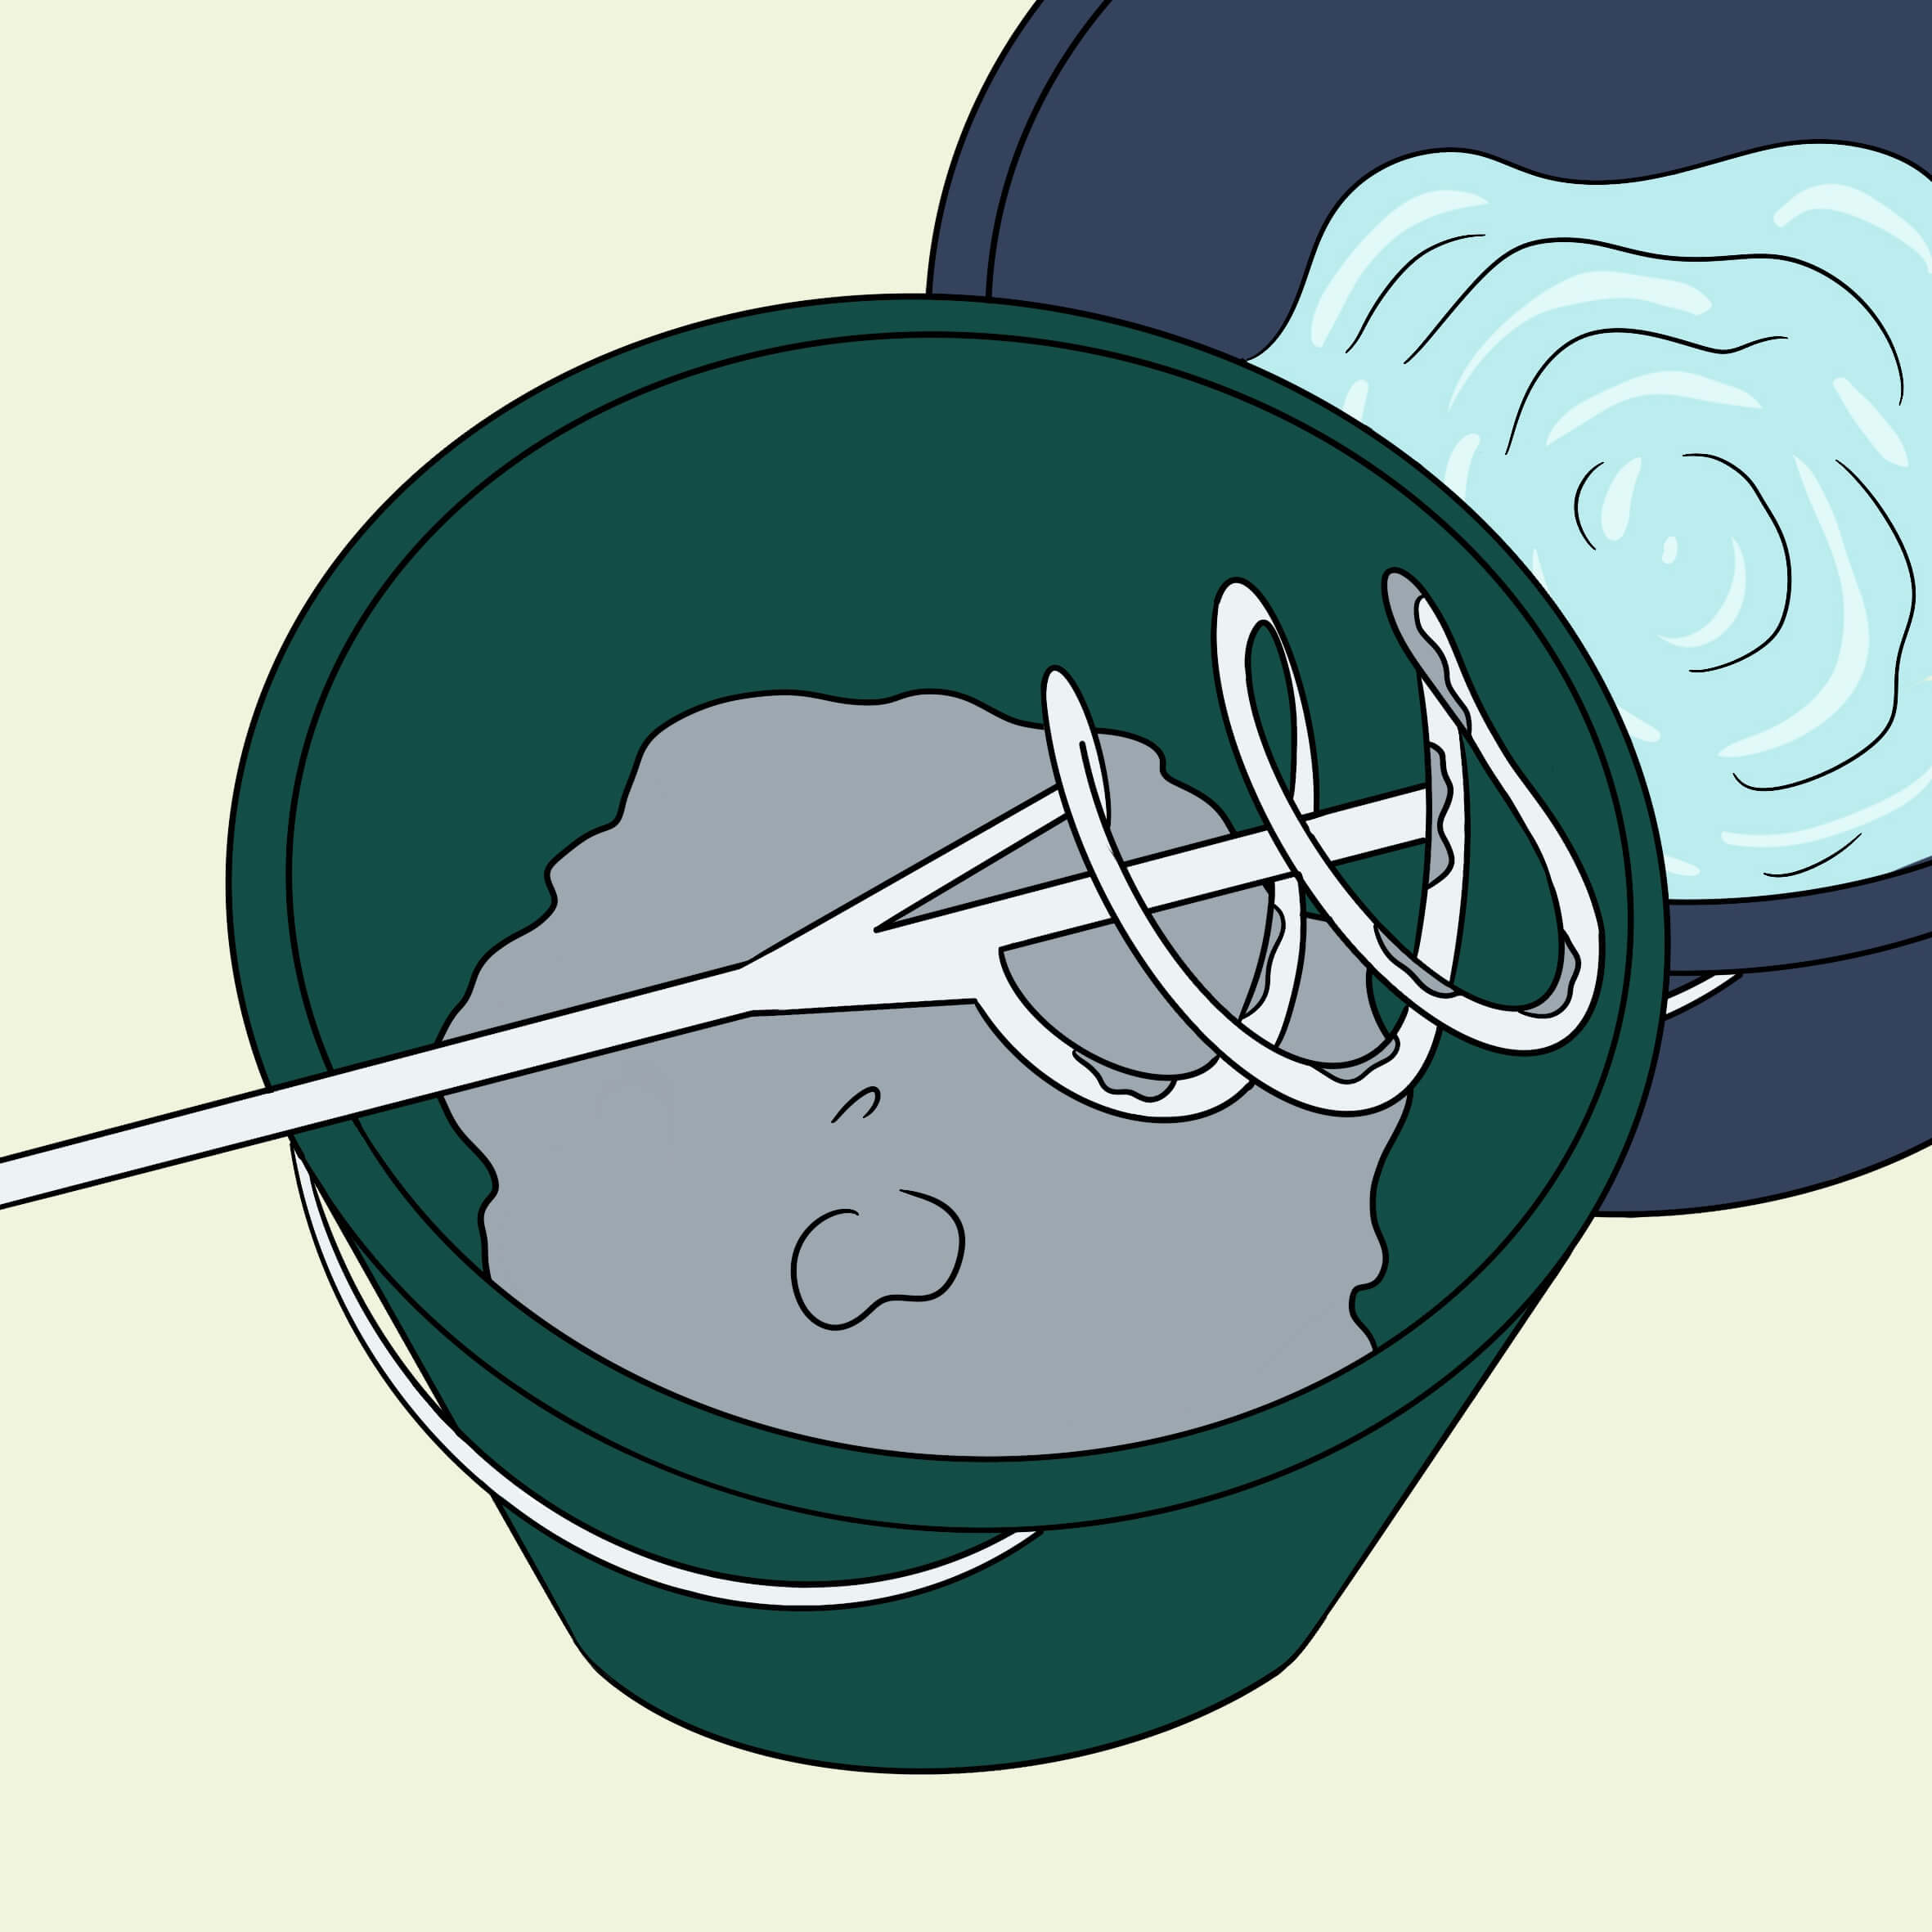
- Spiral stirrer
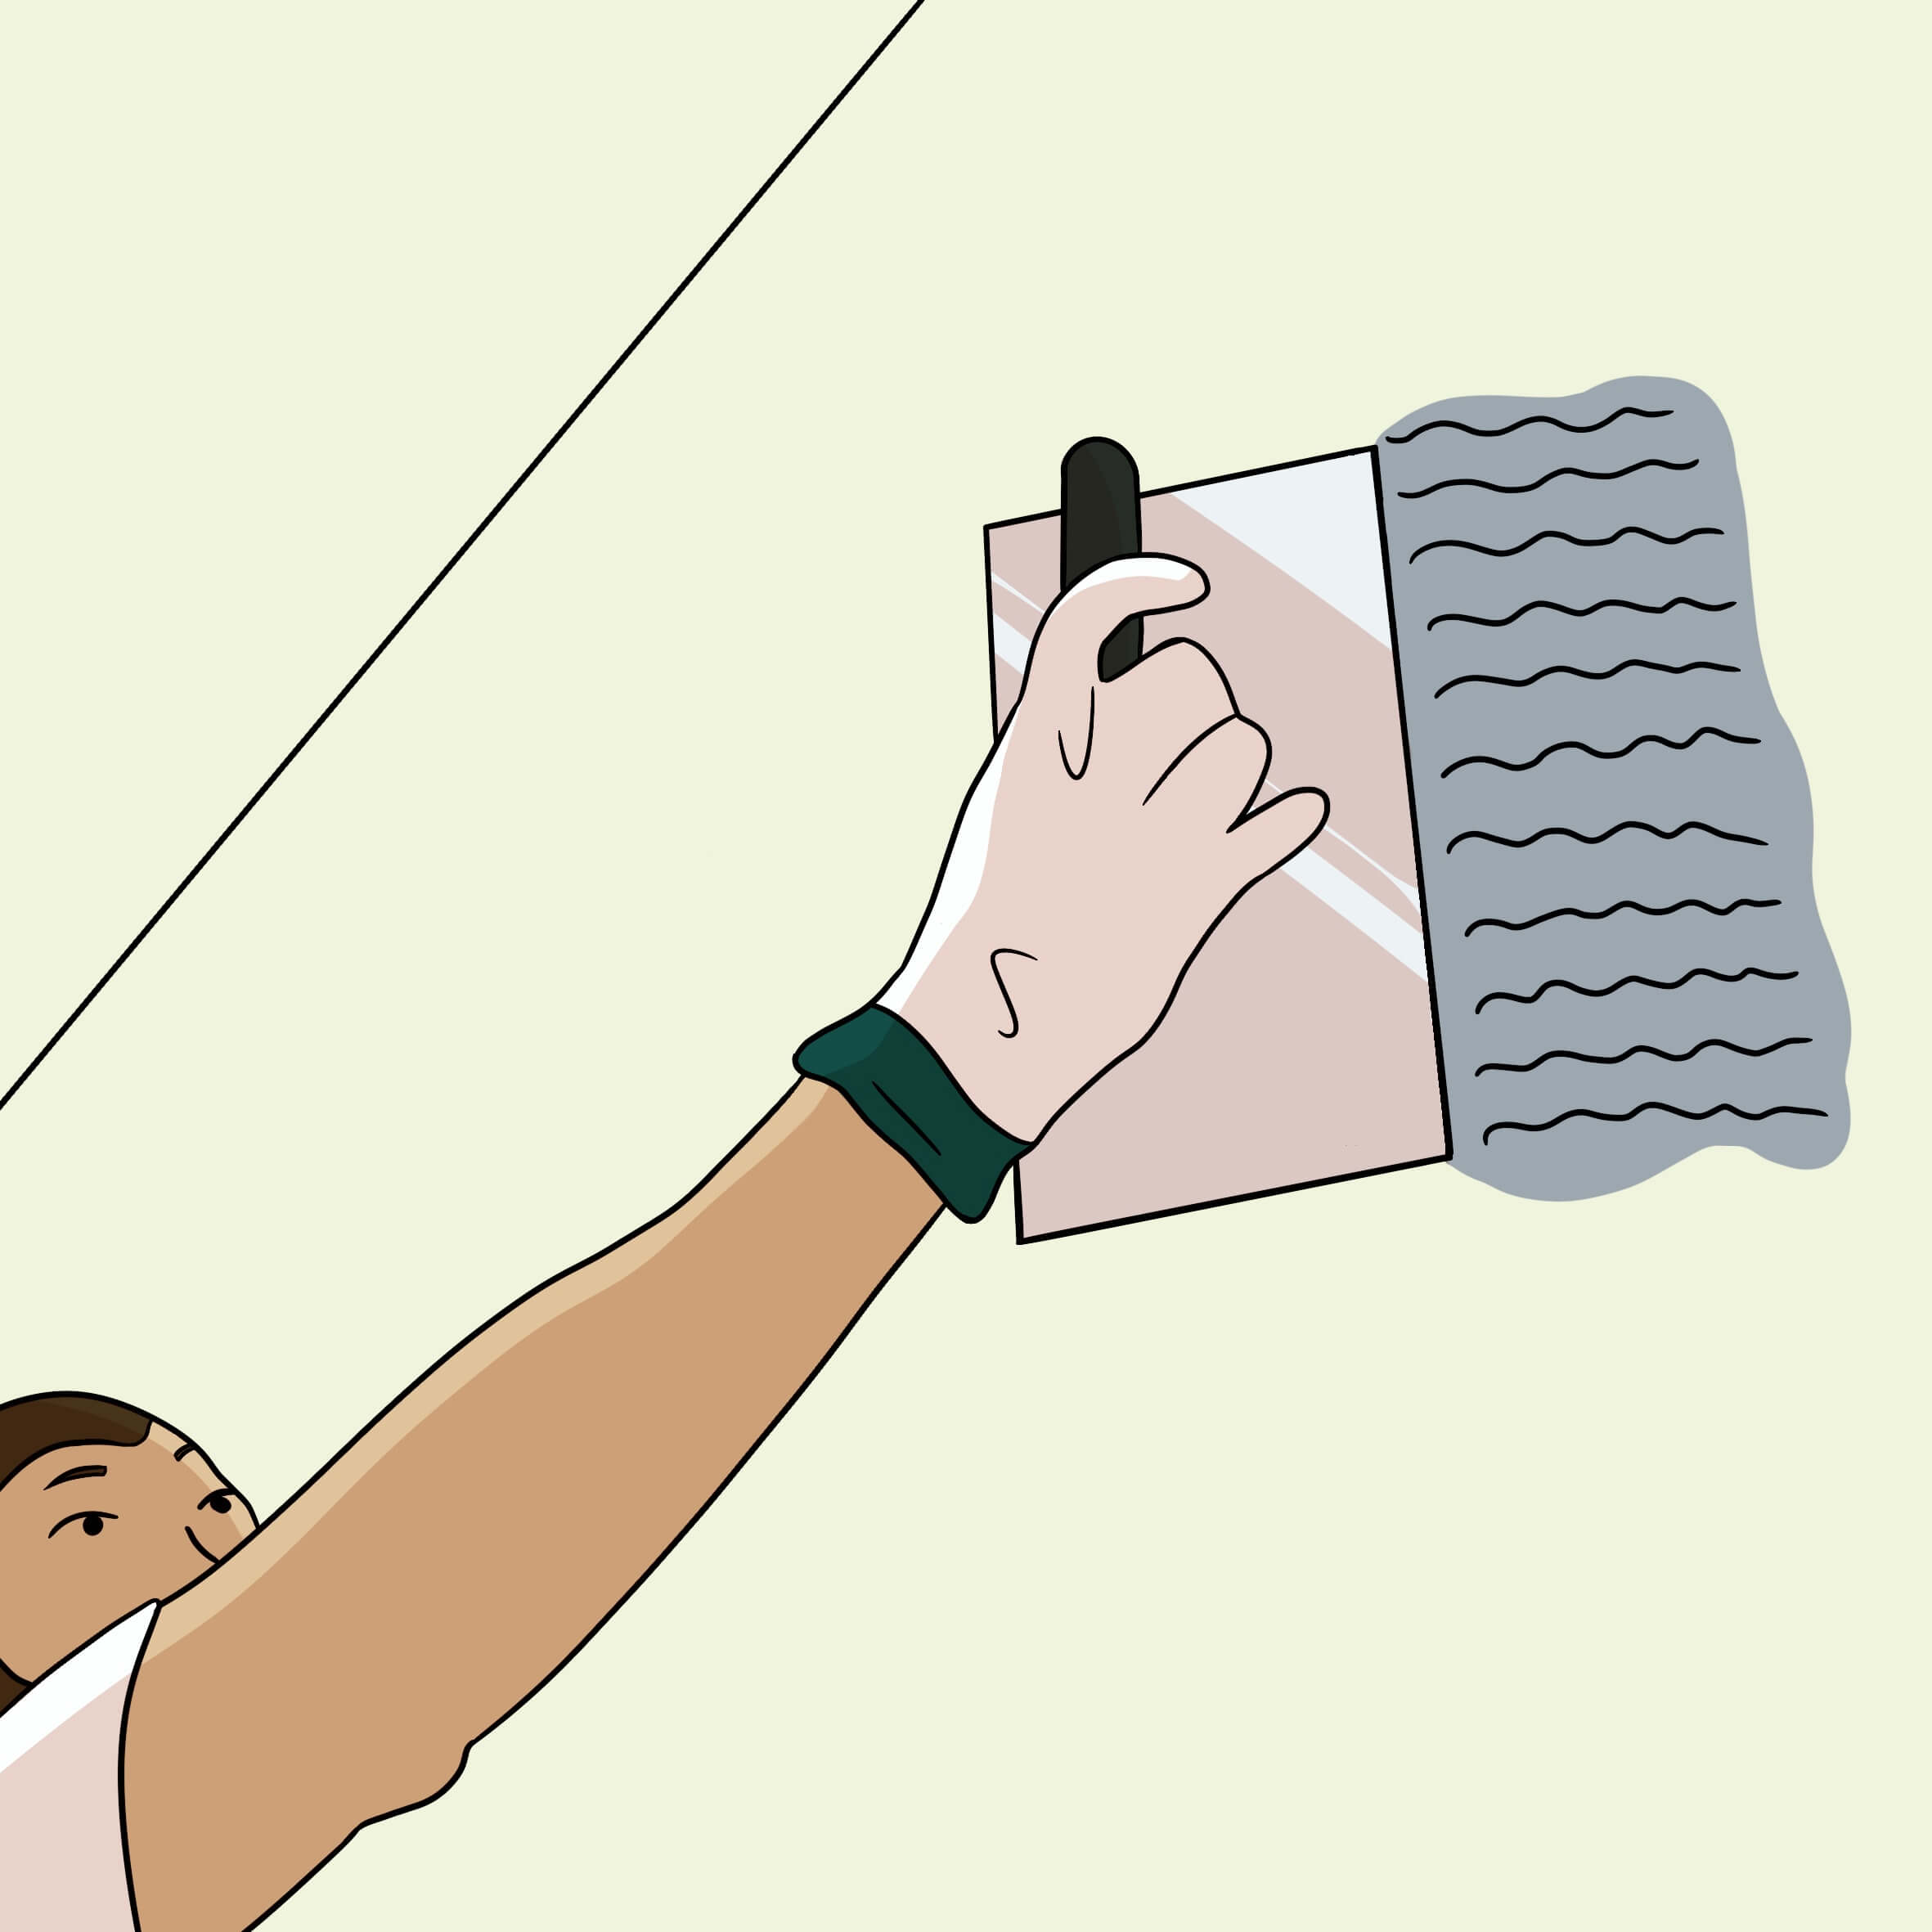
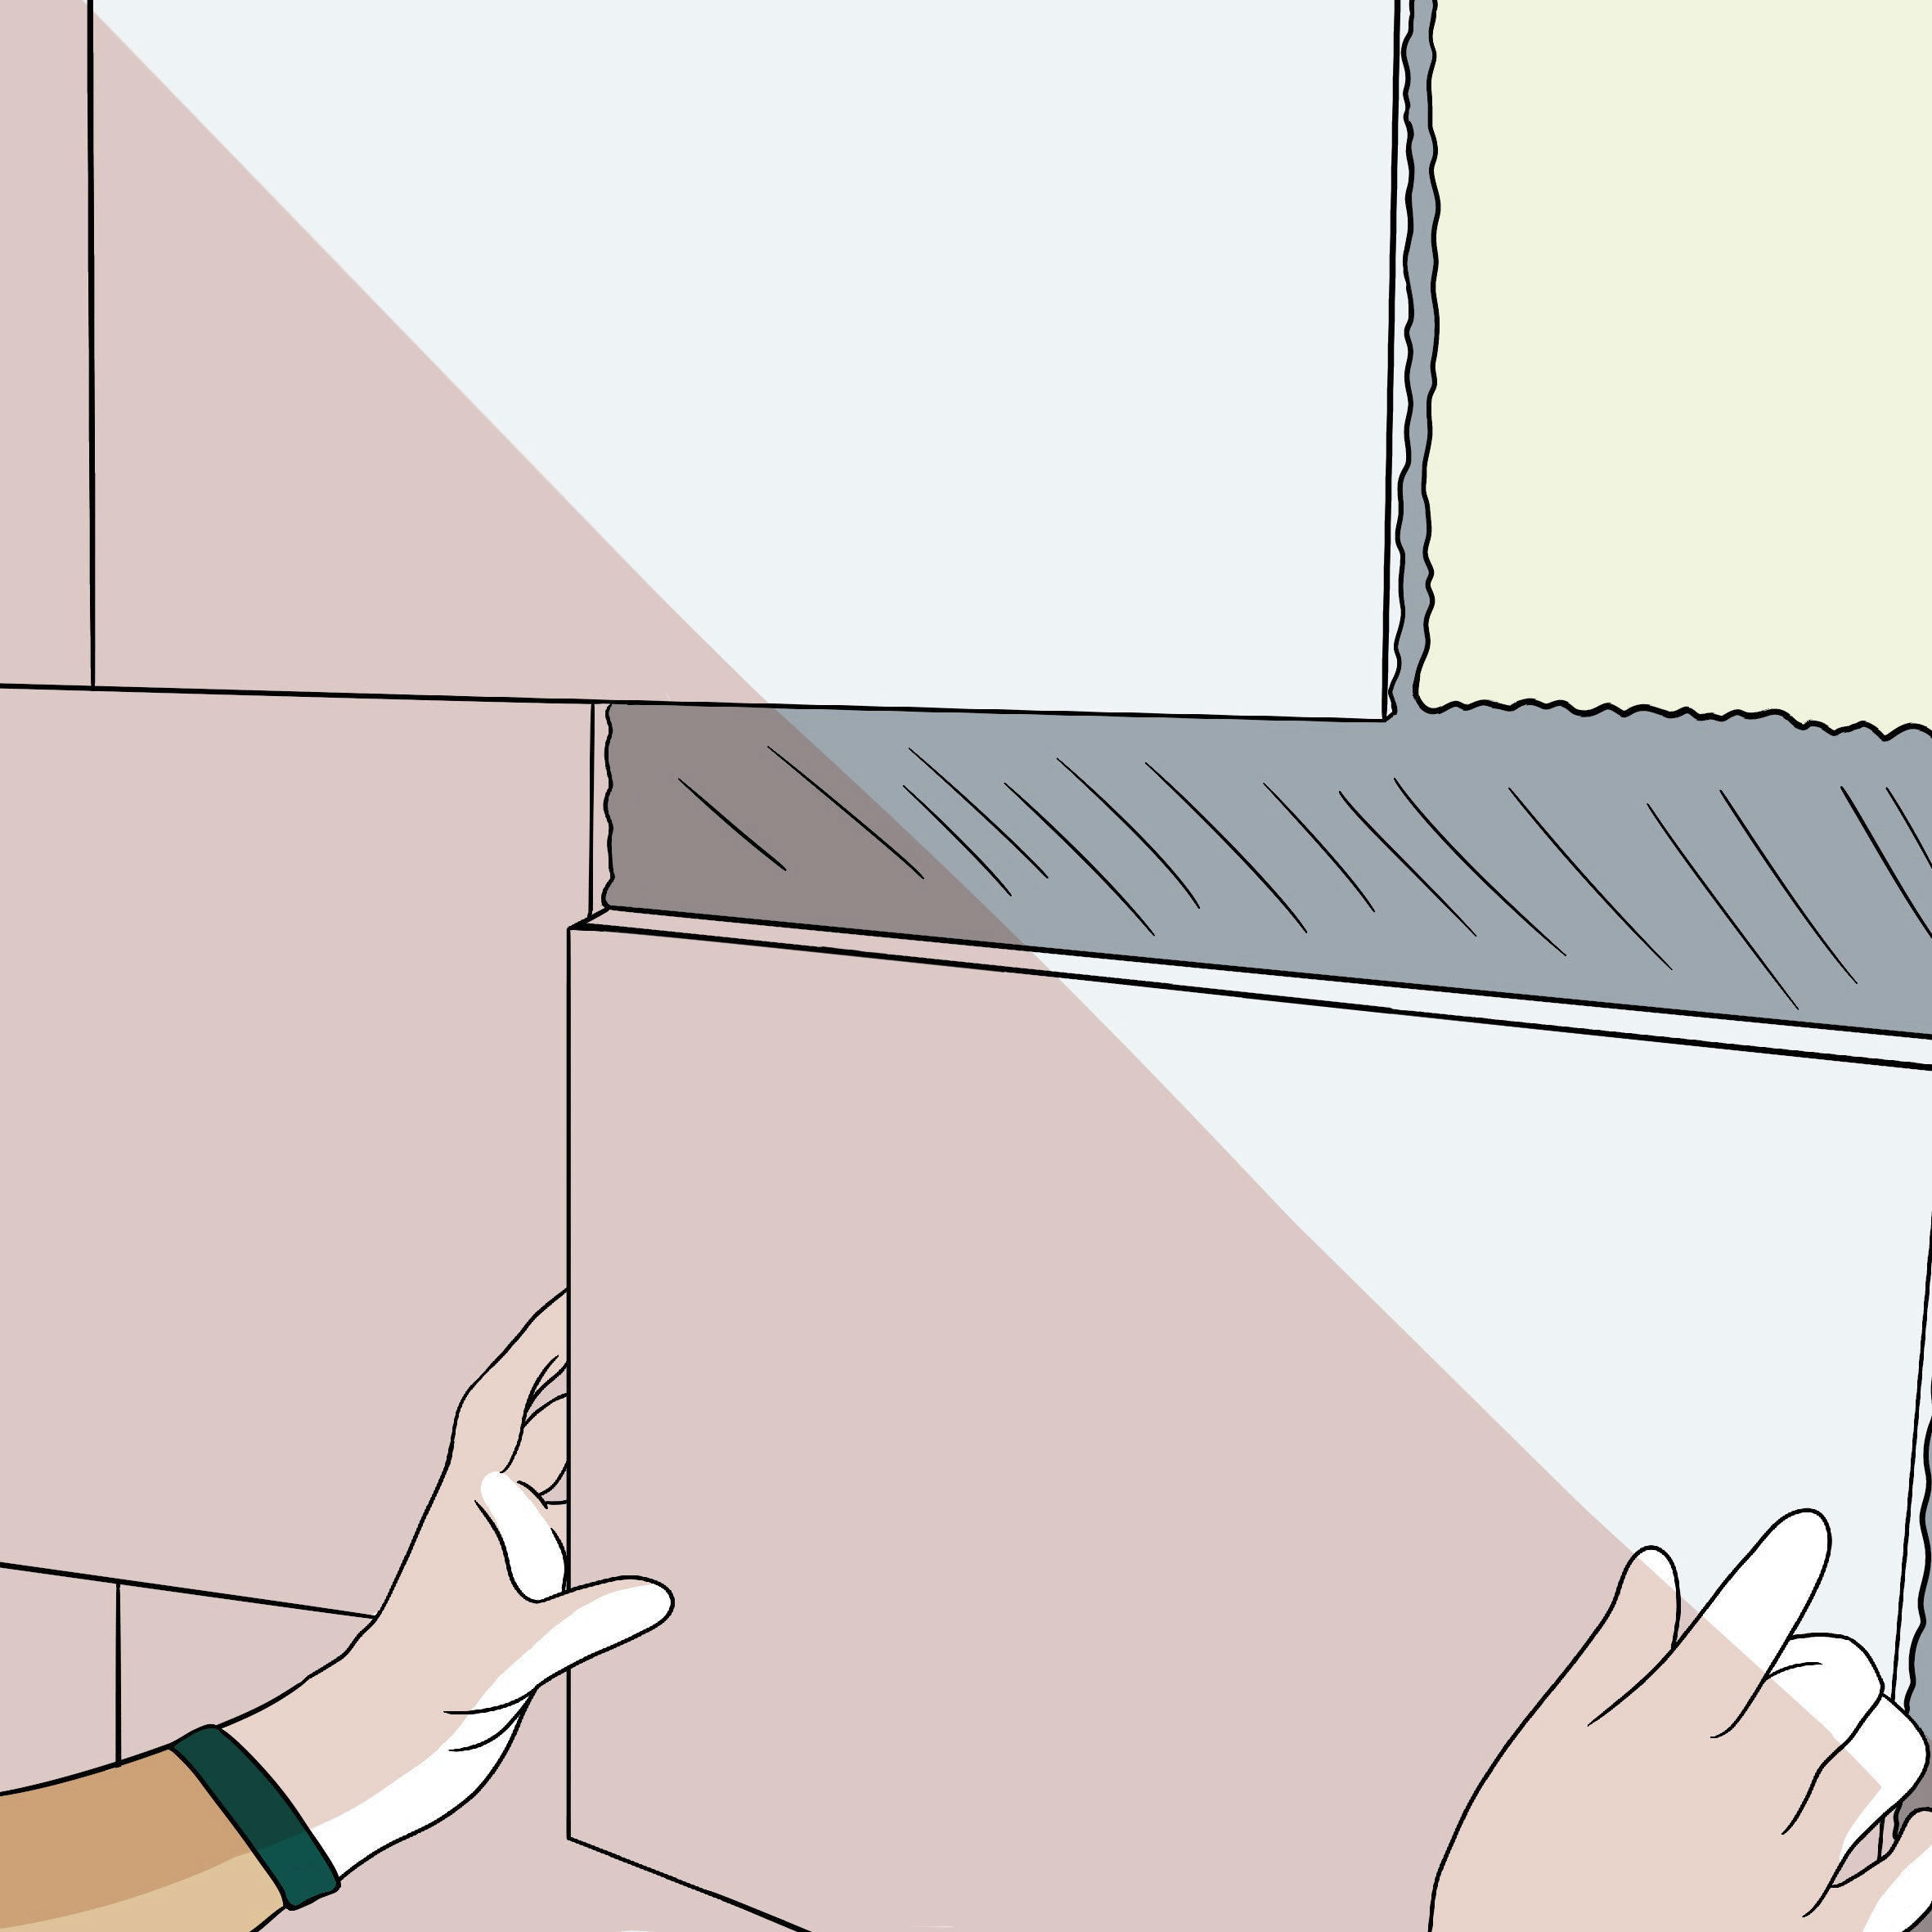
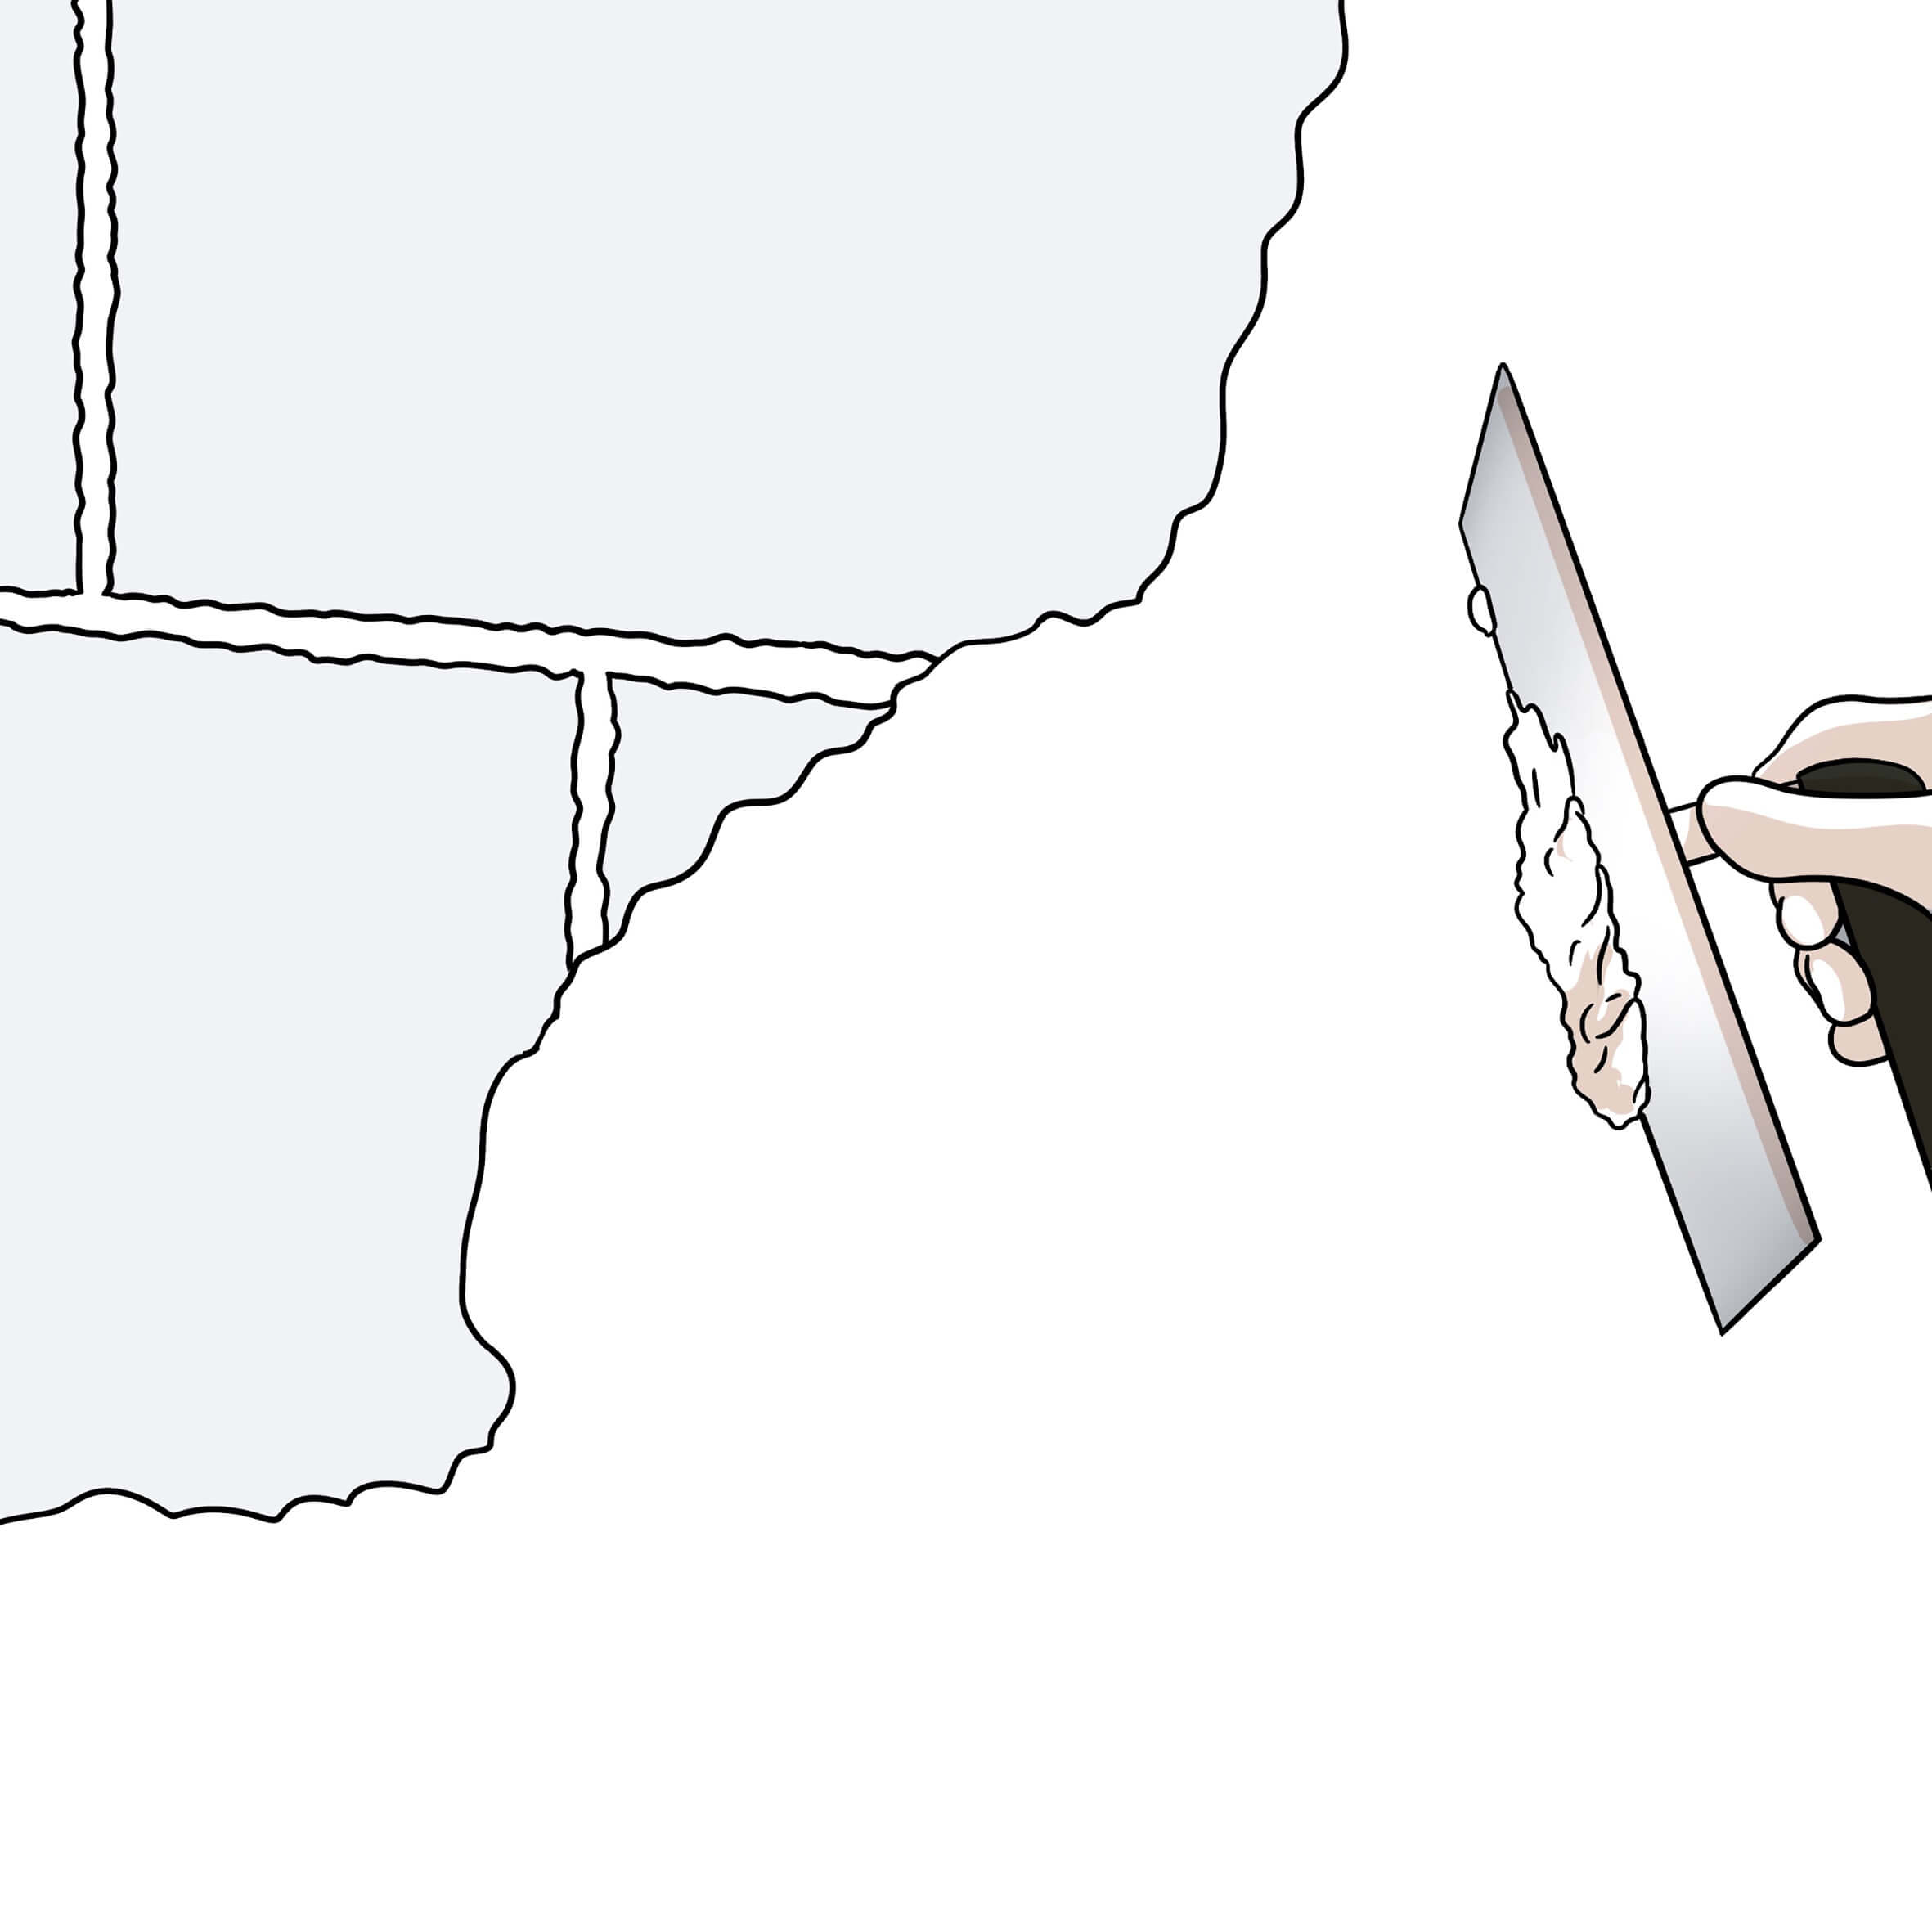
- Plastering trowel
- Serrated smoothing trowel (at least 8x8mm to 12 mm - recommendation: 10 mm)
- Smoothing trowel
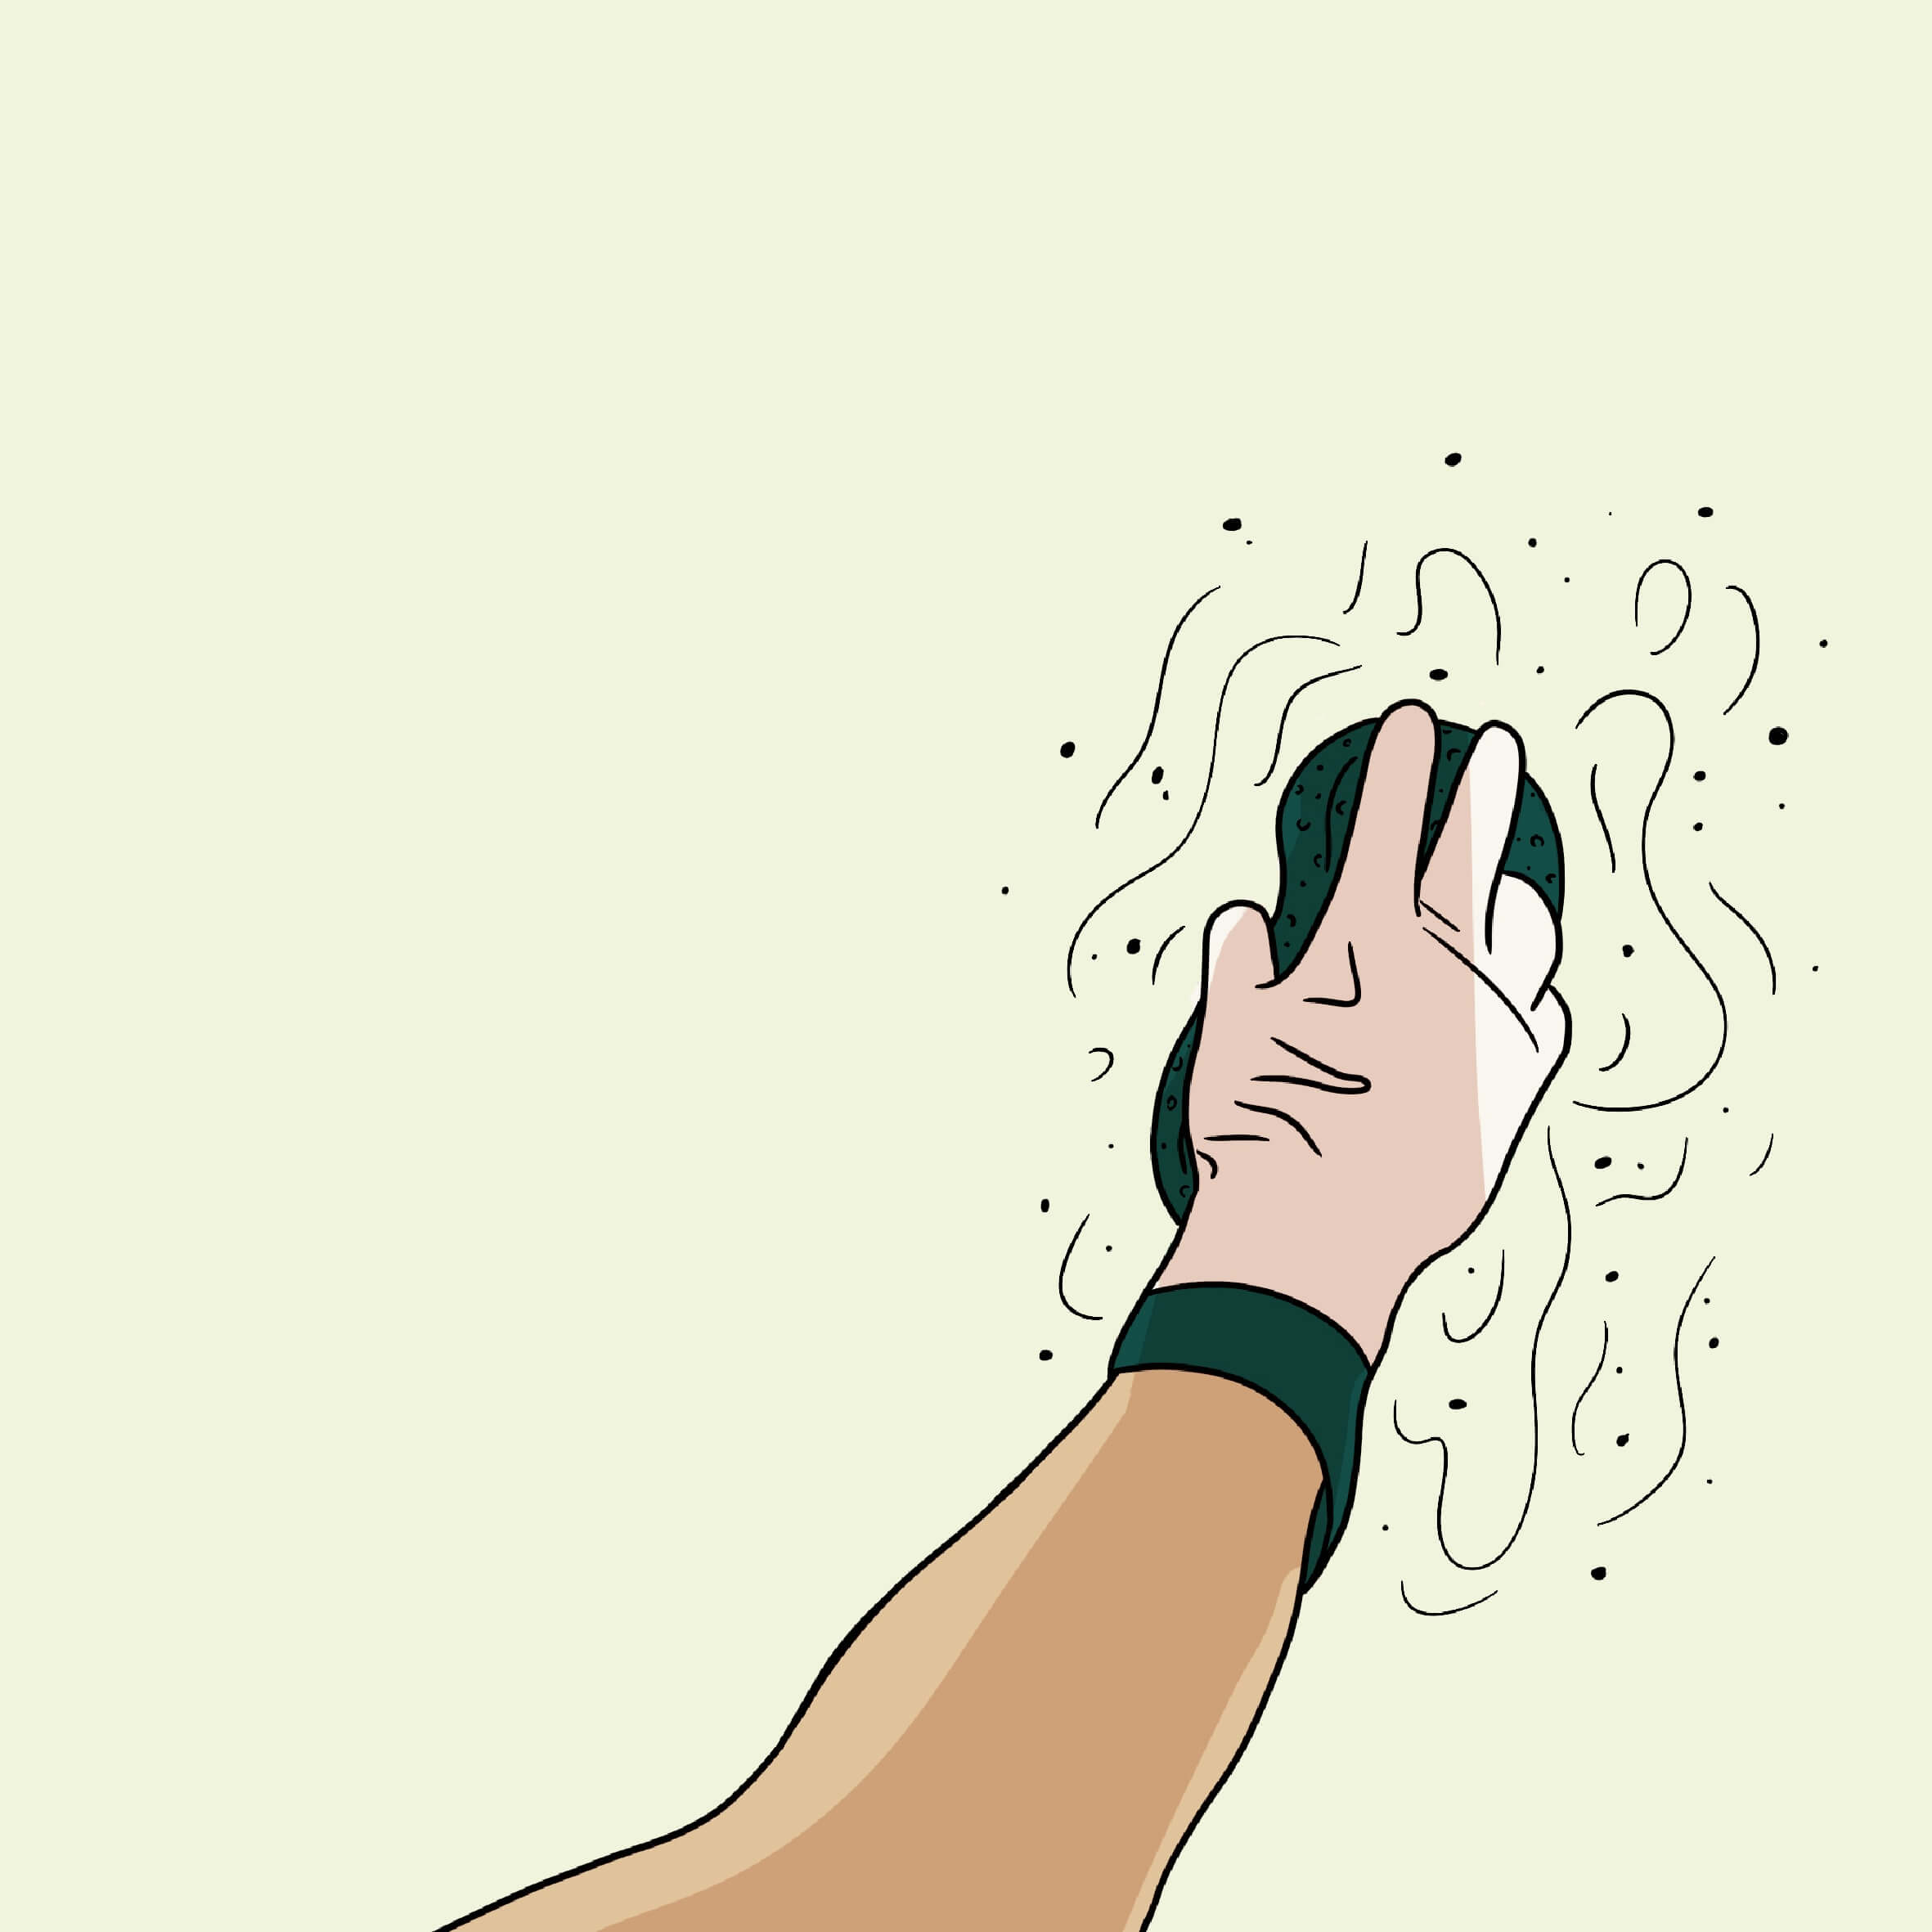
- Sandpaper
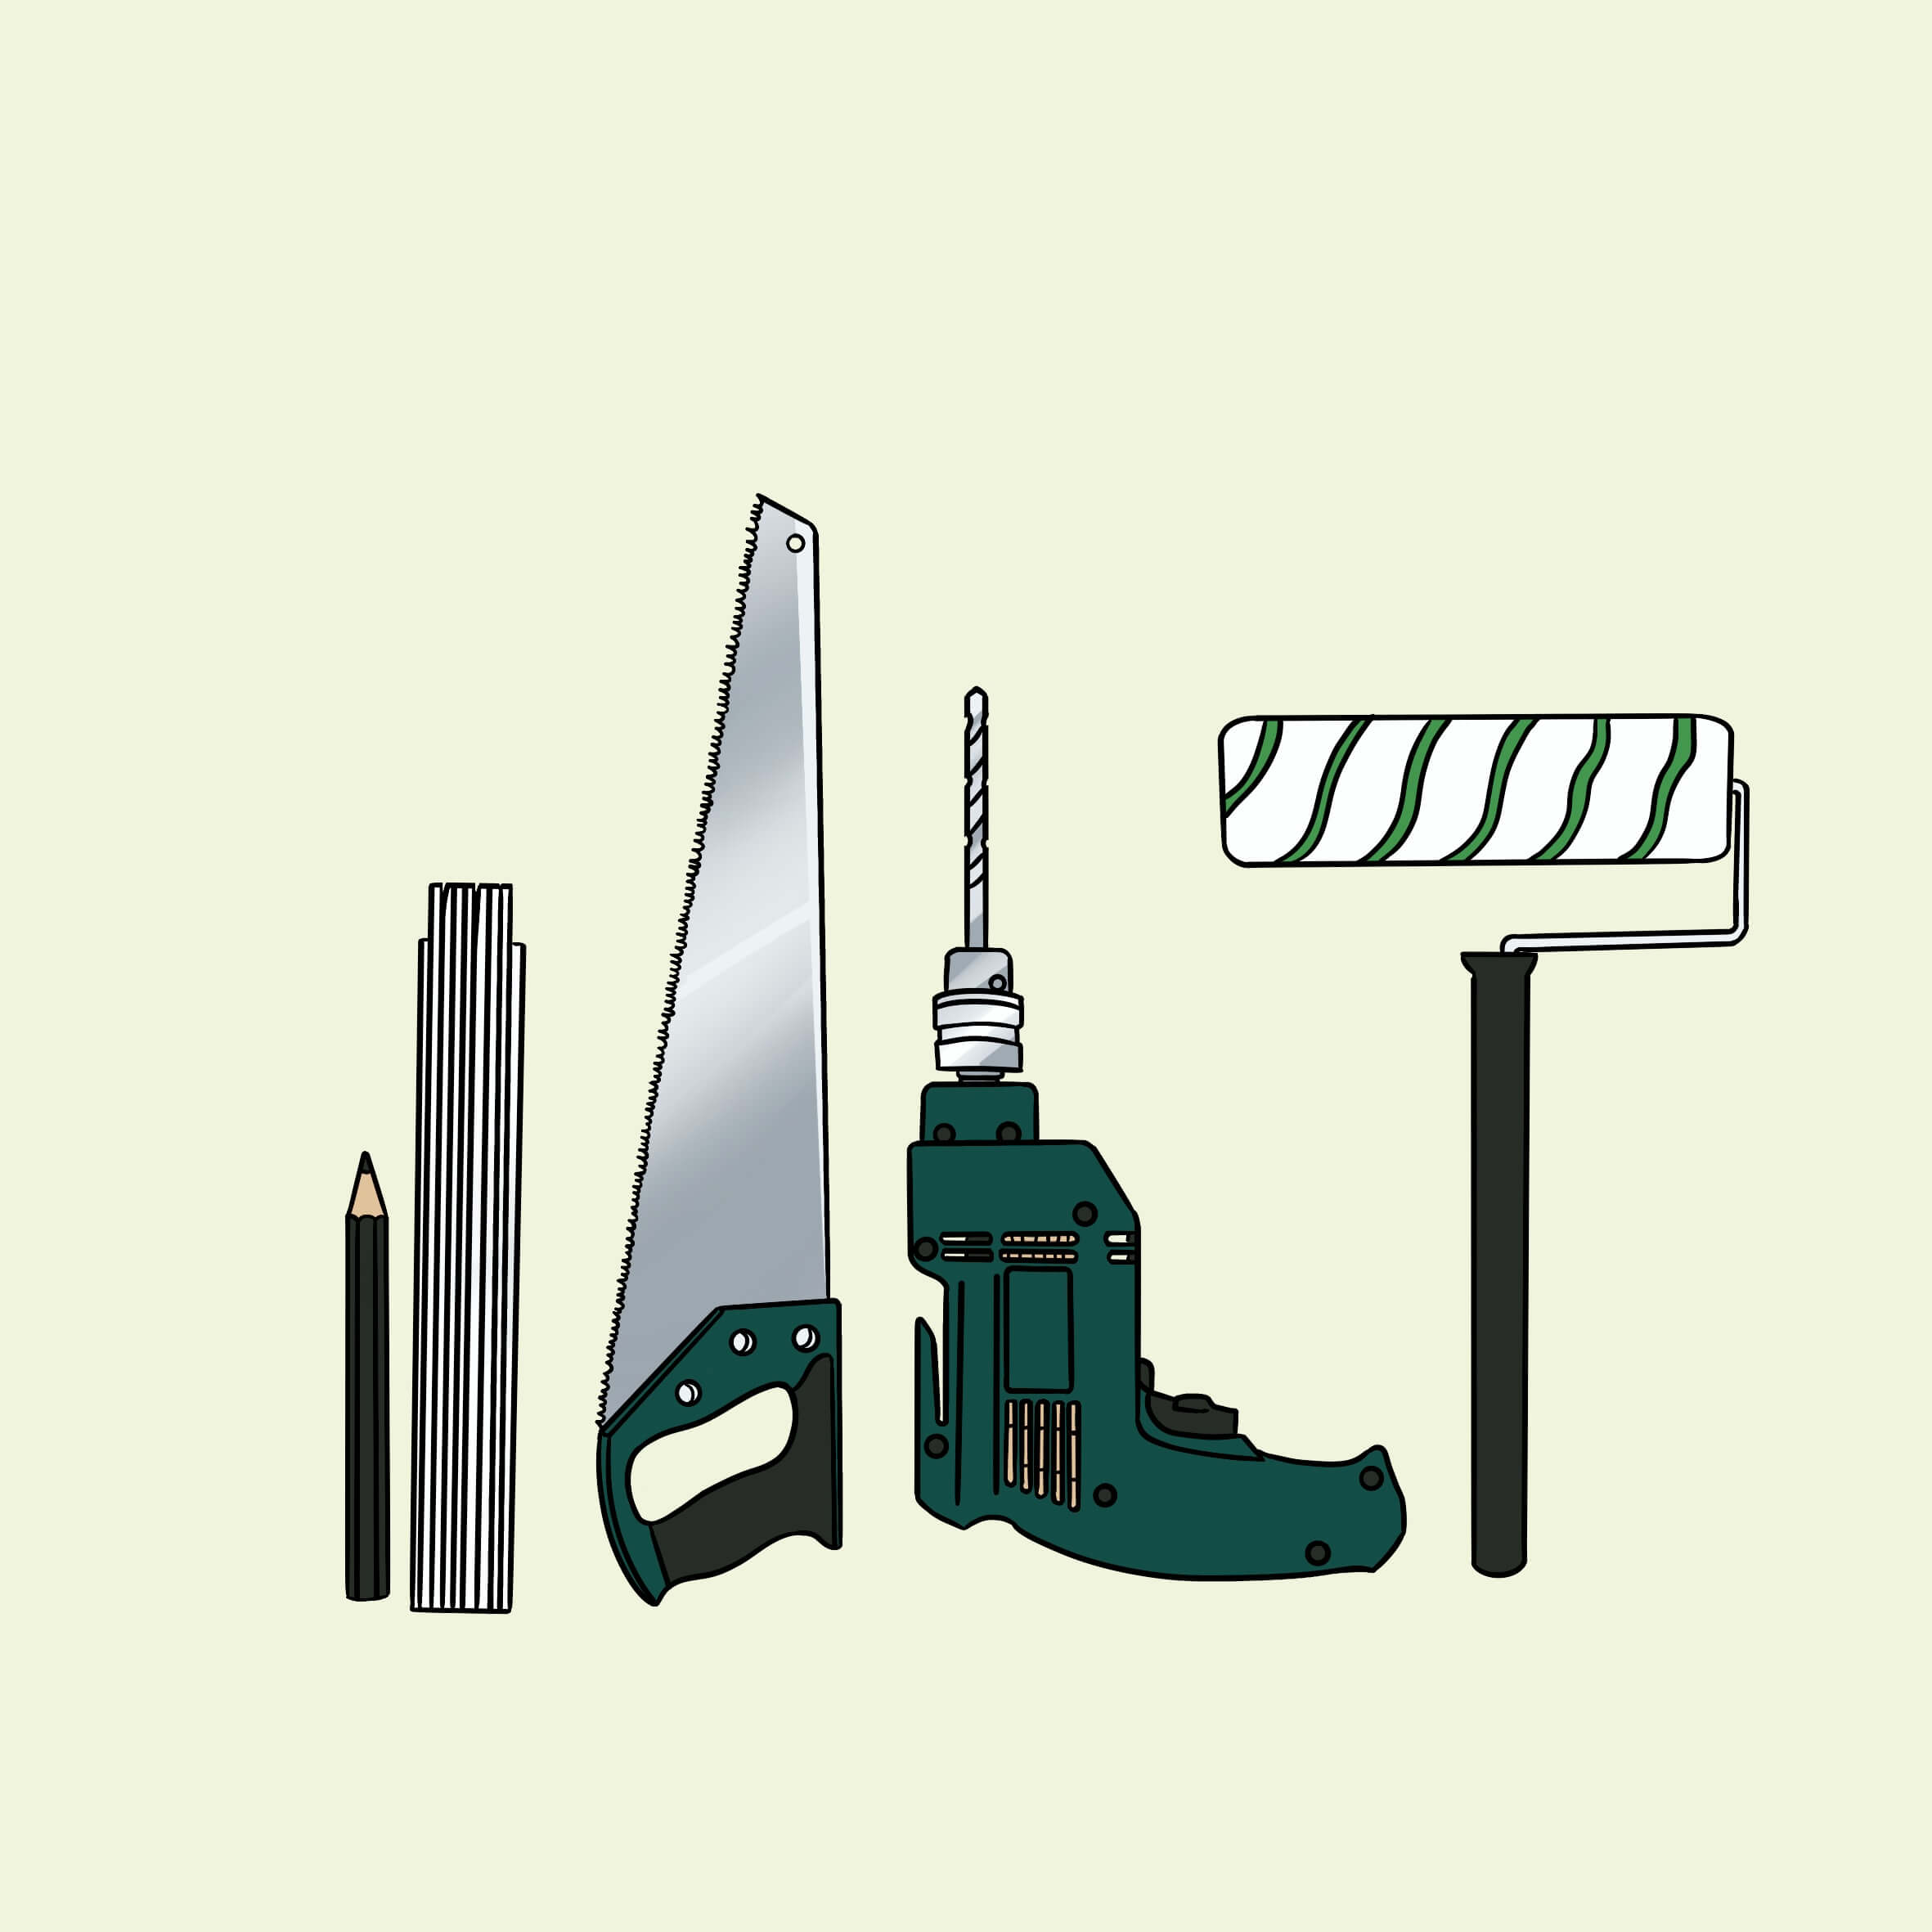
Tools that are needed and available in many households
Of course, as with any building project, you will need a certain amount of basic tools, and we assume that these should be in every toolbox when working with calcium silicate boards:
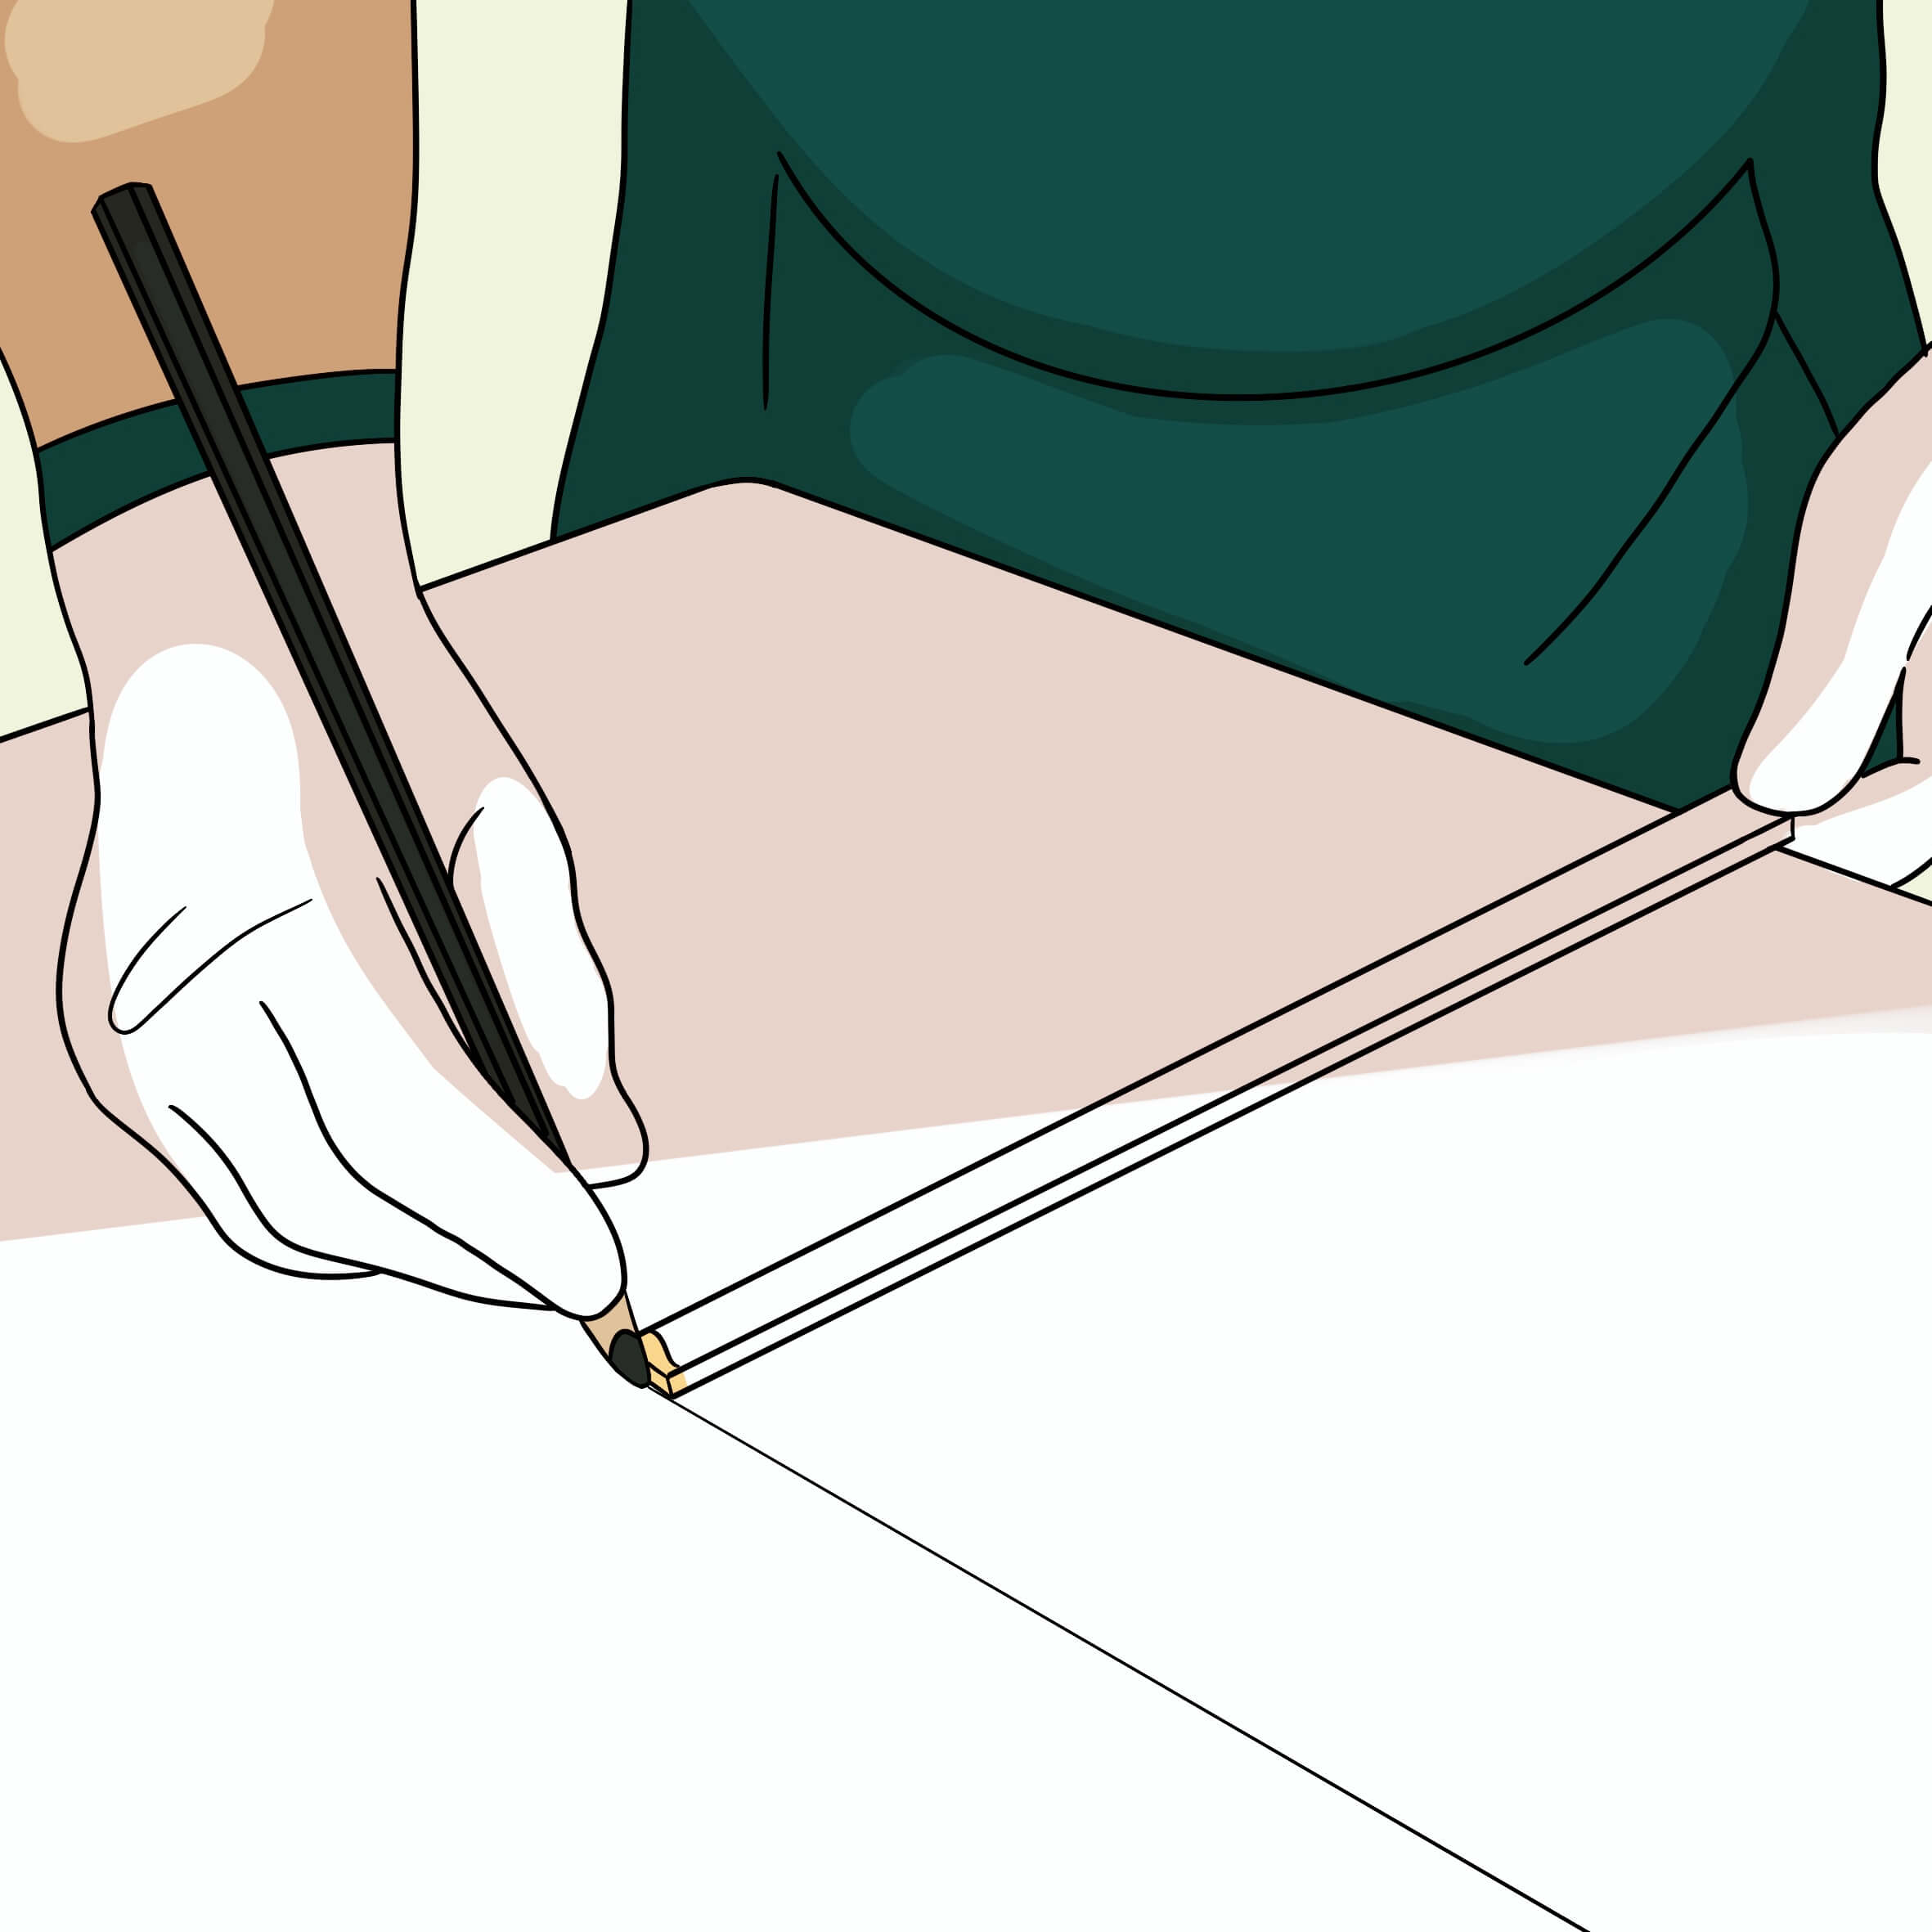
- Pen (pencil) for markings
- Folding rule
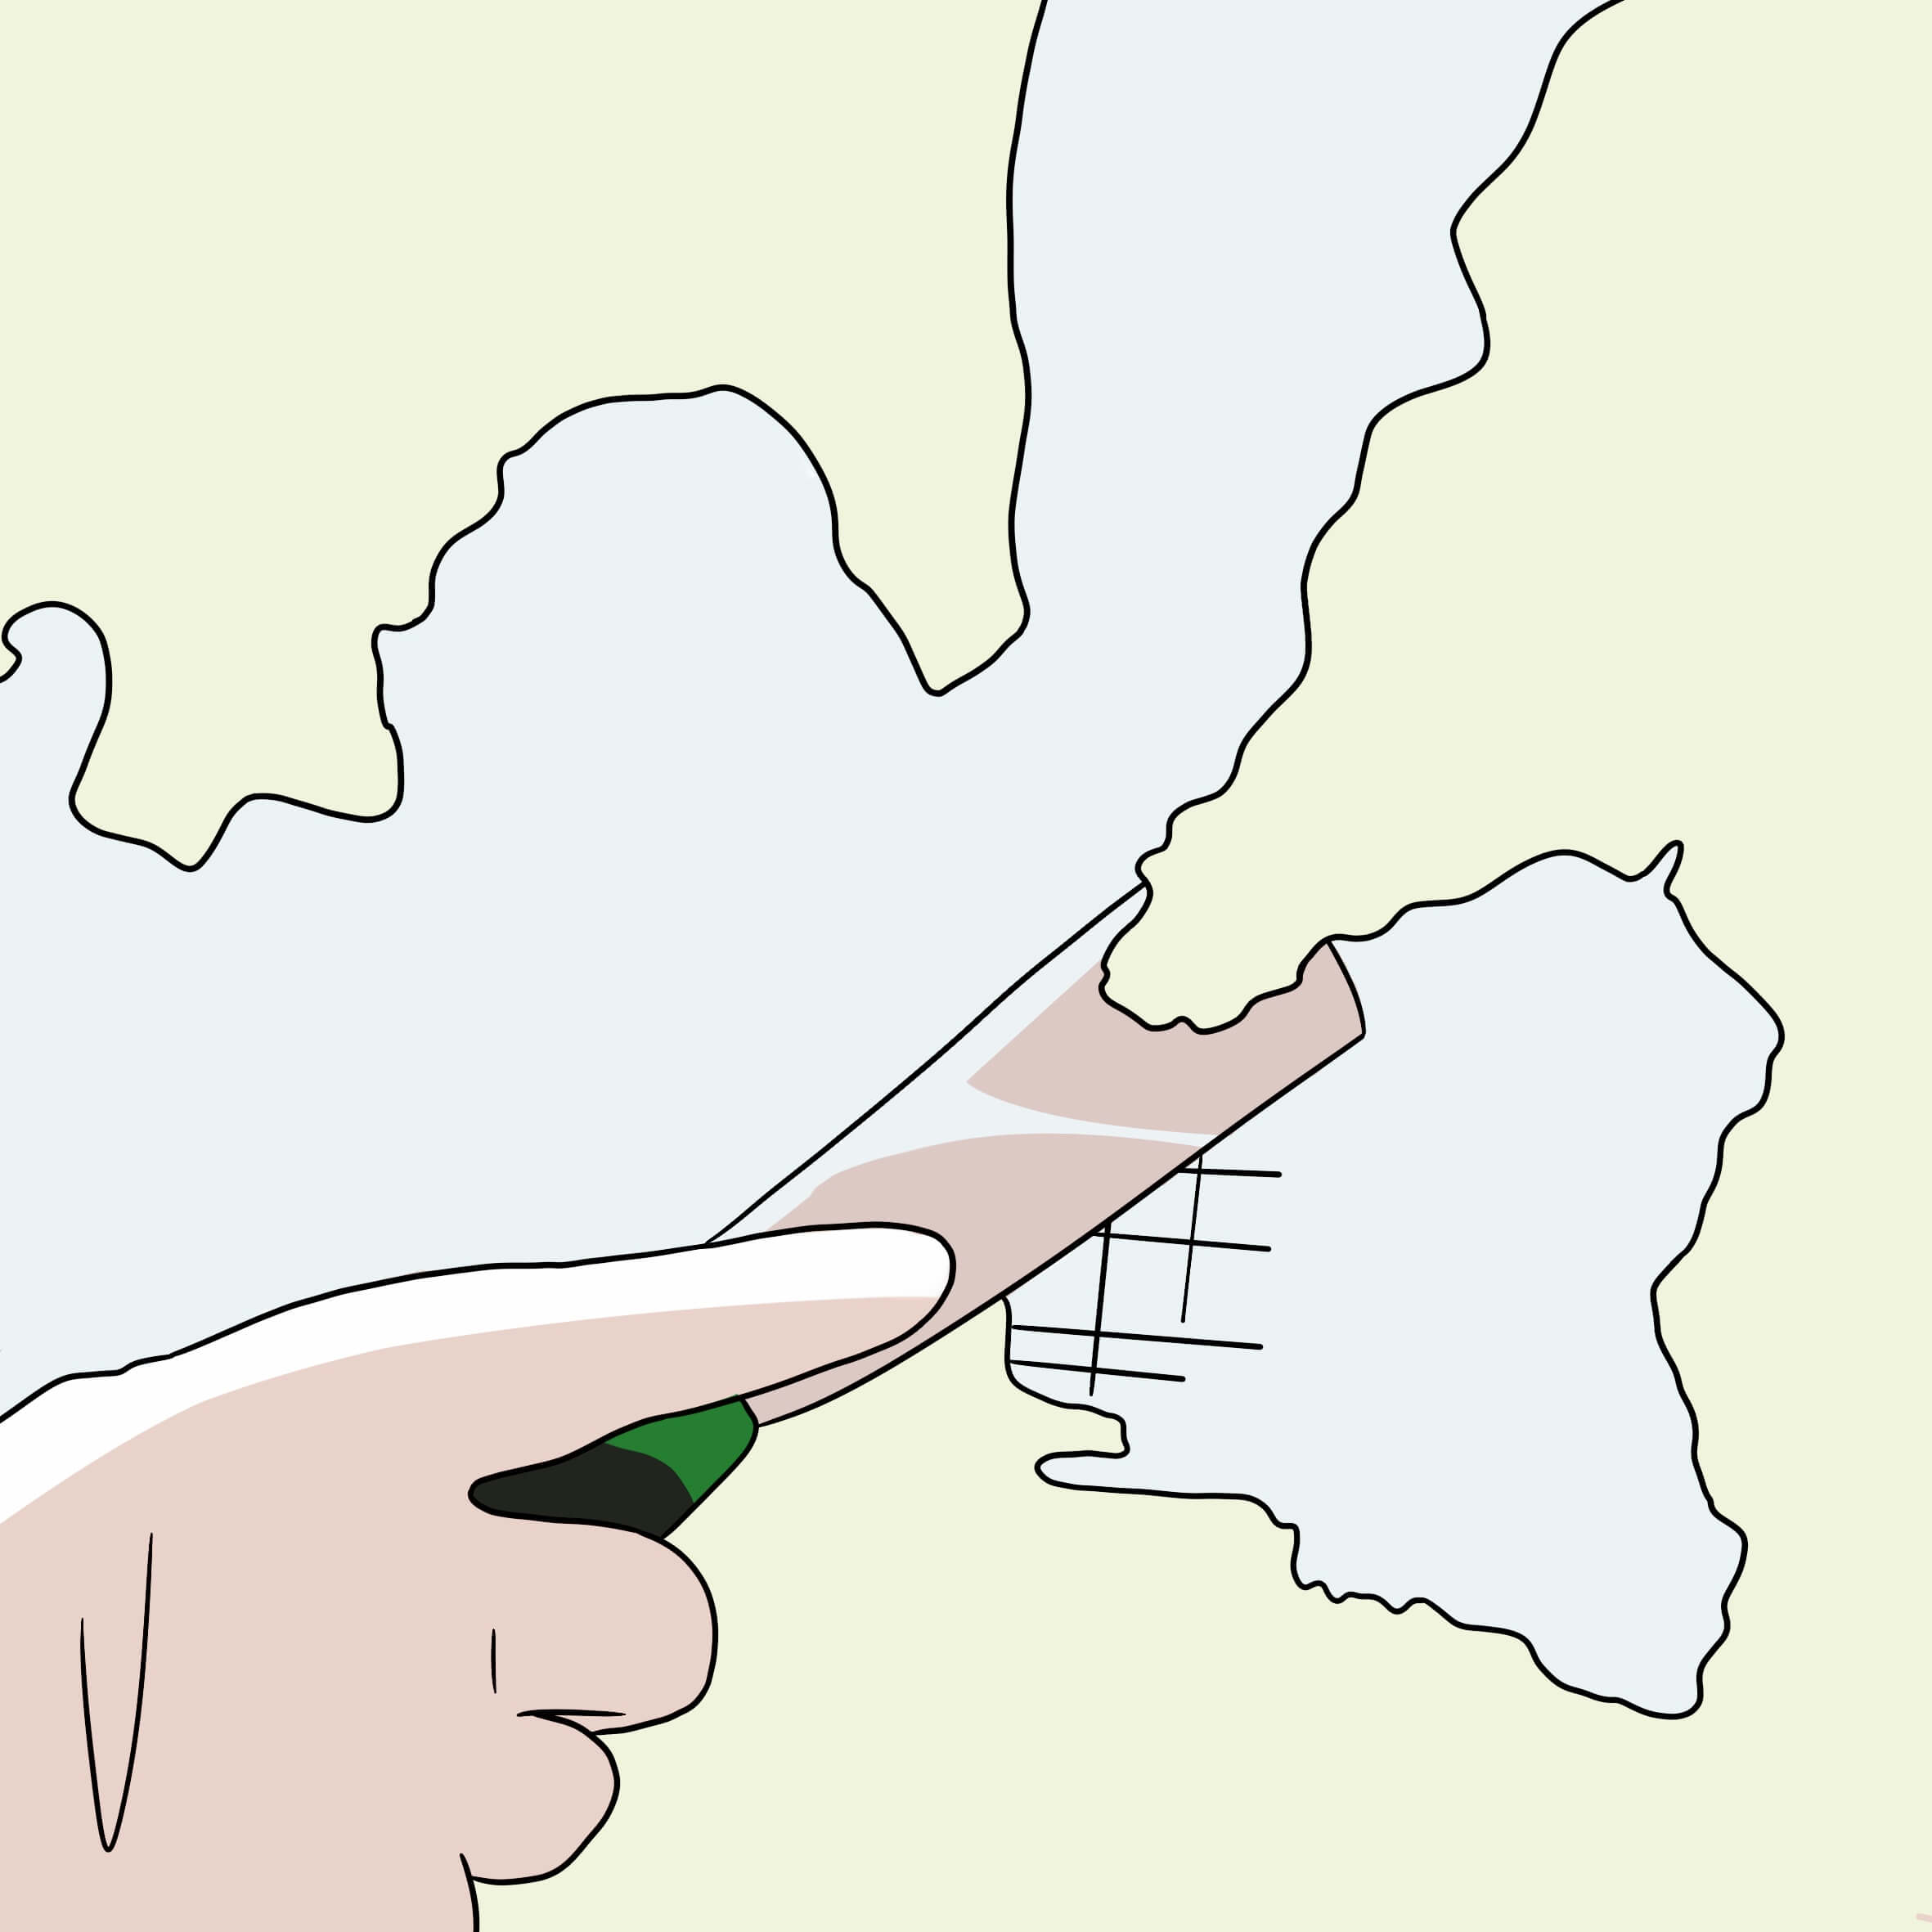
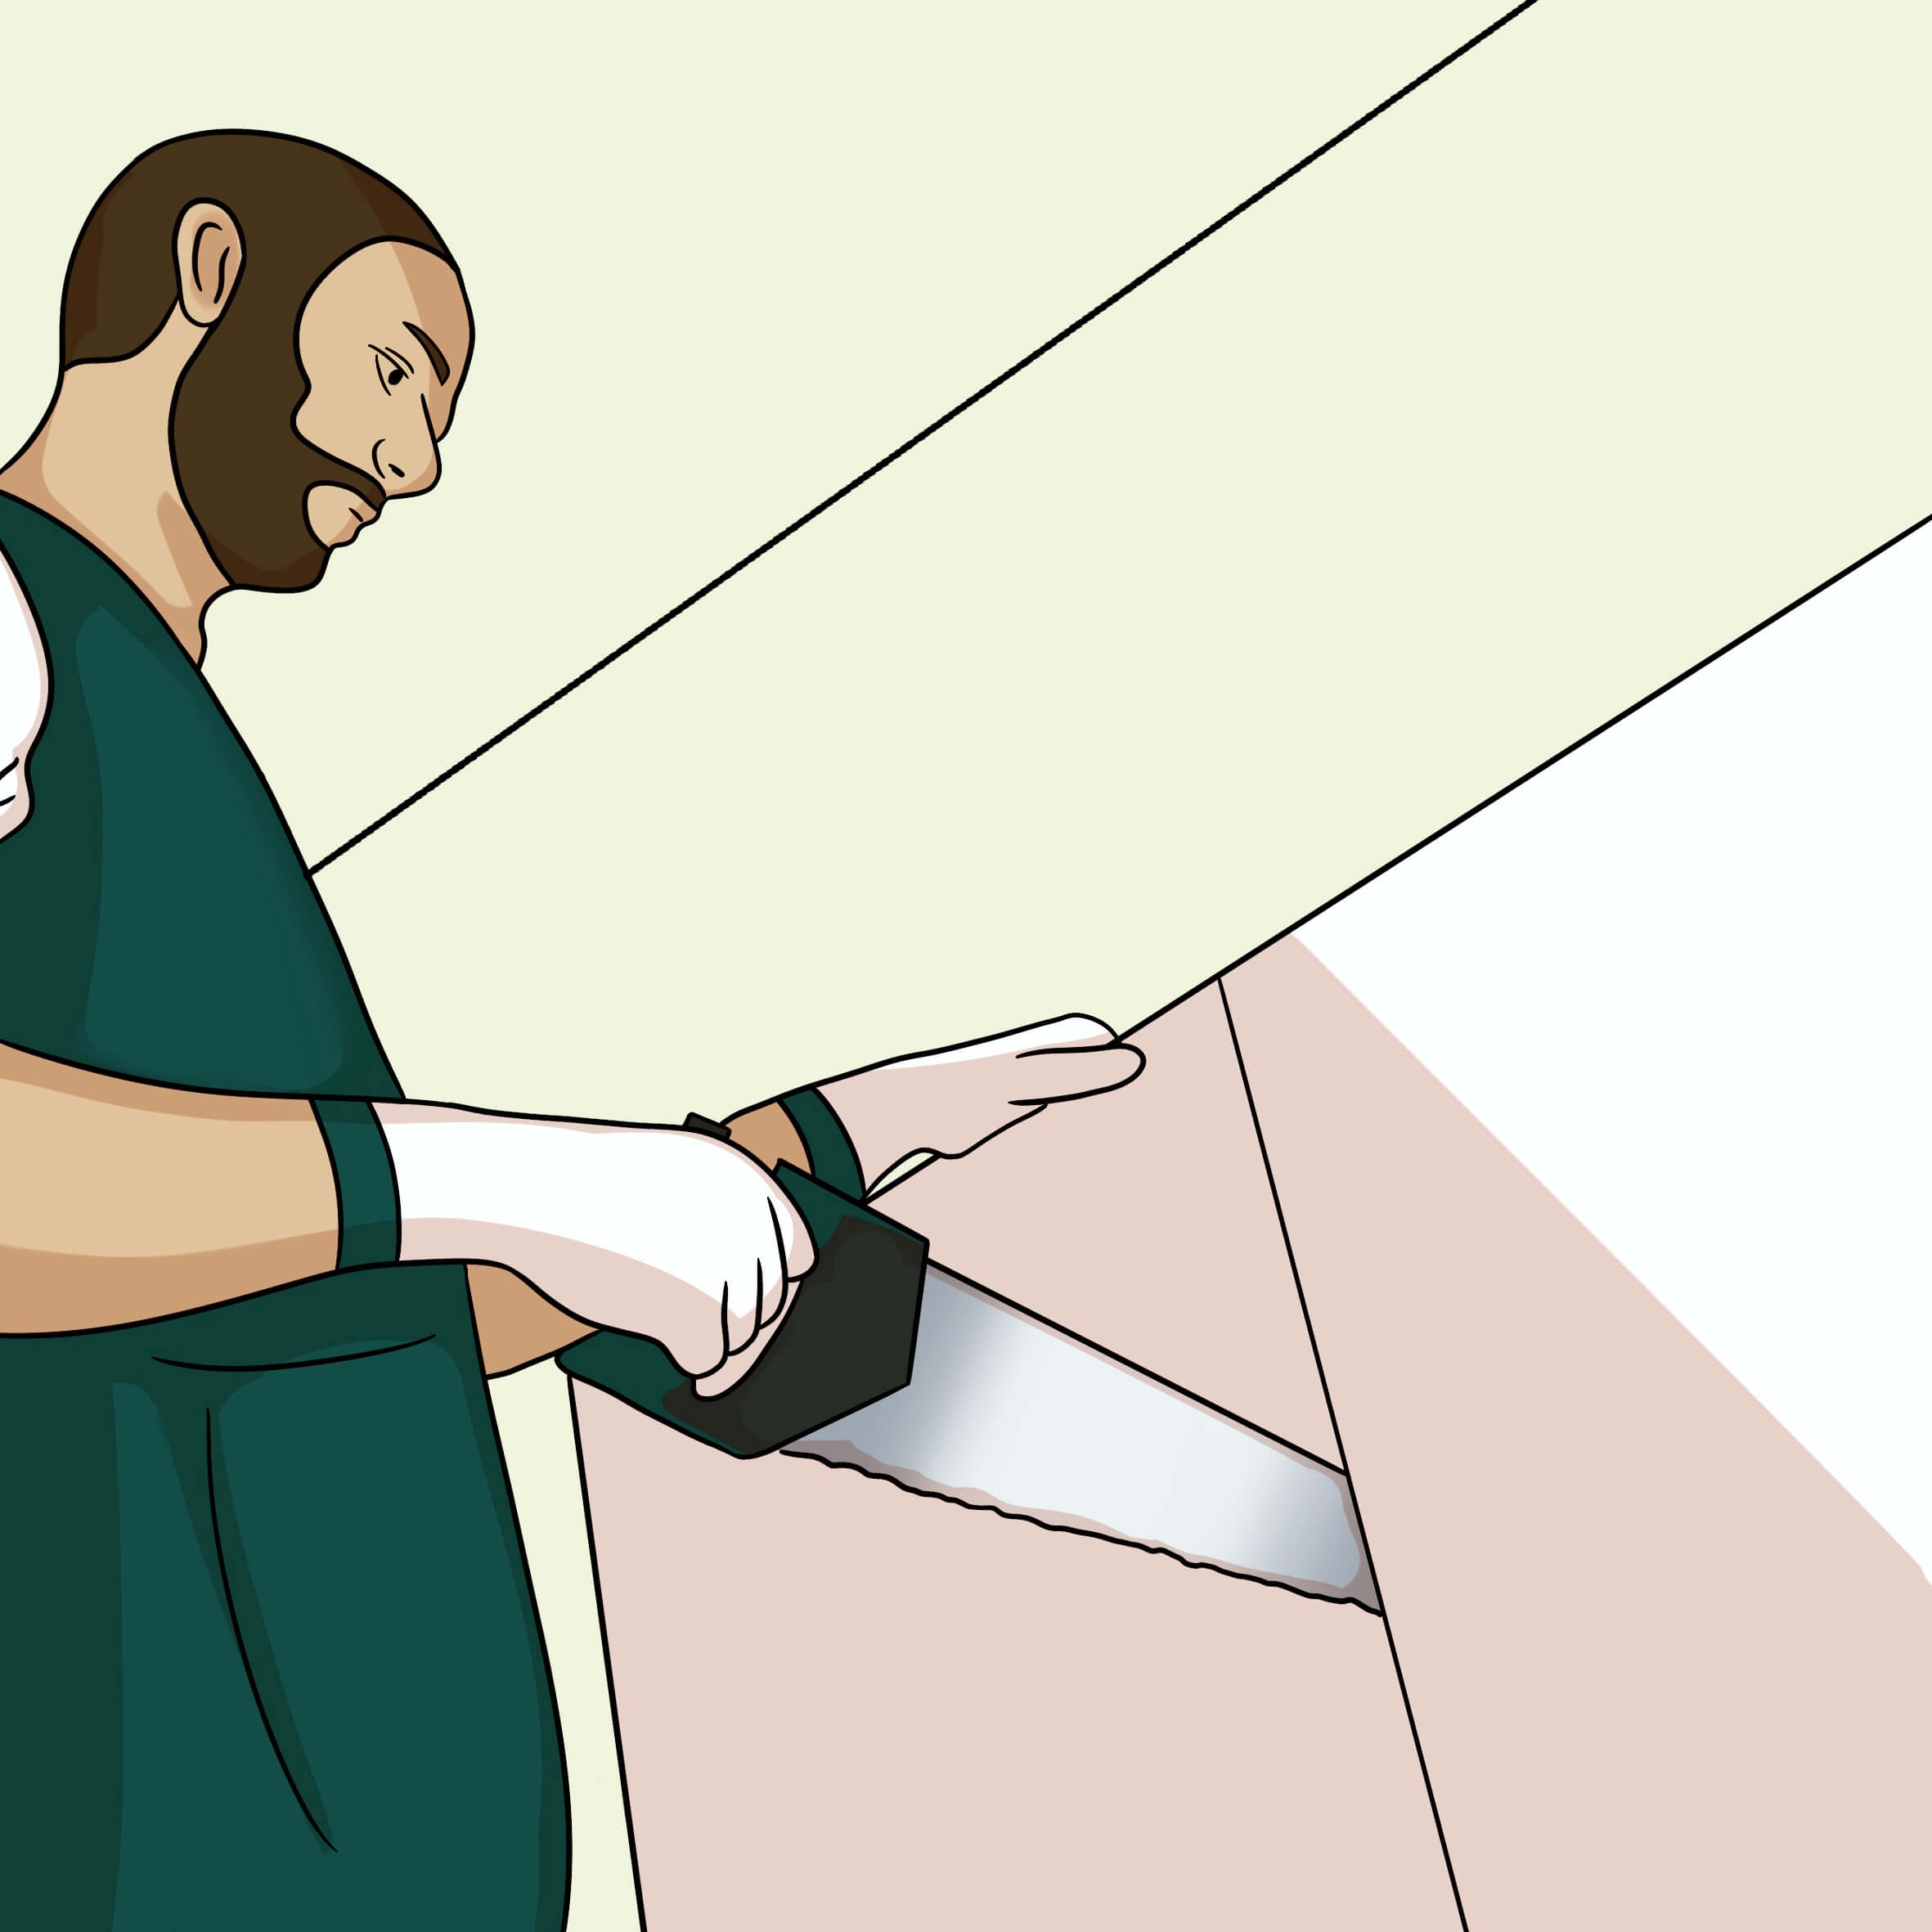
- Hand saw for wood (e.g. foxtail)
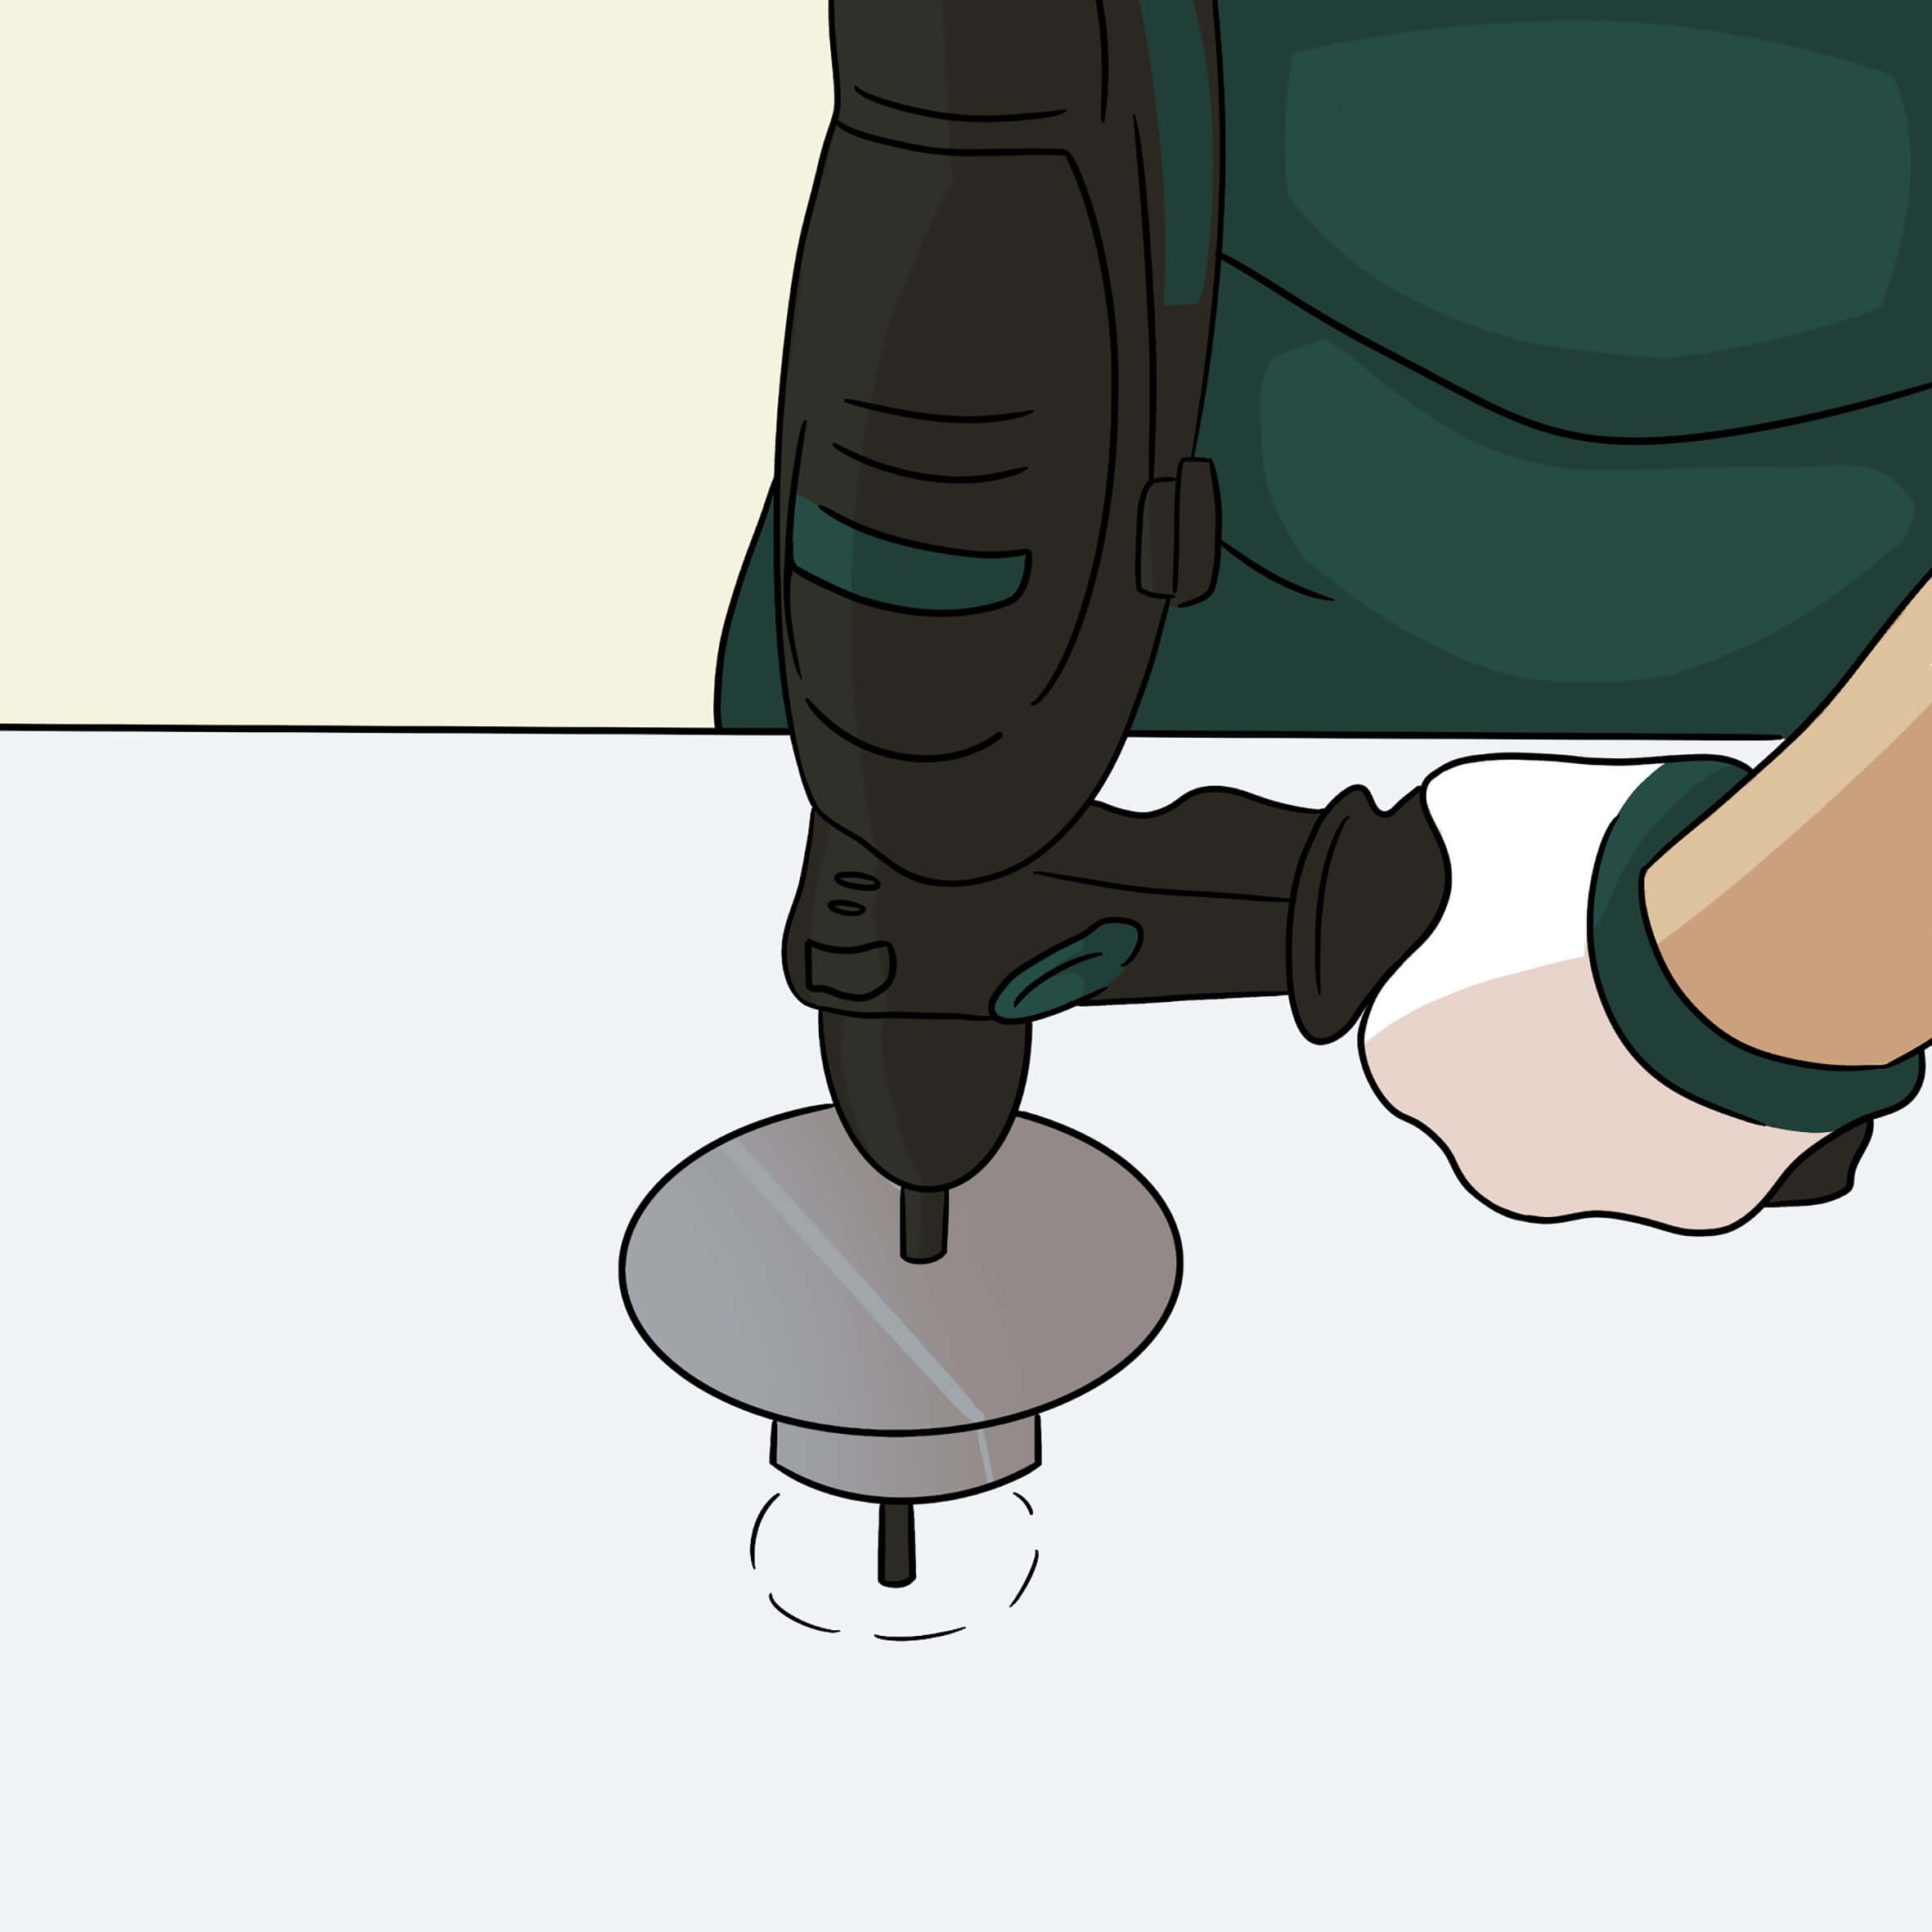
- Drill (if required)
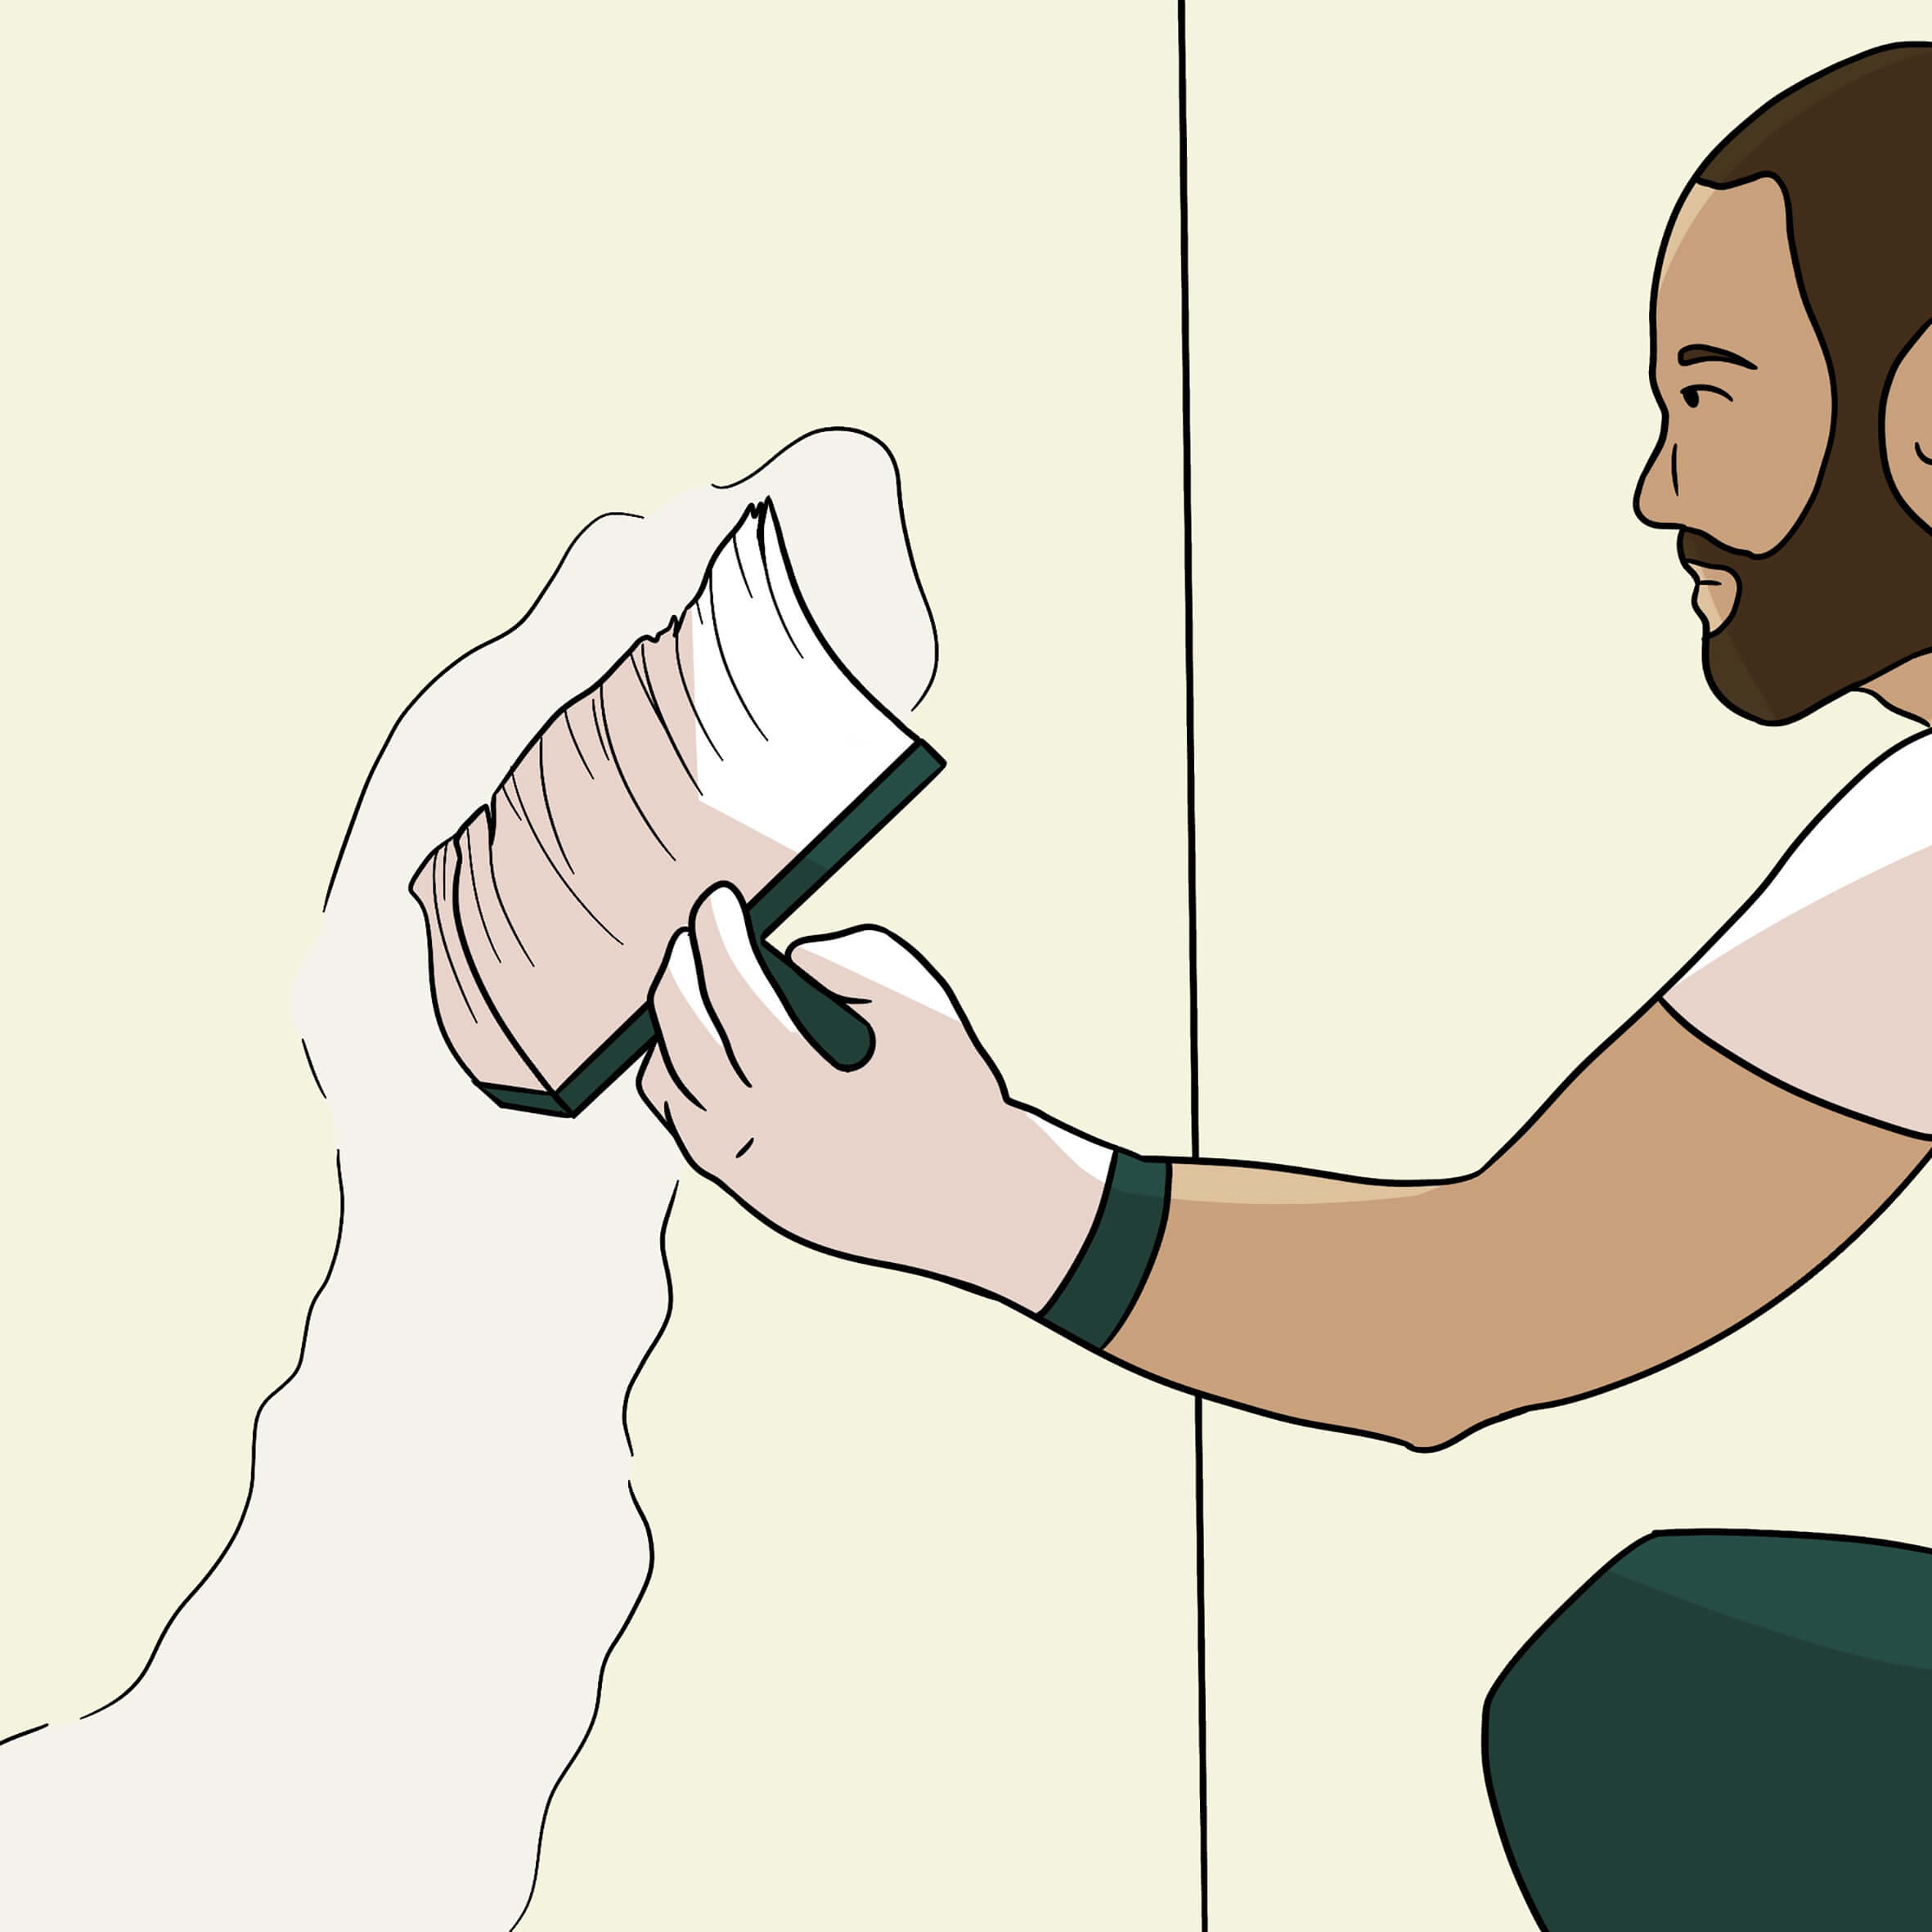
- Paint roller (and scraping grid)

Unsure about the surface?
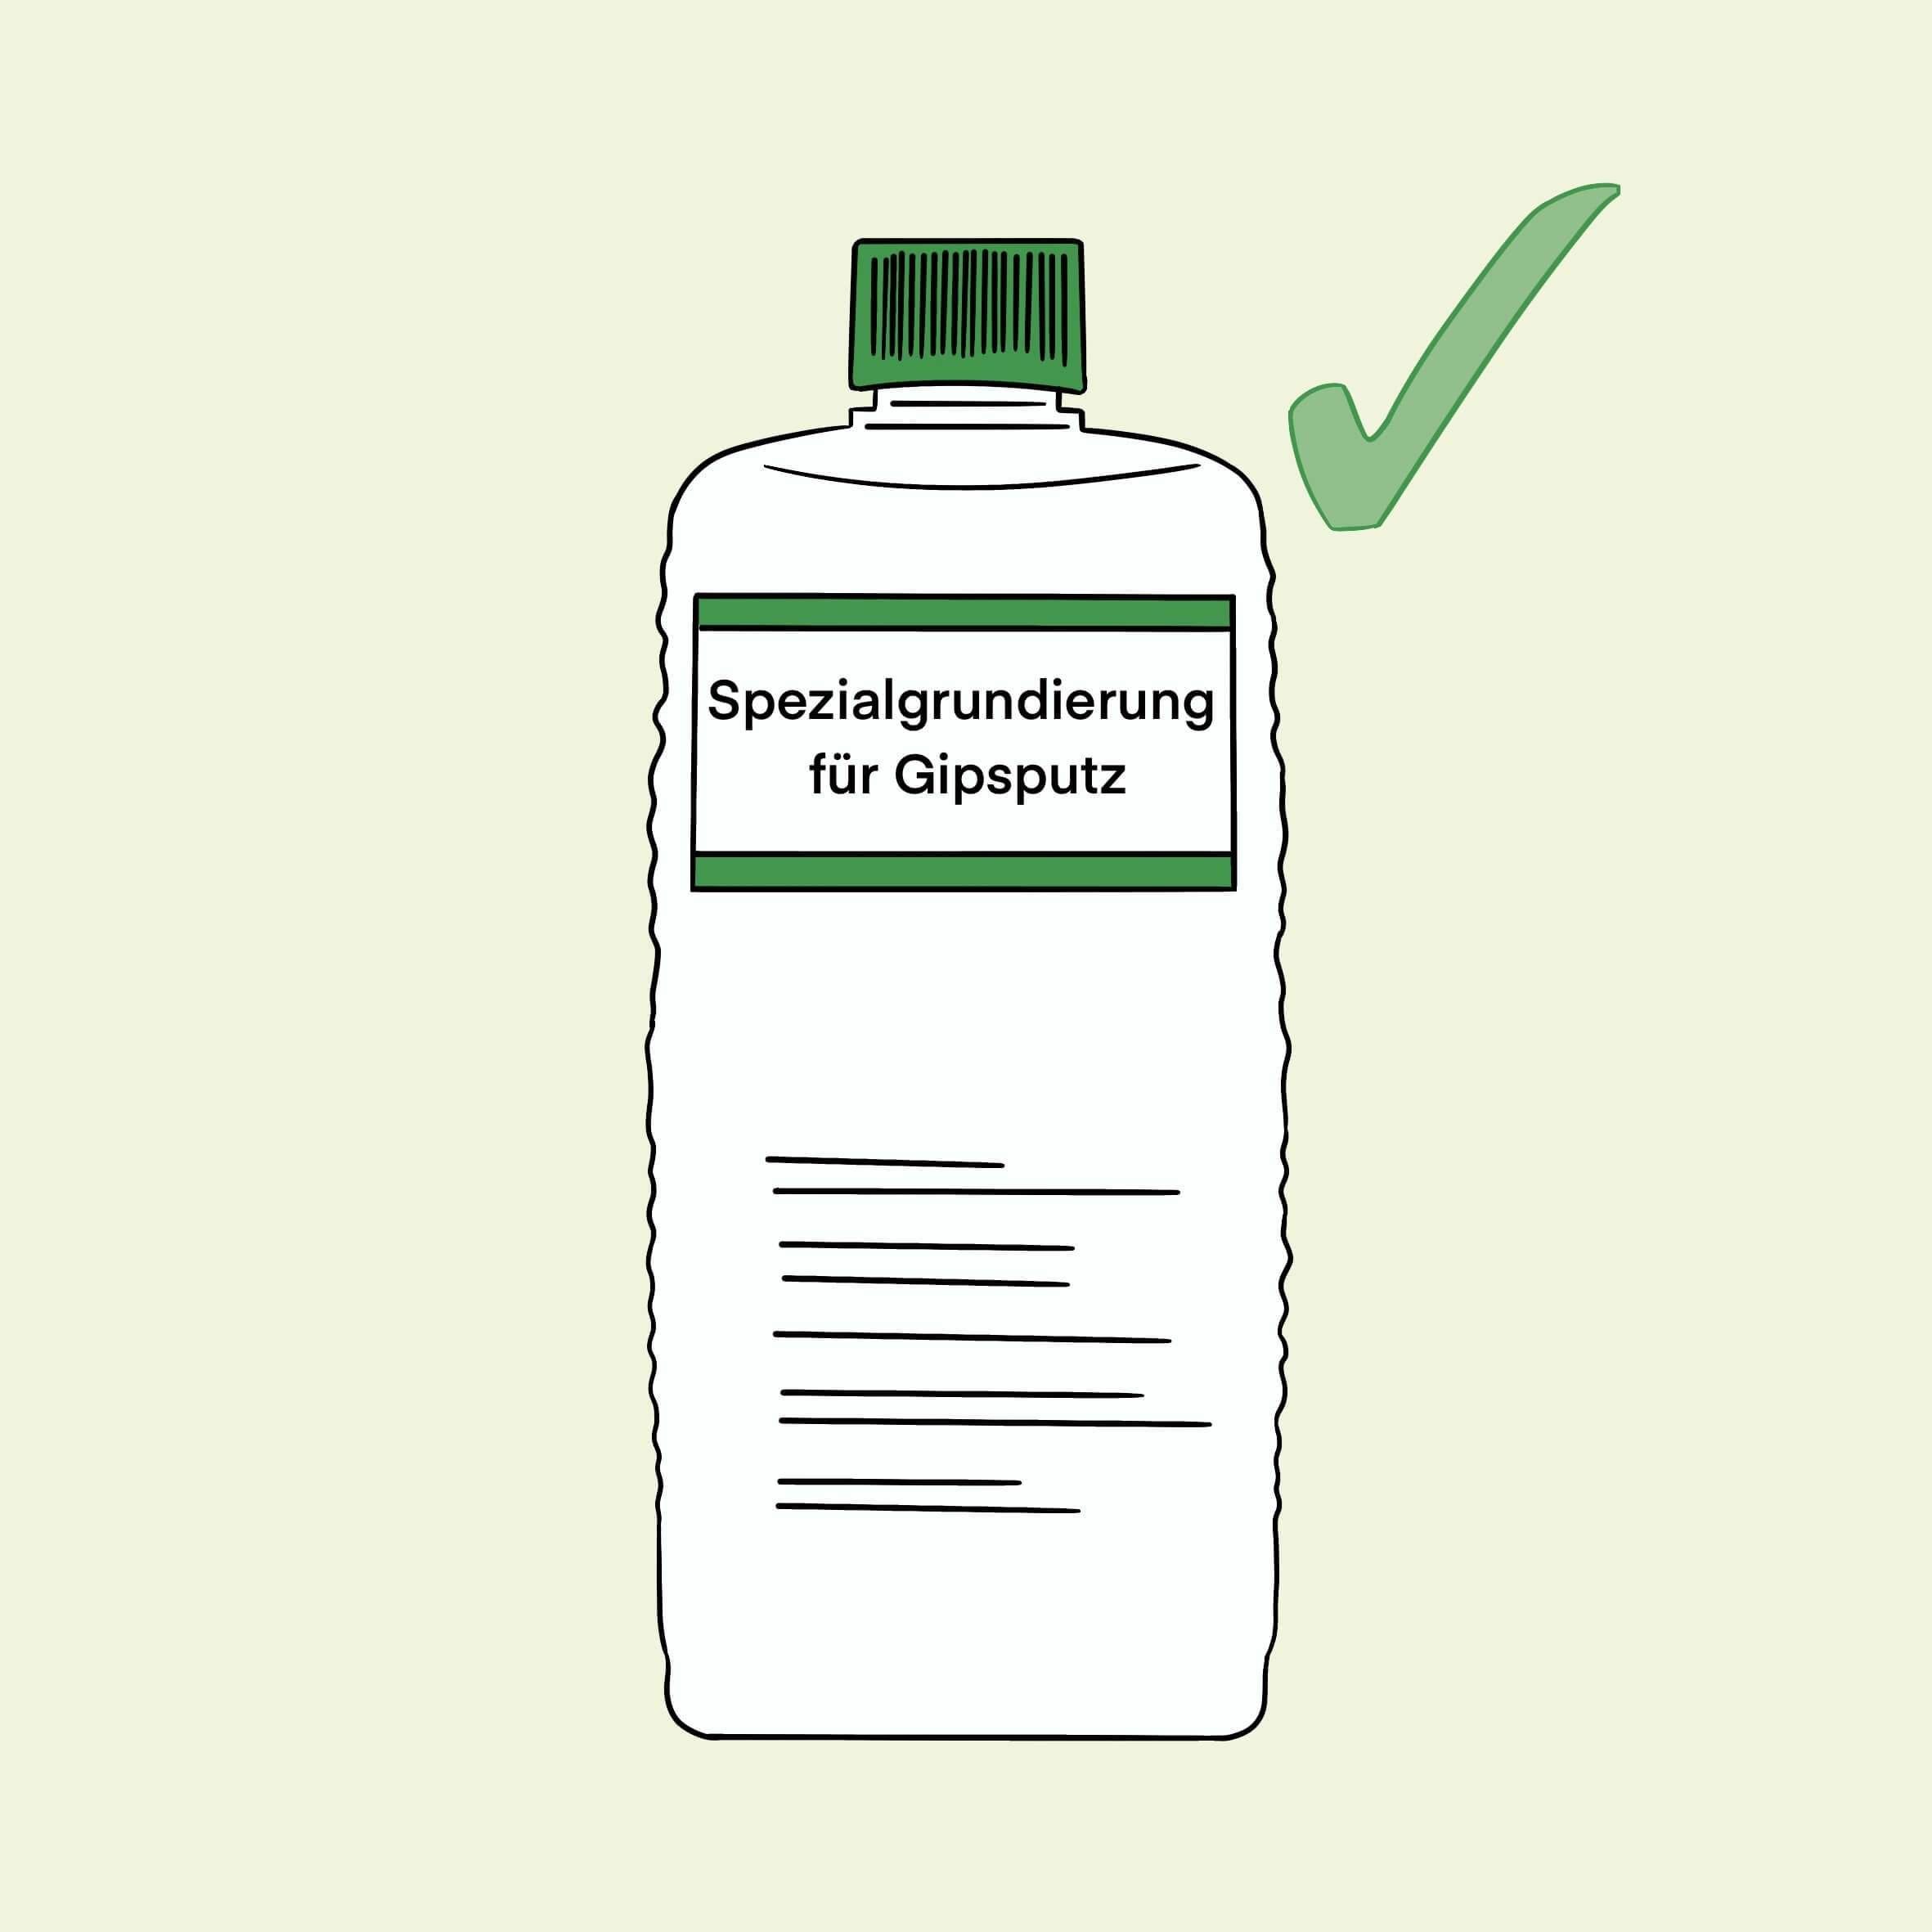
Gypsum plaster is not a suitable substrate, as contact with moisture can lead to the formation of ettringite, which can destroy the plaster and have a negative effect on the adhesion of the board. As a rule, you should therefore remove existing gypsum plaster and glue the boards directly to the masonry. As this is often associated with considerable additional work, we have a solution for you:
If you want to use calcium silicate boards on gypsum plaster or are unsure about the type of substrate, be sure to use our special primer for gypsum plaster (dilute 1:1) to pre-treat your substrate. Only use our special primer with our special adhesive - the products are closely coordinated and therefore only work in this combination for the project!

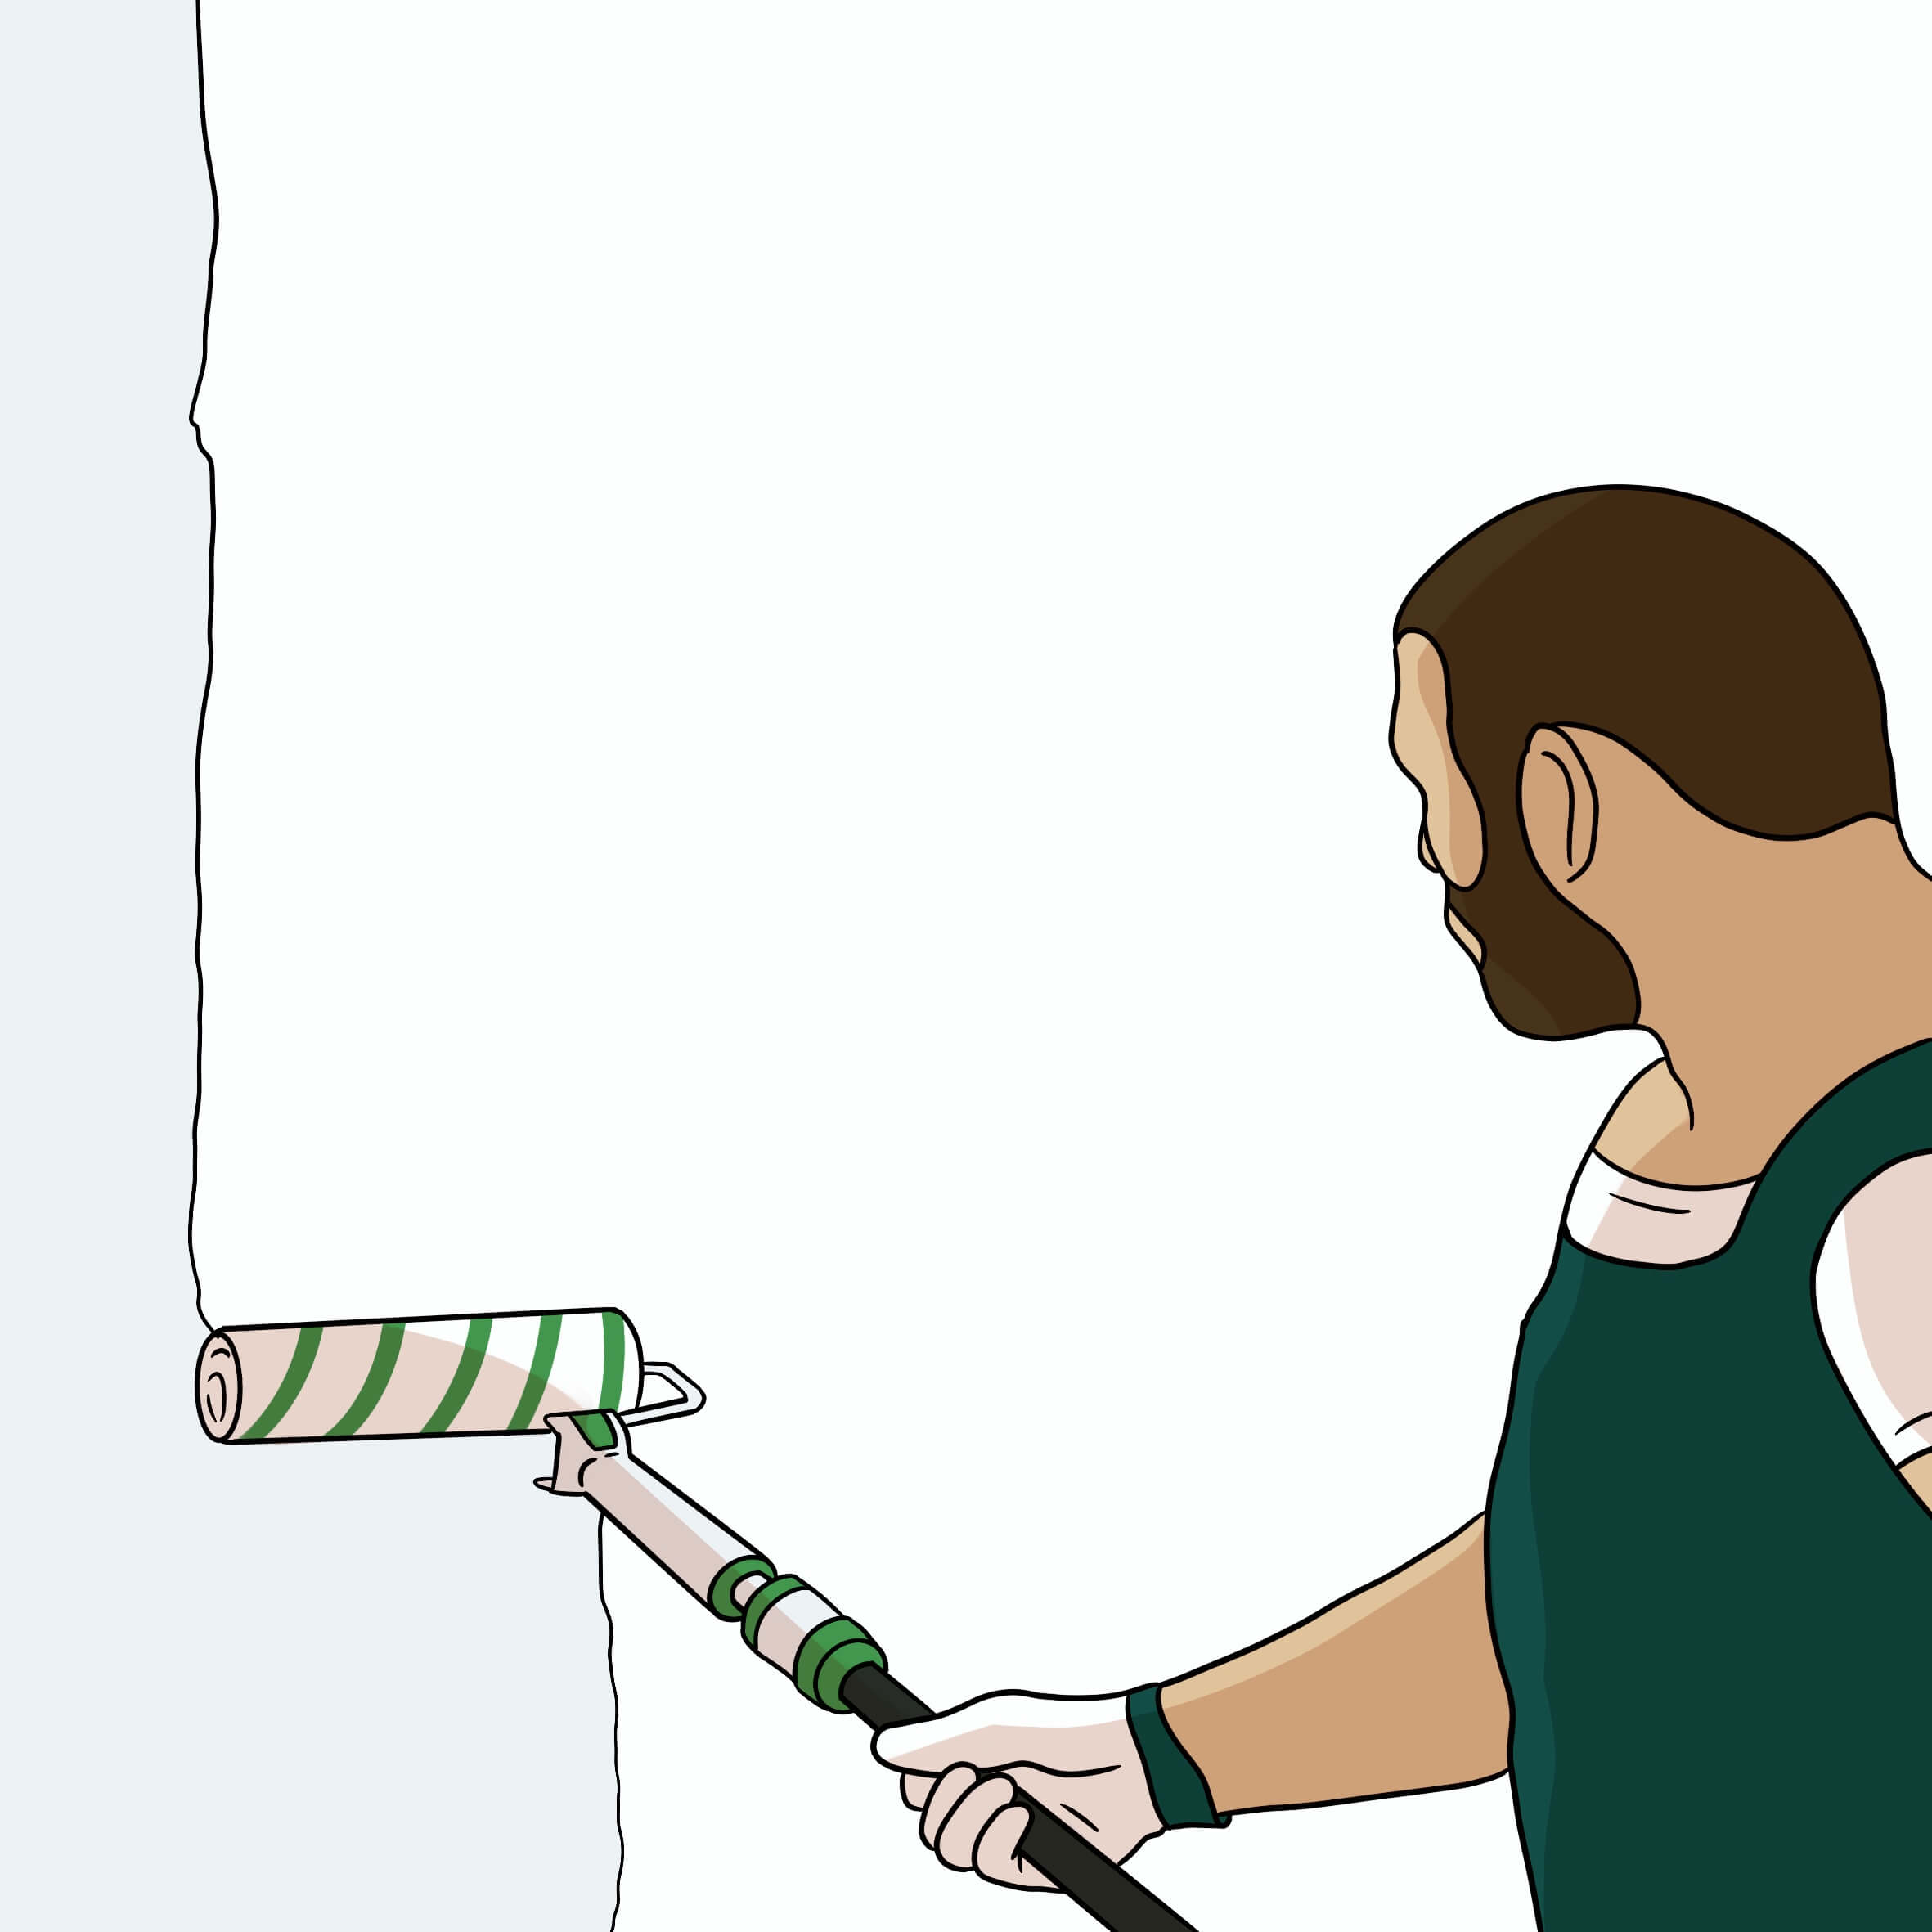
Wall finishing in smooth finish with silicate paint
On the one hand, you can now simply paint the smooth wall with the silicate paint and have a beautiful and smooth look.

Wall finishing in rough / textured finish with brush & roller plaster
On the other hand, you can also finish your surface with the brush & roller plaster if you want a light grain or a slightly more textured surface.