Process calcium silicate boards like the pros!
The professional installation of calcium silicate boards is extremely simple and can be carried out by any DIY enthusiast without much prior knowledge. The accessories required for professional installation are available at low cost in our calcium silicate board store. Expensive special tools are not required. Follow our instructions so that you too can work with your calcium silicate boards like a professional. This will save you money when renovating on your own instead of hiring an expensive tradesman.
Tools required for processing calcium silicate boards
Before you start working with your new calcium silicate panels, you should gather the tools you need to get the job done quickly and smoothly. Fortunately, only a few different tools are required, which makes the work much easier.
Calcium silicate boards Tools for easy processing
Although the following tools cannot yet be described as "special tools", they are probably not found in every household.
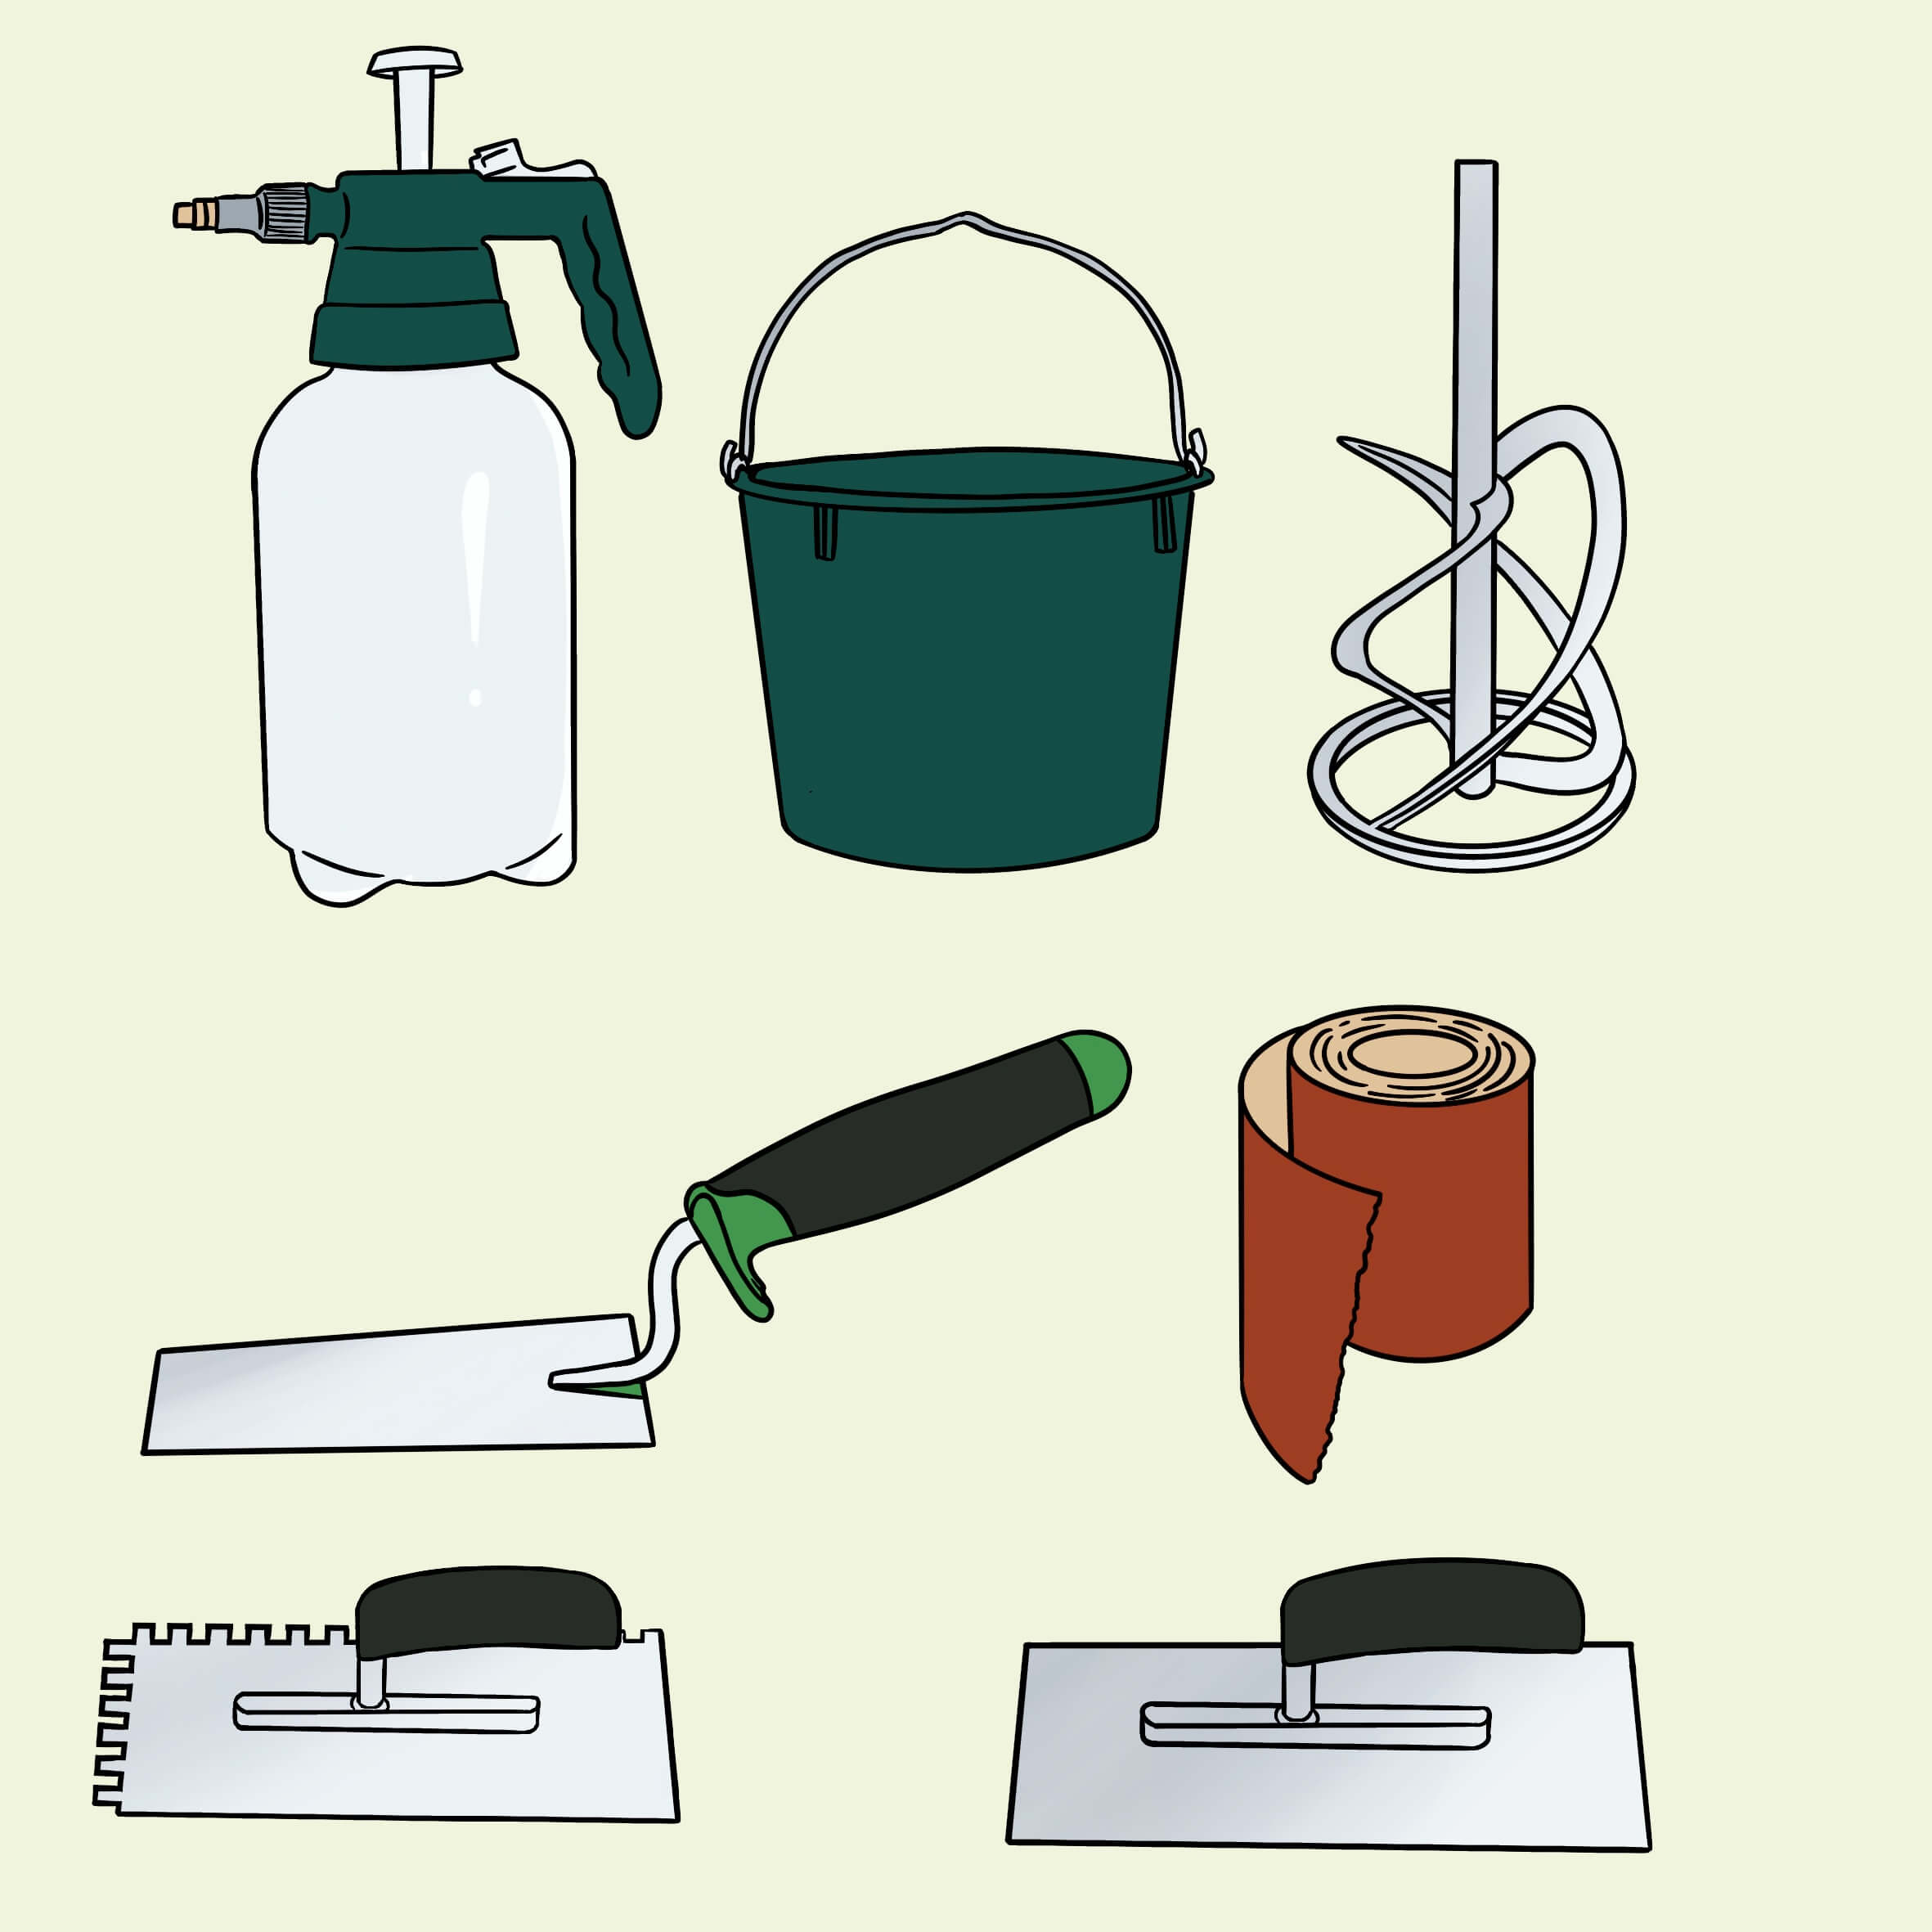
- Pressure sprayer/pumper
- Construction bucket (recommendation 3 pieces clean/new)
- Spiral stirrer
- Plastering trowel
- Serrated smoothing trowel (at least 8x8mm to 12 mm - recommendation: 10 mm)
- Smoothing trowel
- Sandpaper
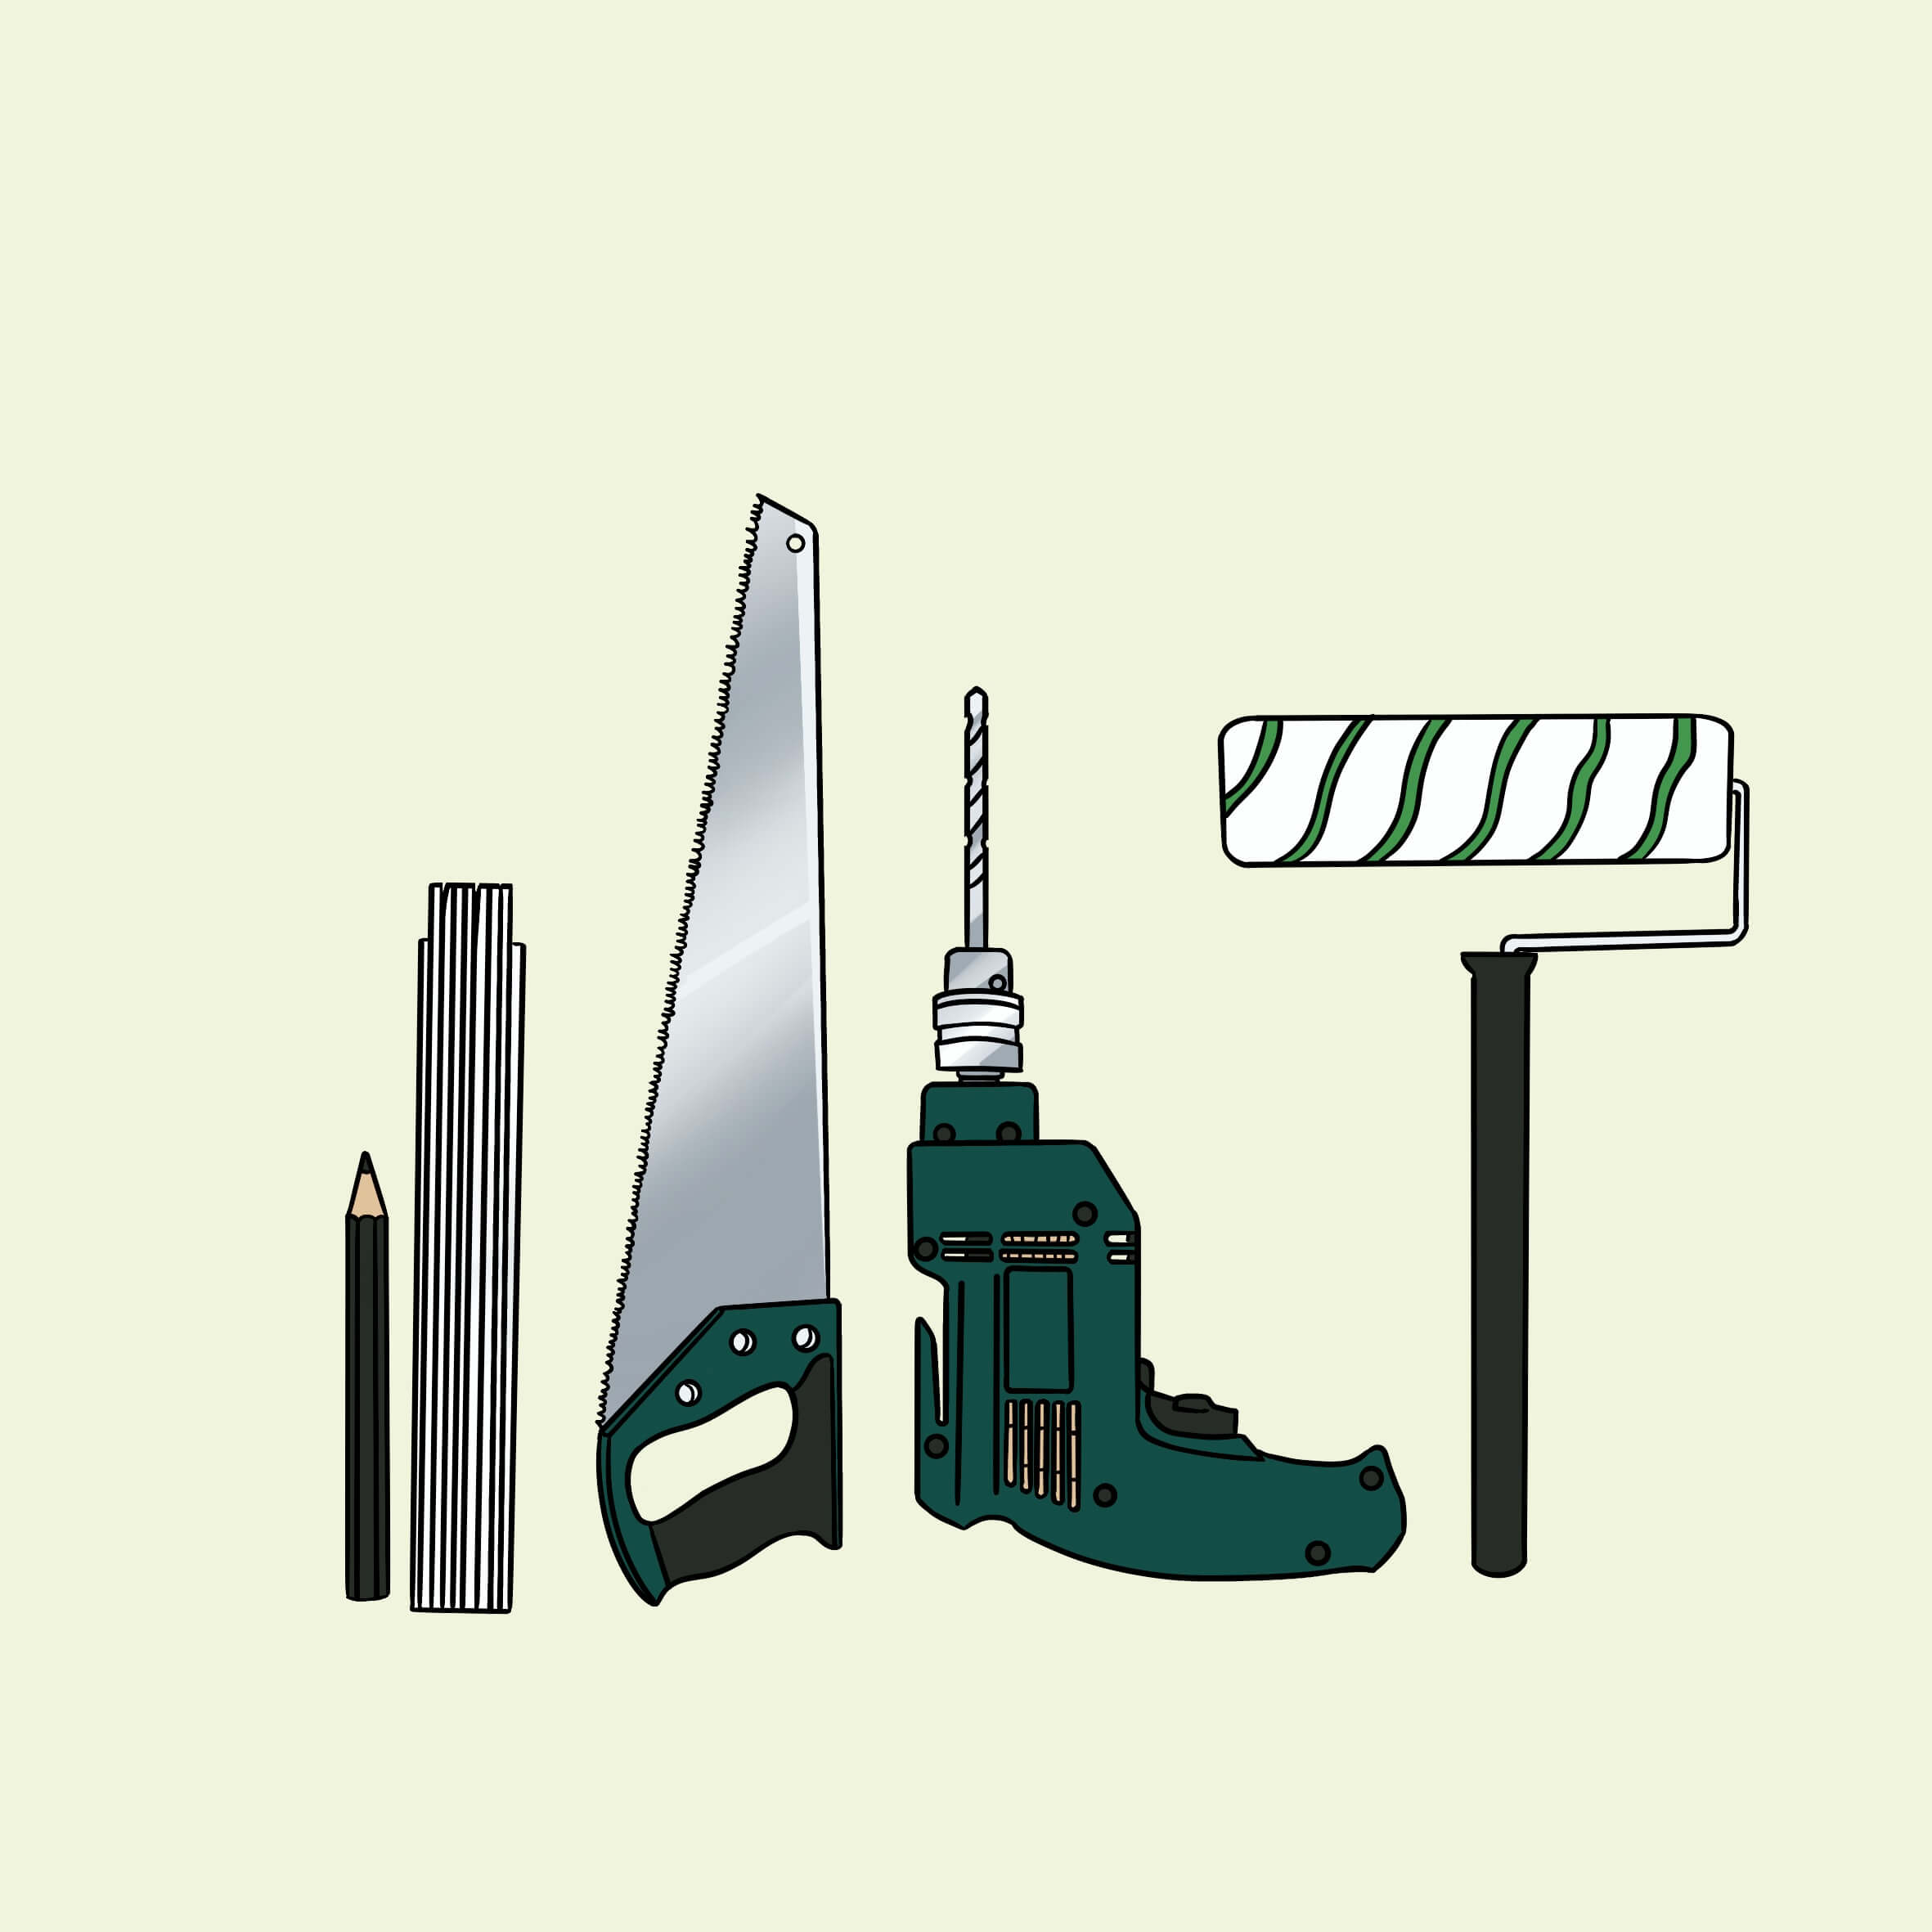
Tools that are needed and available in many households
Of course, as with any building project, you will need a certain amount of basic tools, and we assume that these should be in every toolbox when working with calcium silicate boards:
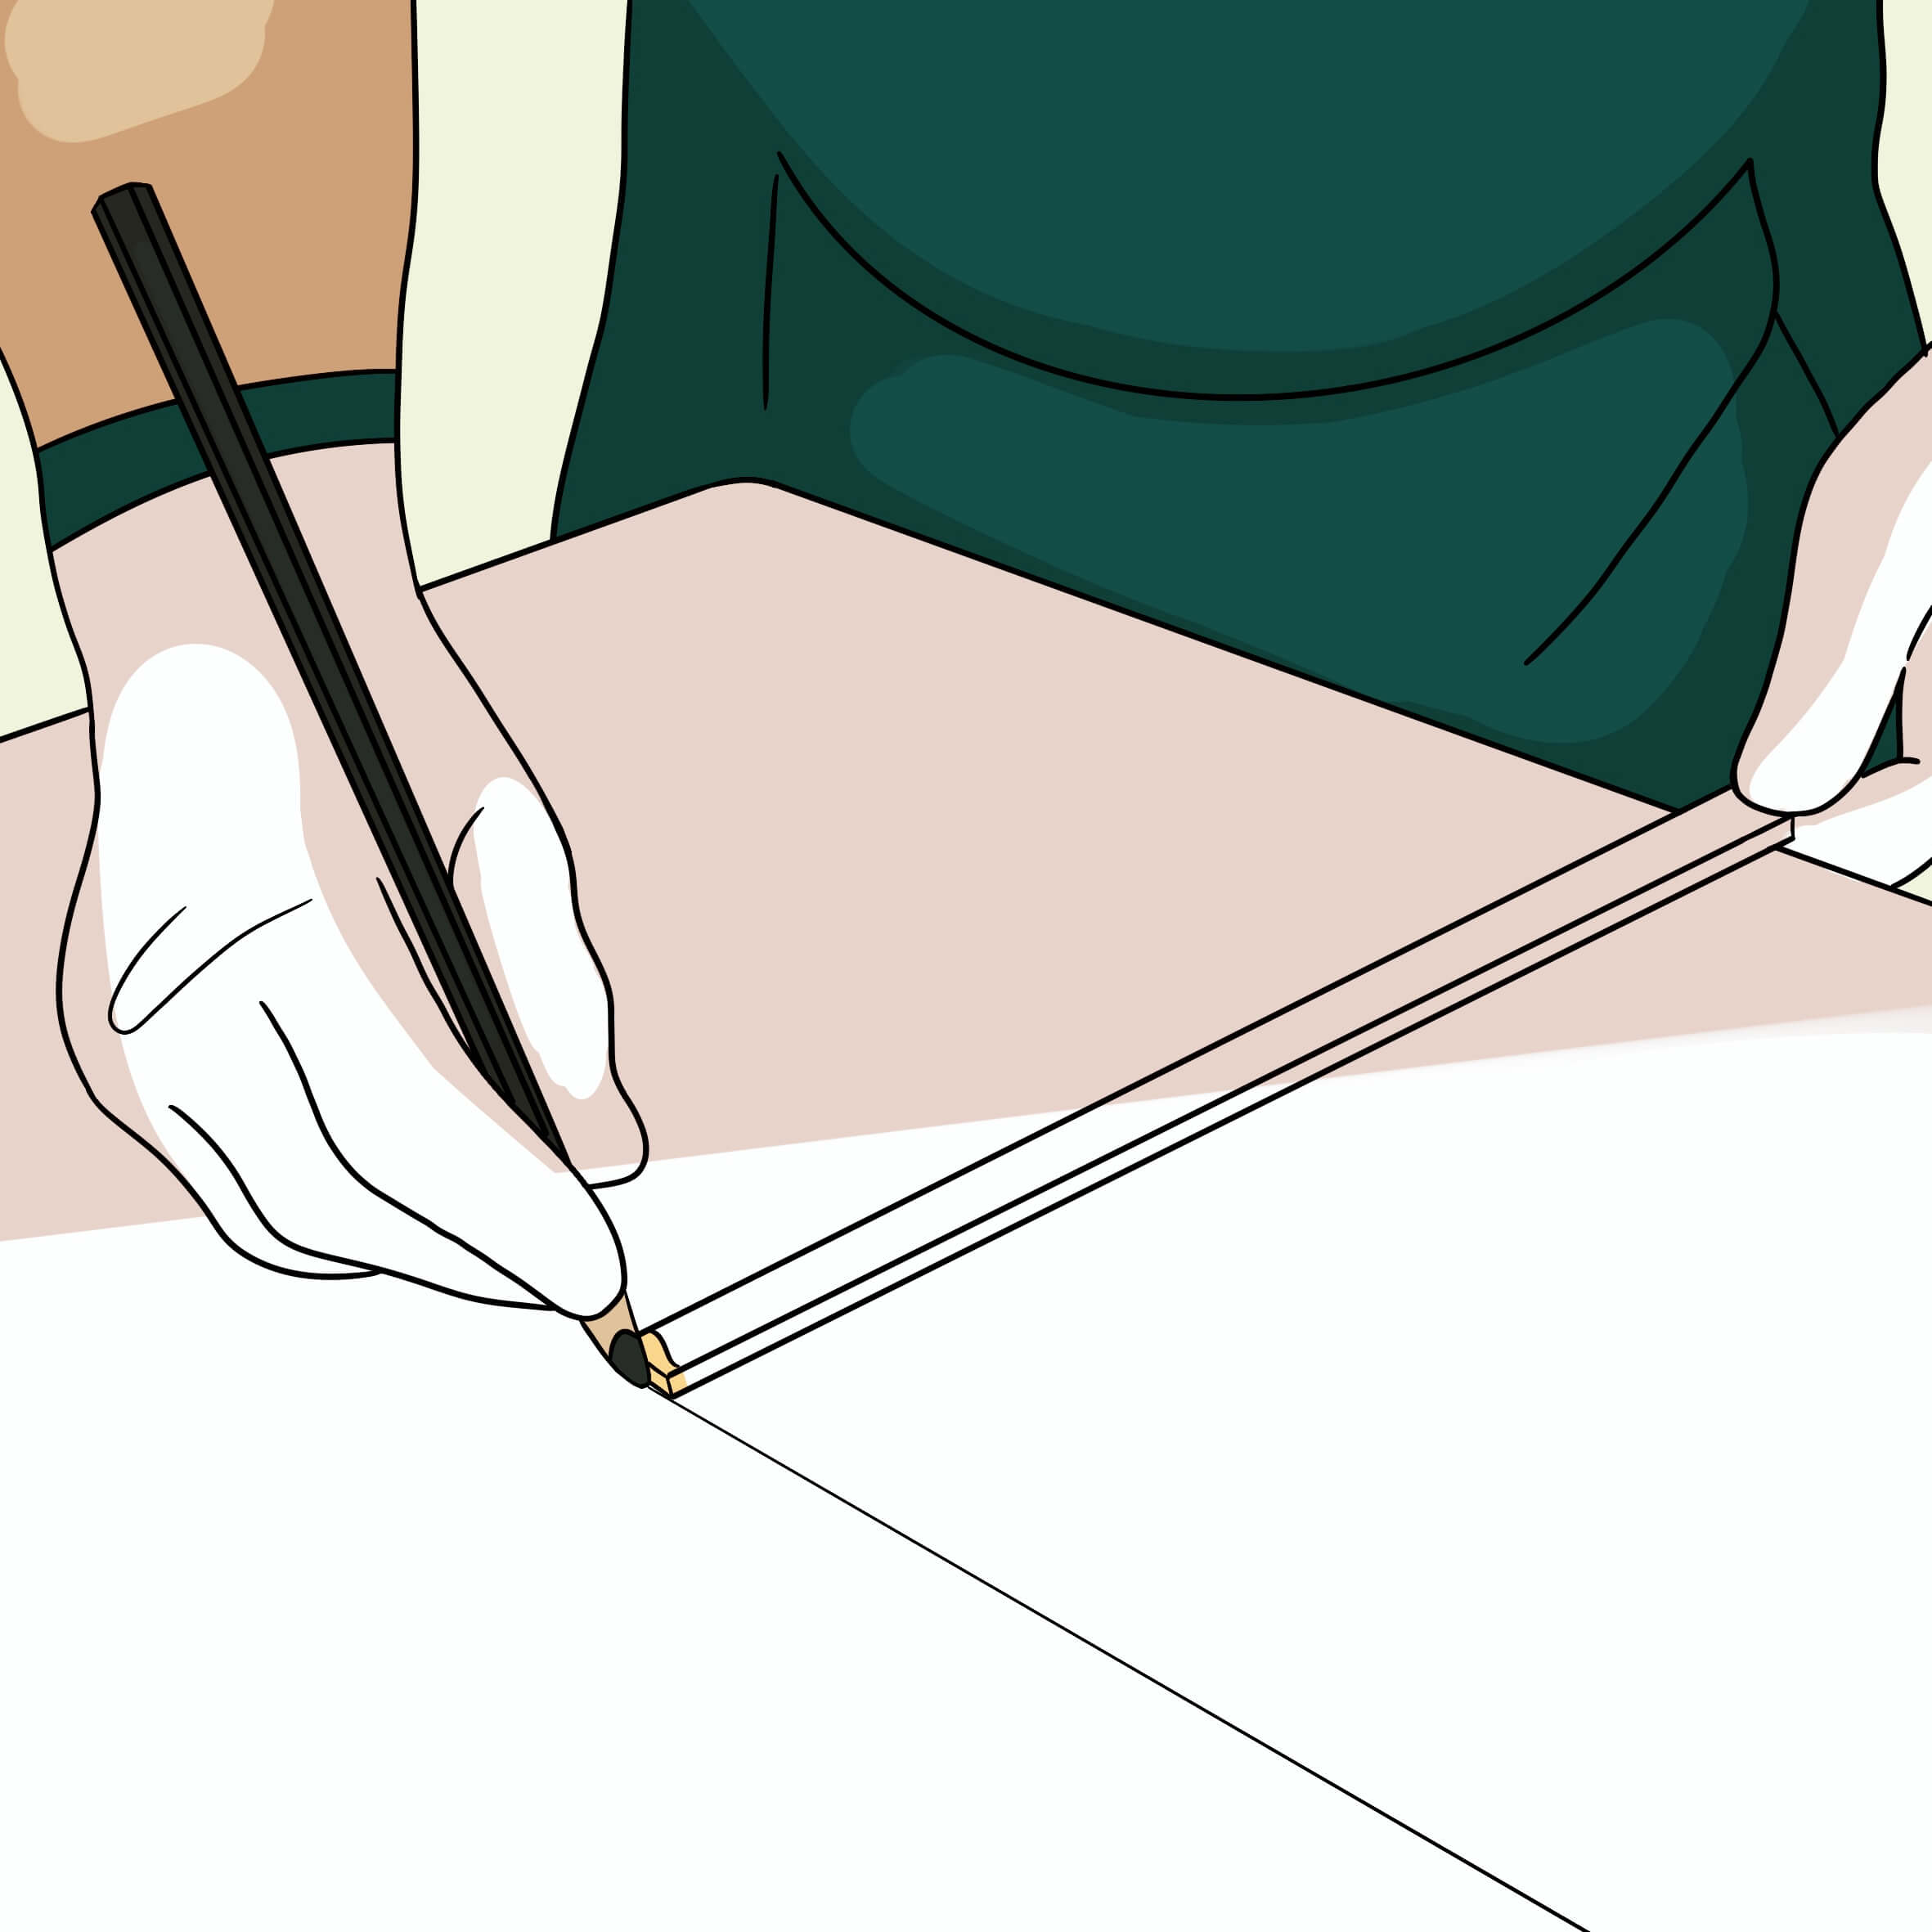
- Pen (pencil) for markings
- Folding rule
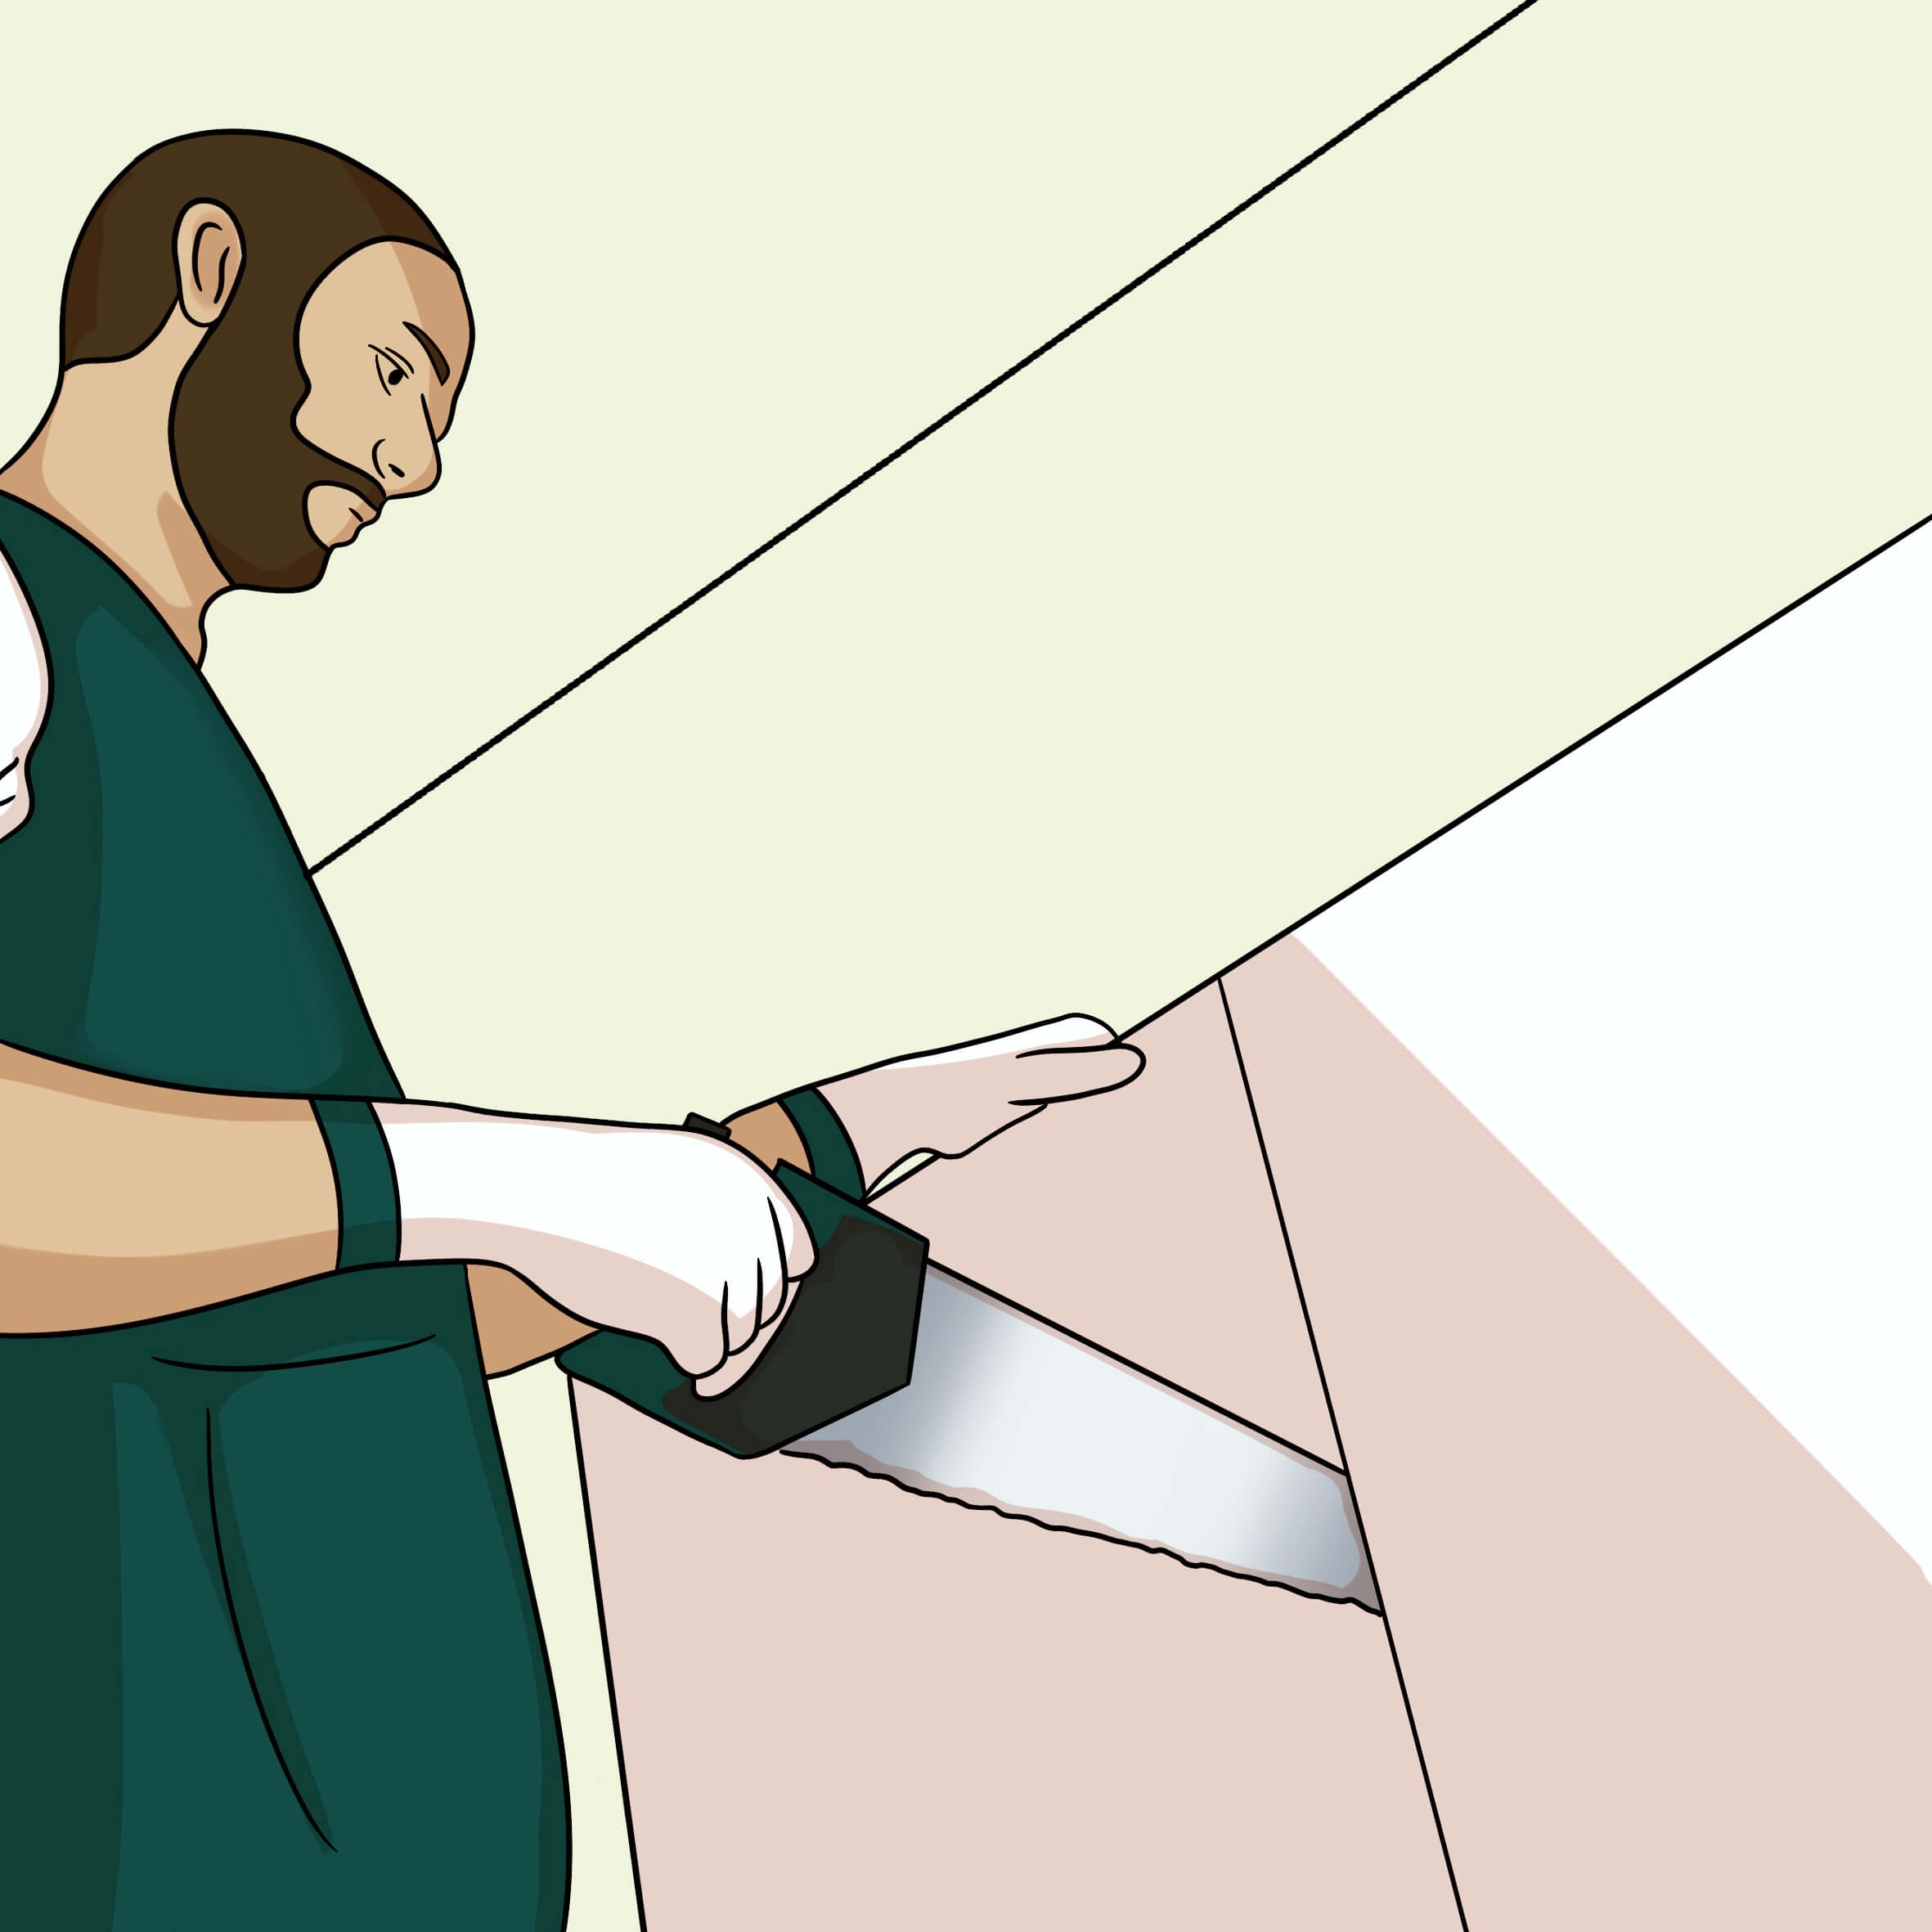
- Hand saw for wood (e.g. foxtail)
- Drill (if required)
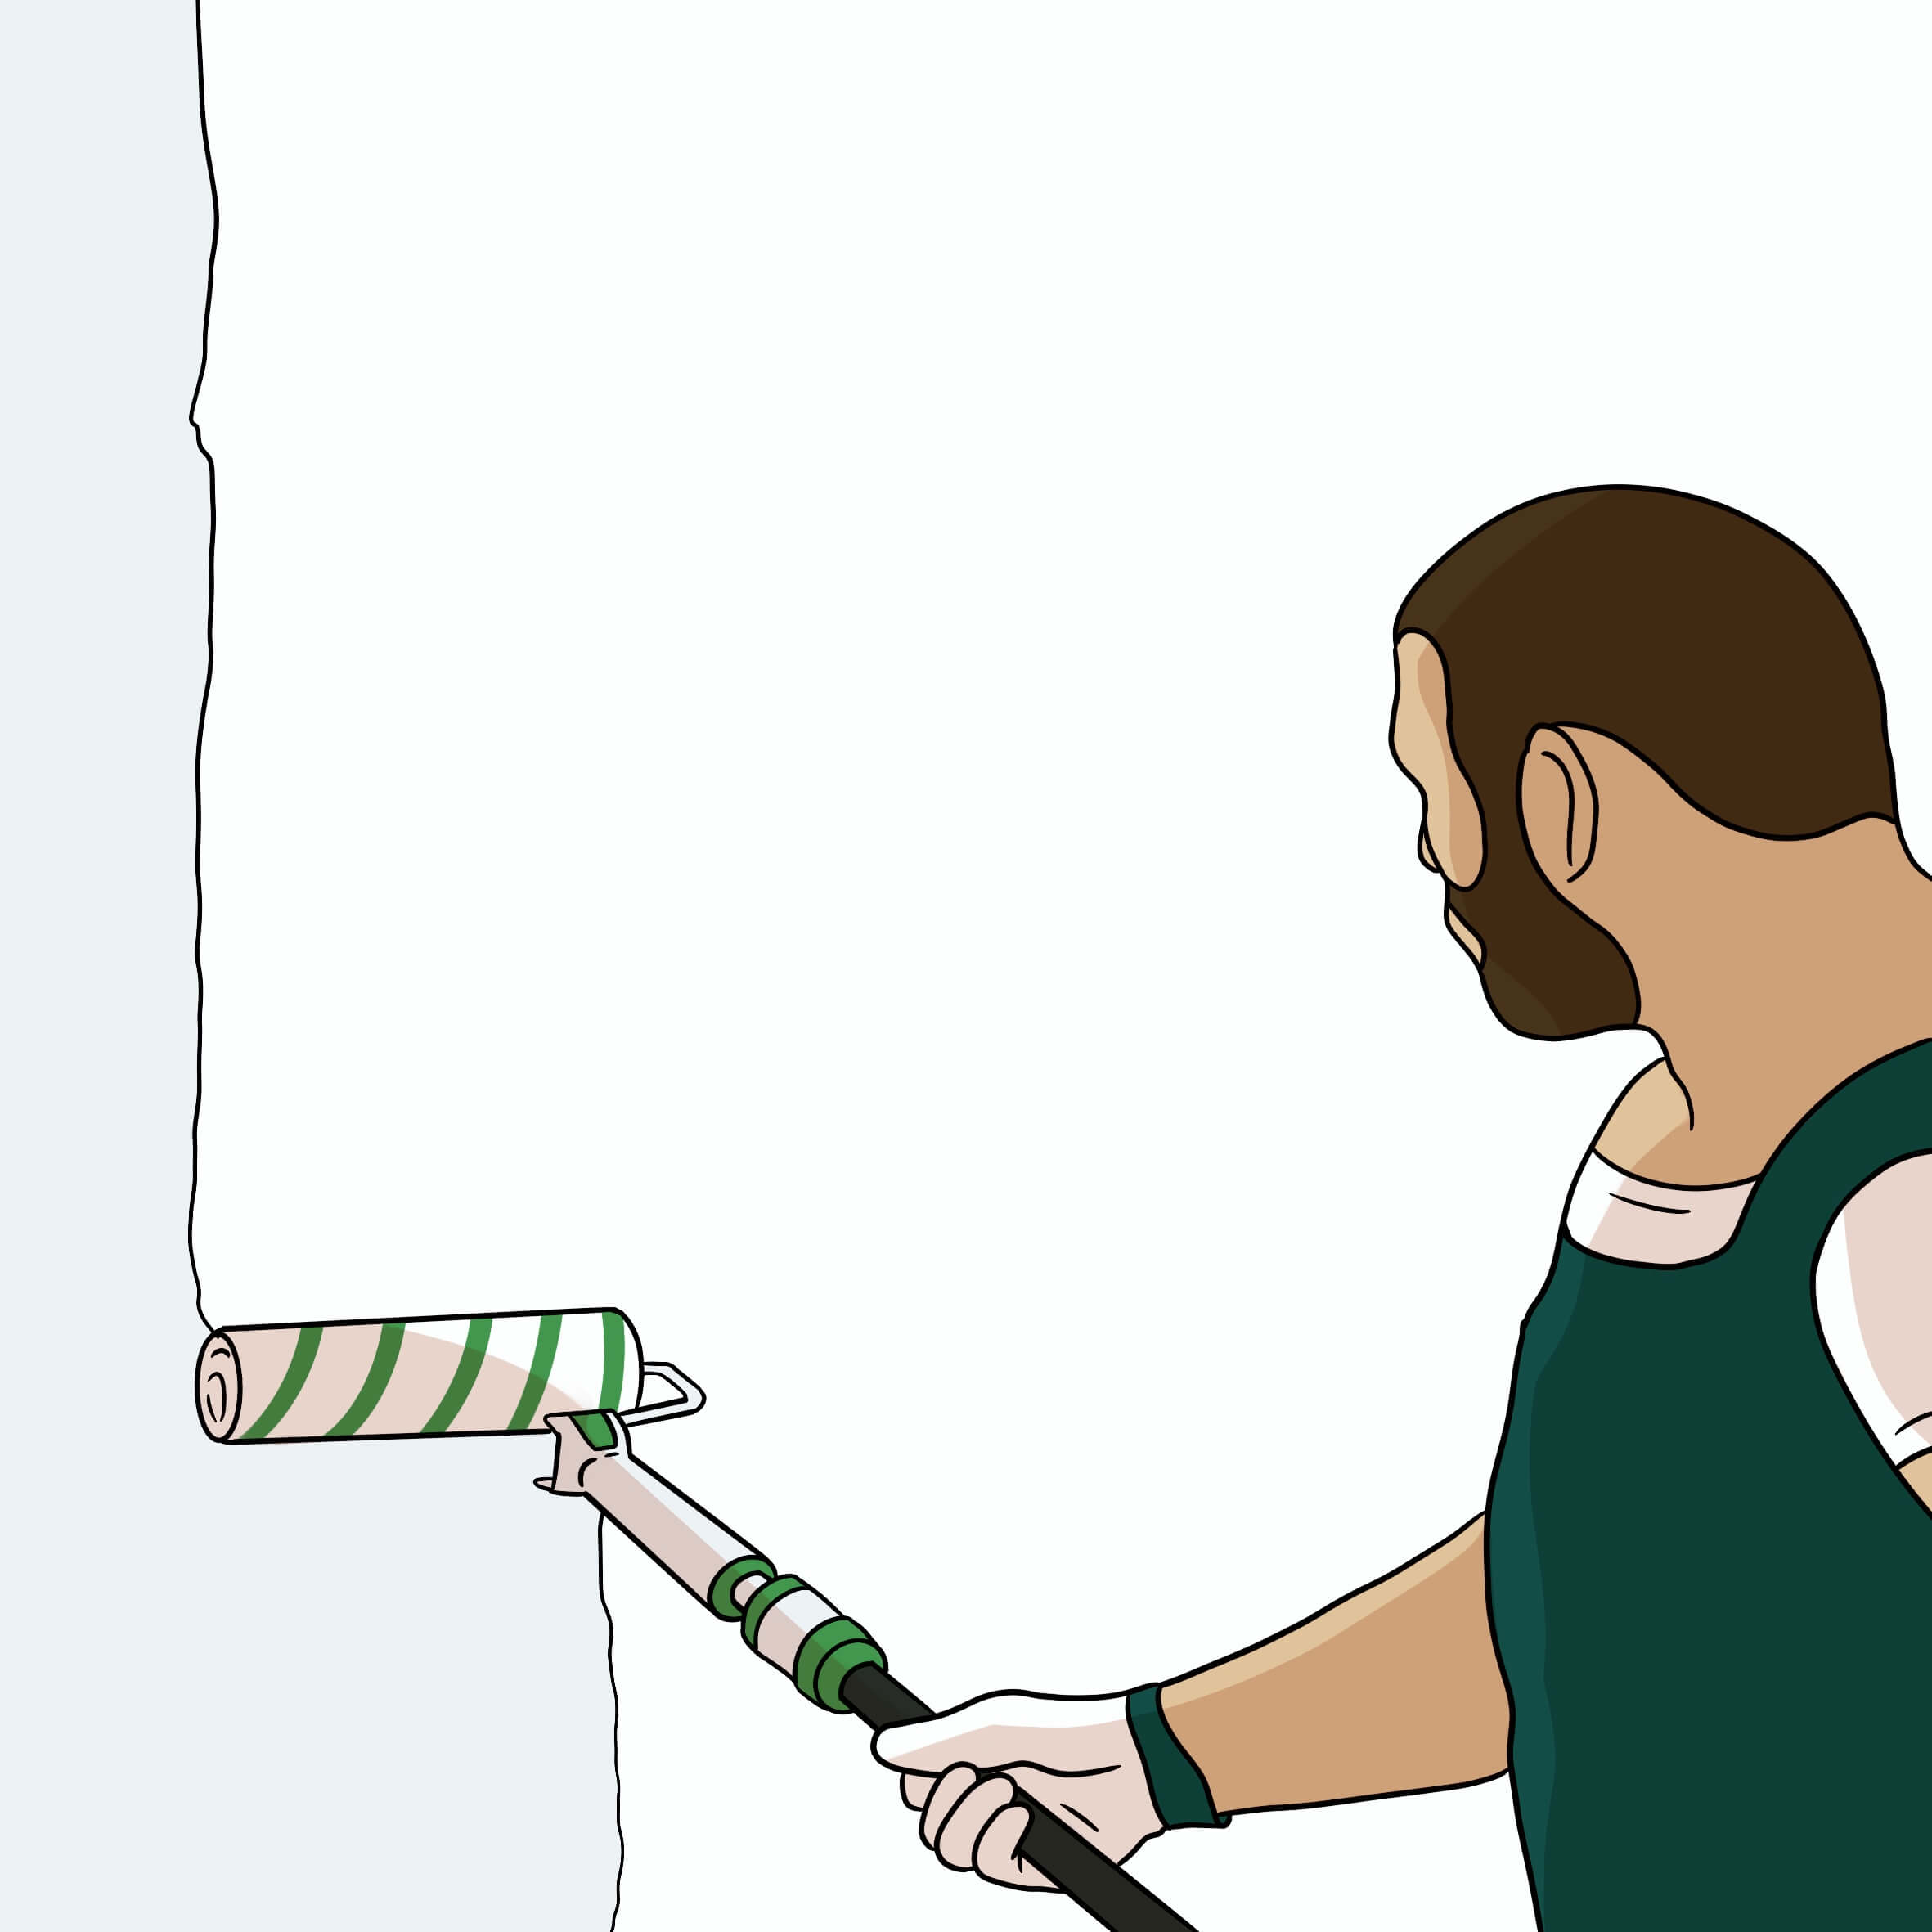
- Paint roller (and scraping grid)
Processing calcium silicate boards pre-primed at the factory
Before you get to work, we would like to take this opportunity to once again recommend that you only use coordinated system components. Only with the right, coordinated materials can you achieve good results and guarantee diffusion-open properties.
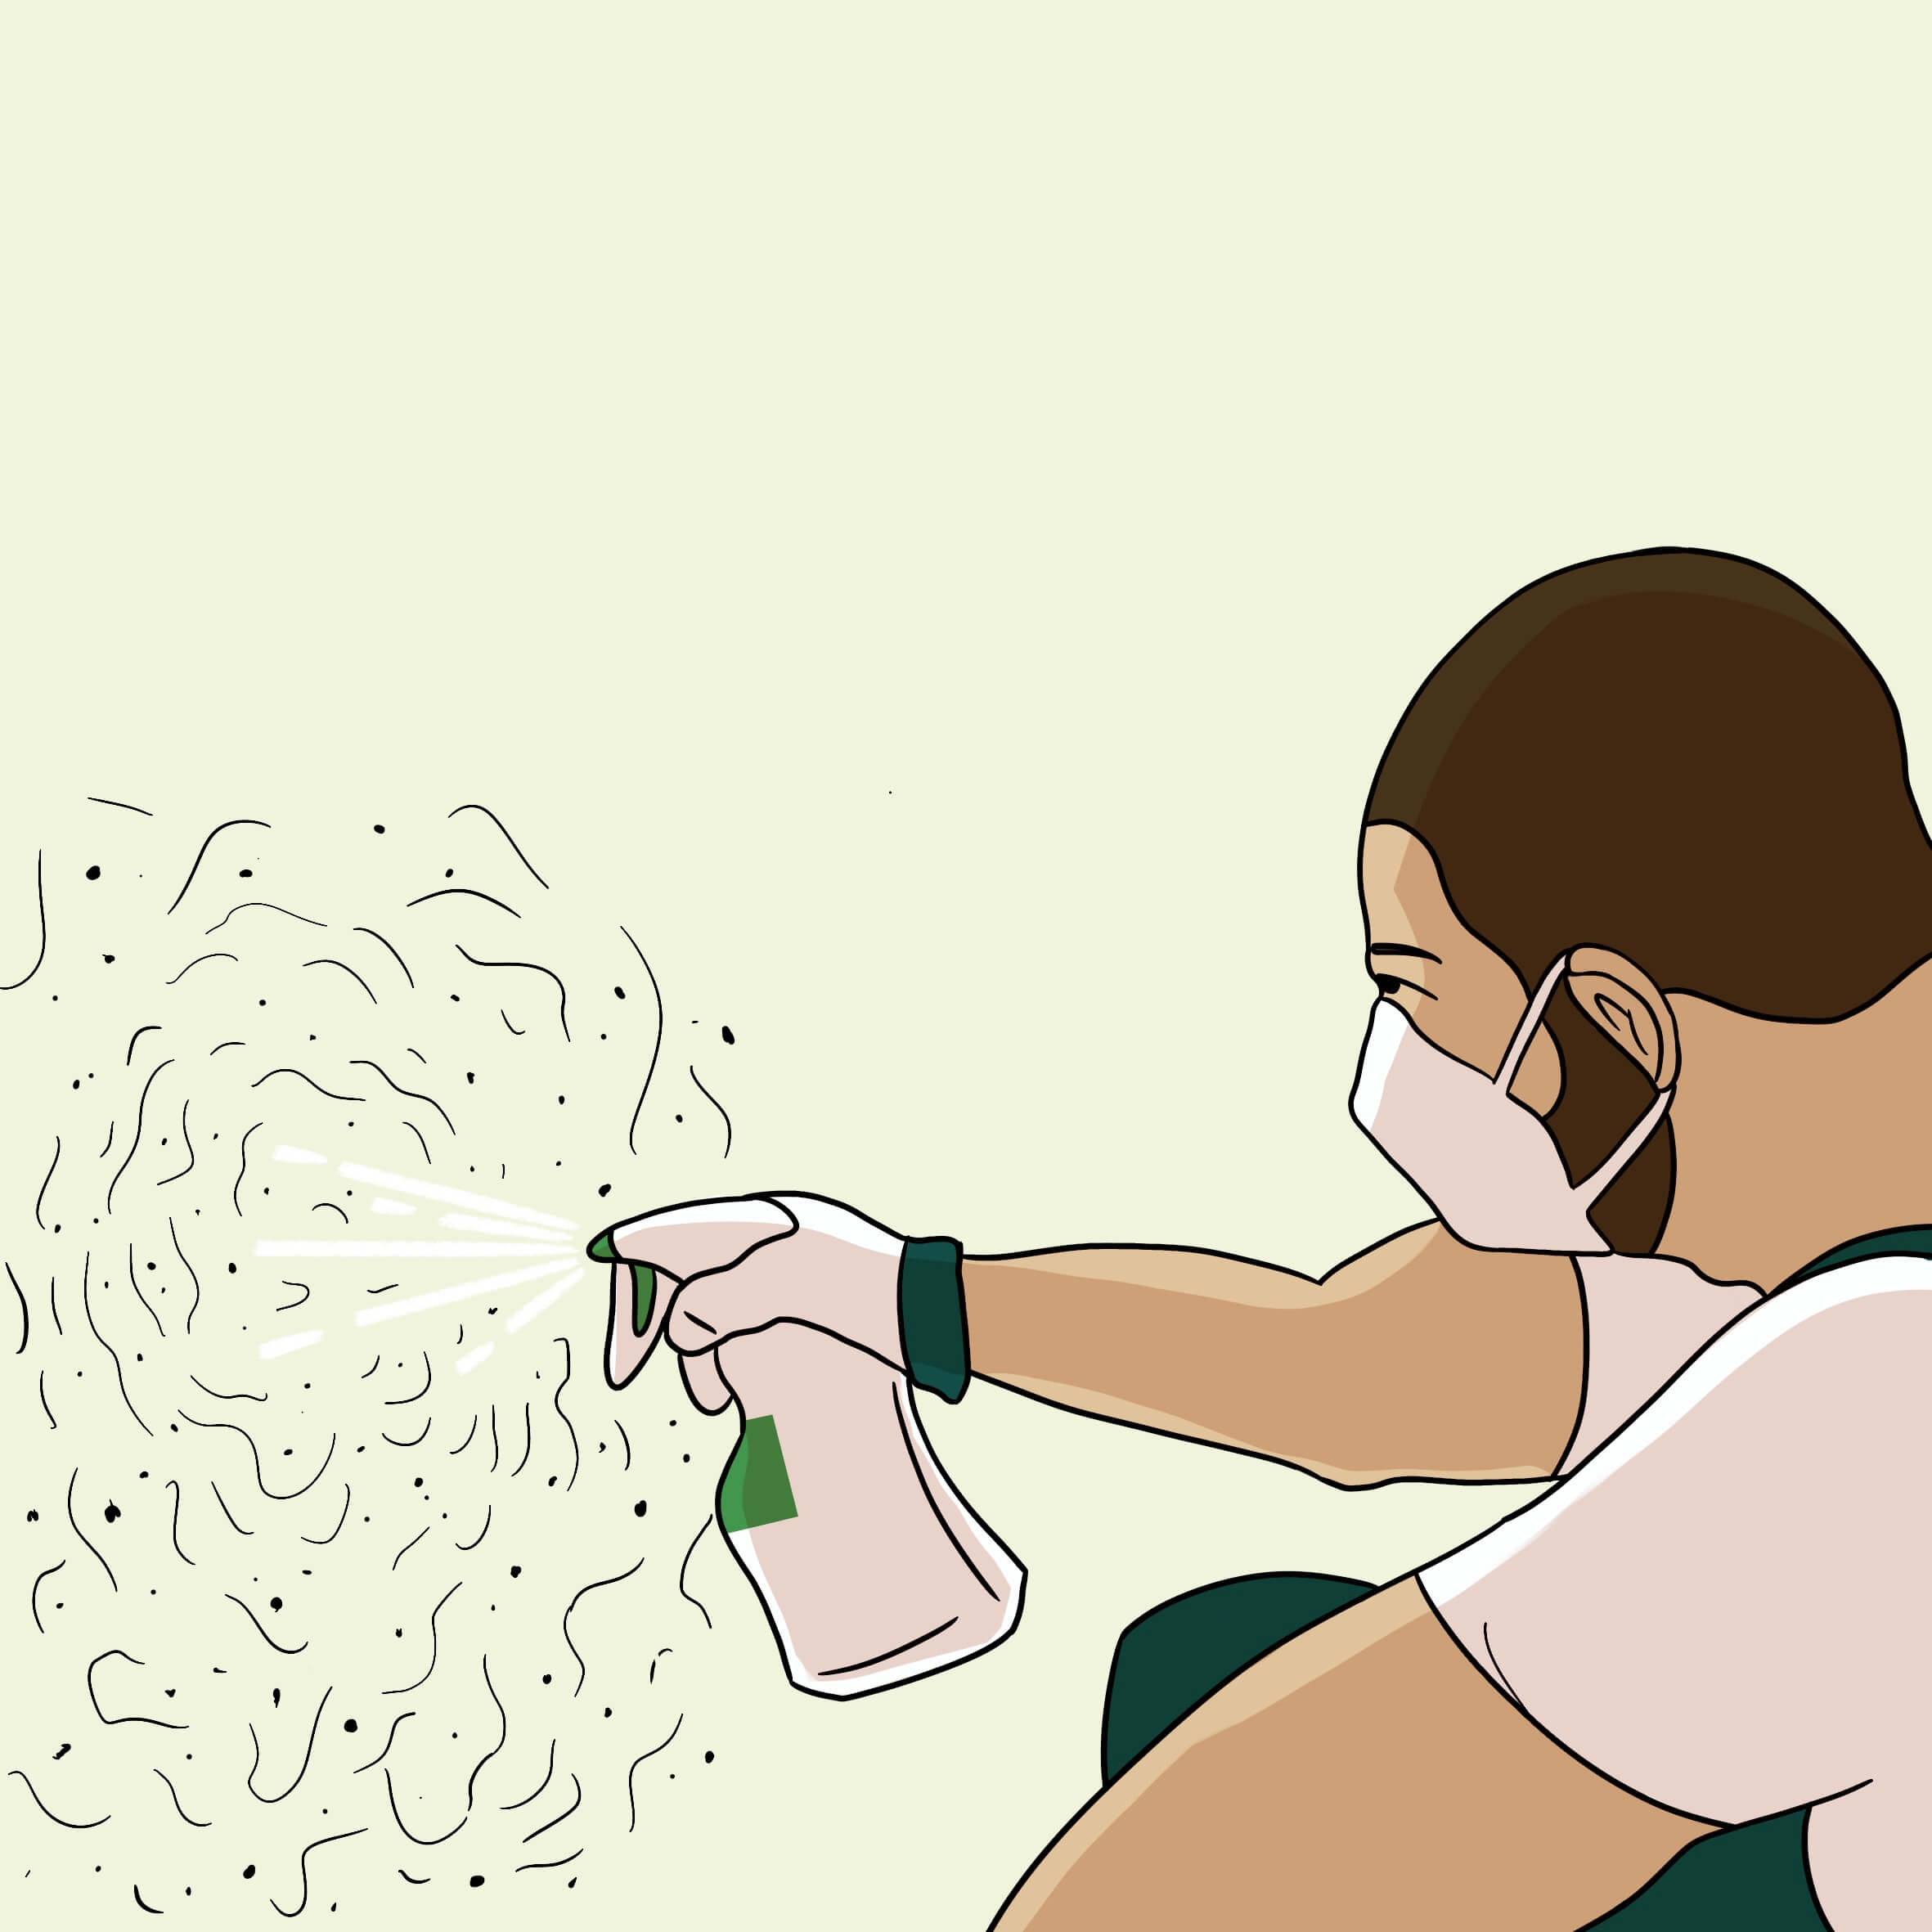

Clean the wall & remove mold if necessary
Clean your surface by treating it with Schimmel-Ex and allowing it to take effect. Then remove with a cloth or sandpaper. Both the cloth and any sandpaper required must be removed after use.
Completely remove moldy plaster, salts, gypsum plaster, wallpaper, old paint, plasterboard or other suspended panels or similar. In the case of severe mold infestation, always remove the plaster. Always work with a damp cloth to minimize the spread of spores.
Hectic and jerky movements, as well as stirring up dust or loose plaster, should also be avoided, as there is a risk of spreading the mold spores even further. This is not only harmful to your health, but also carries the risk of creating a new patch of mold by transporting the spores.
If you decide to remove the plaster directly, please still use Schimmel-EX for disinfection afterwards. Better safe than sorry!

Info: Mold is dangerous and very hazardous to health! Always wear suitable protective clothing (safety goggles, respiratory protection (FFP2) and gloves) in the event of mold infestation - preferably disposable products that you can dispose of after cleaning. In addition, adequate ventilation should always be ensured. Smaller areas of approx. half a square meter can be cleaned by yourself, for larger areas a specialist company should always be commissioned.

Prepare & prime the substrate
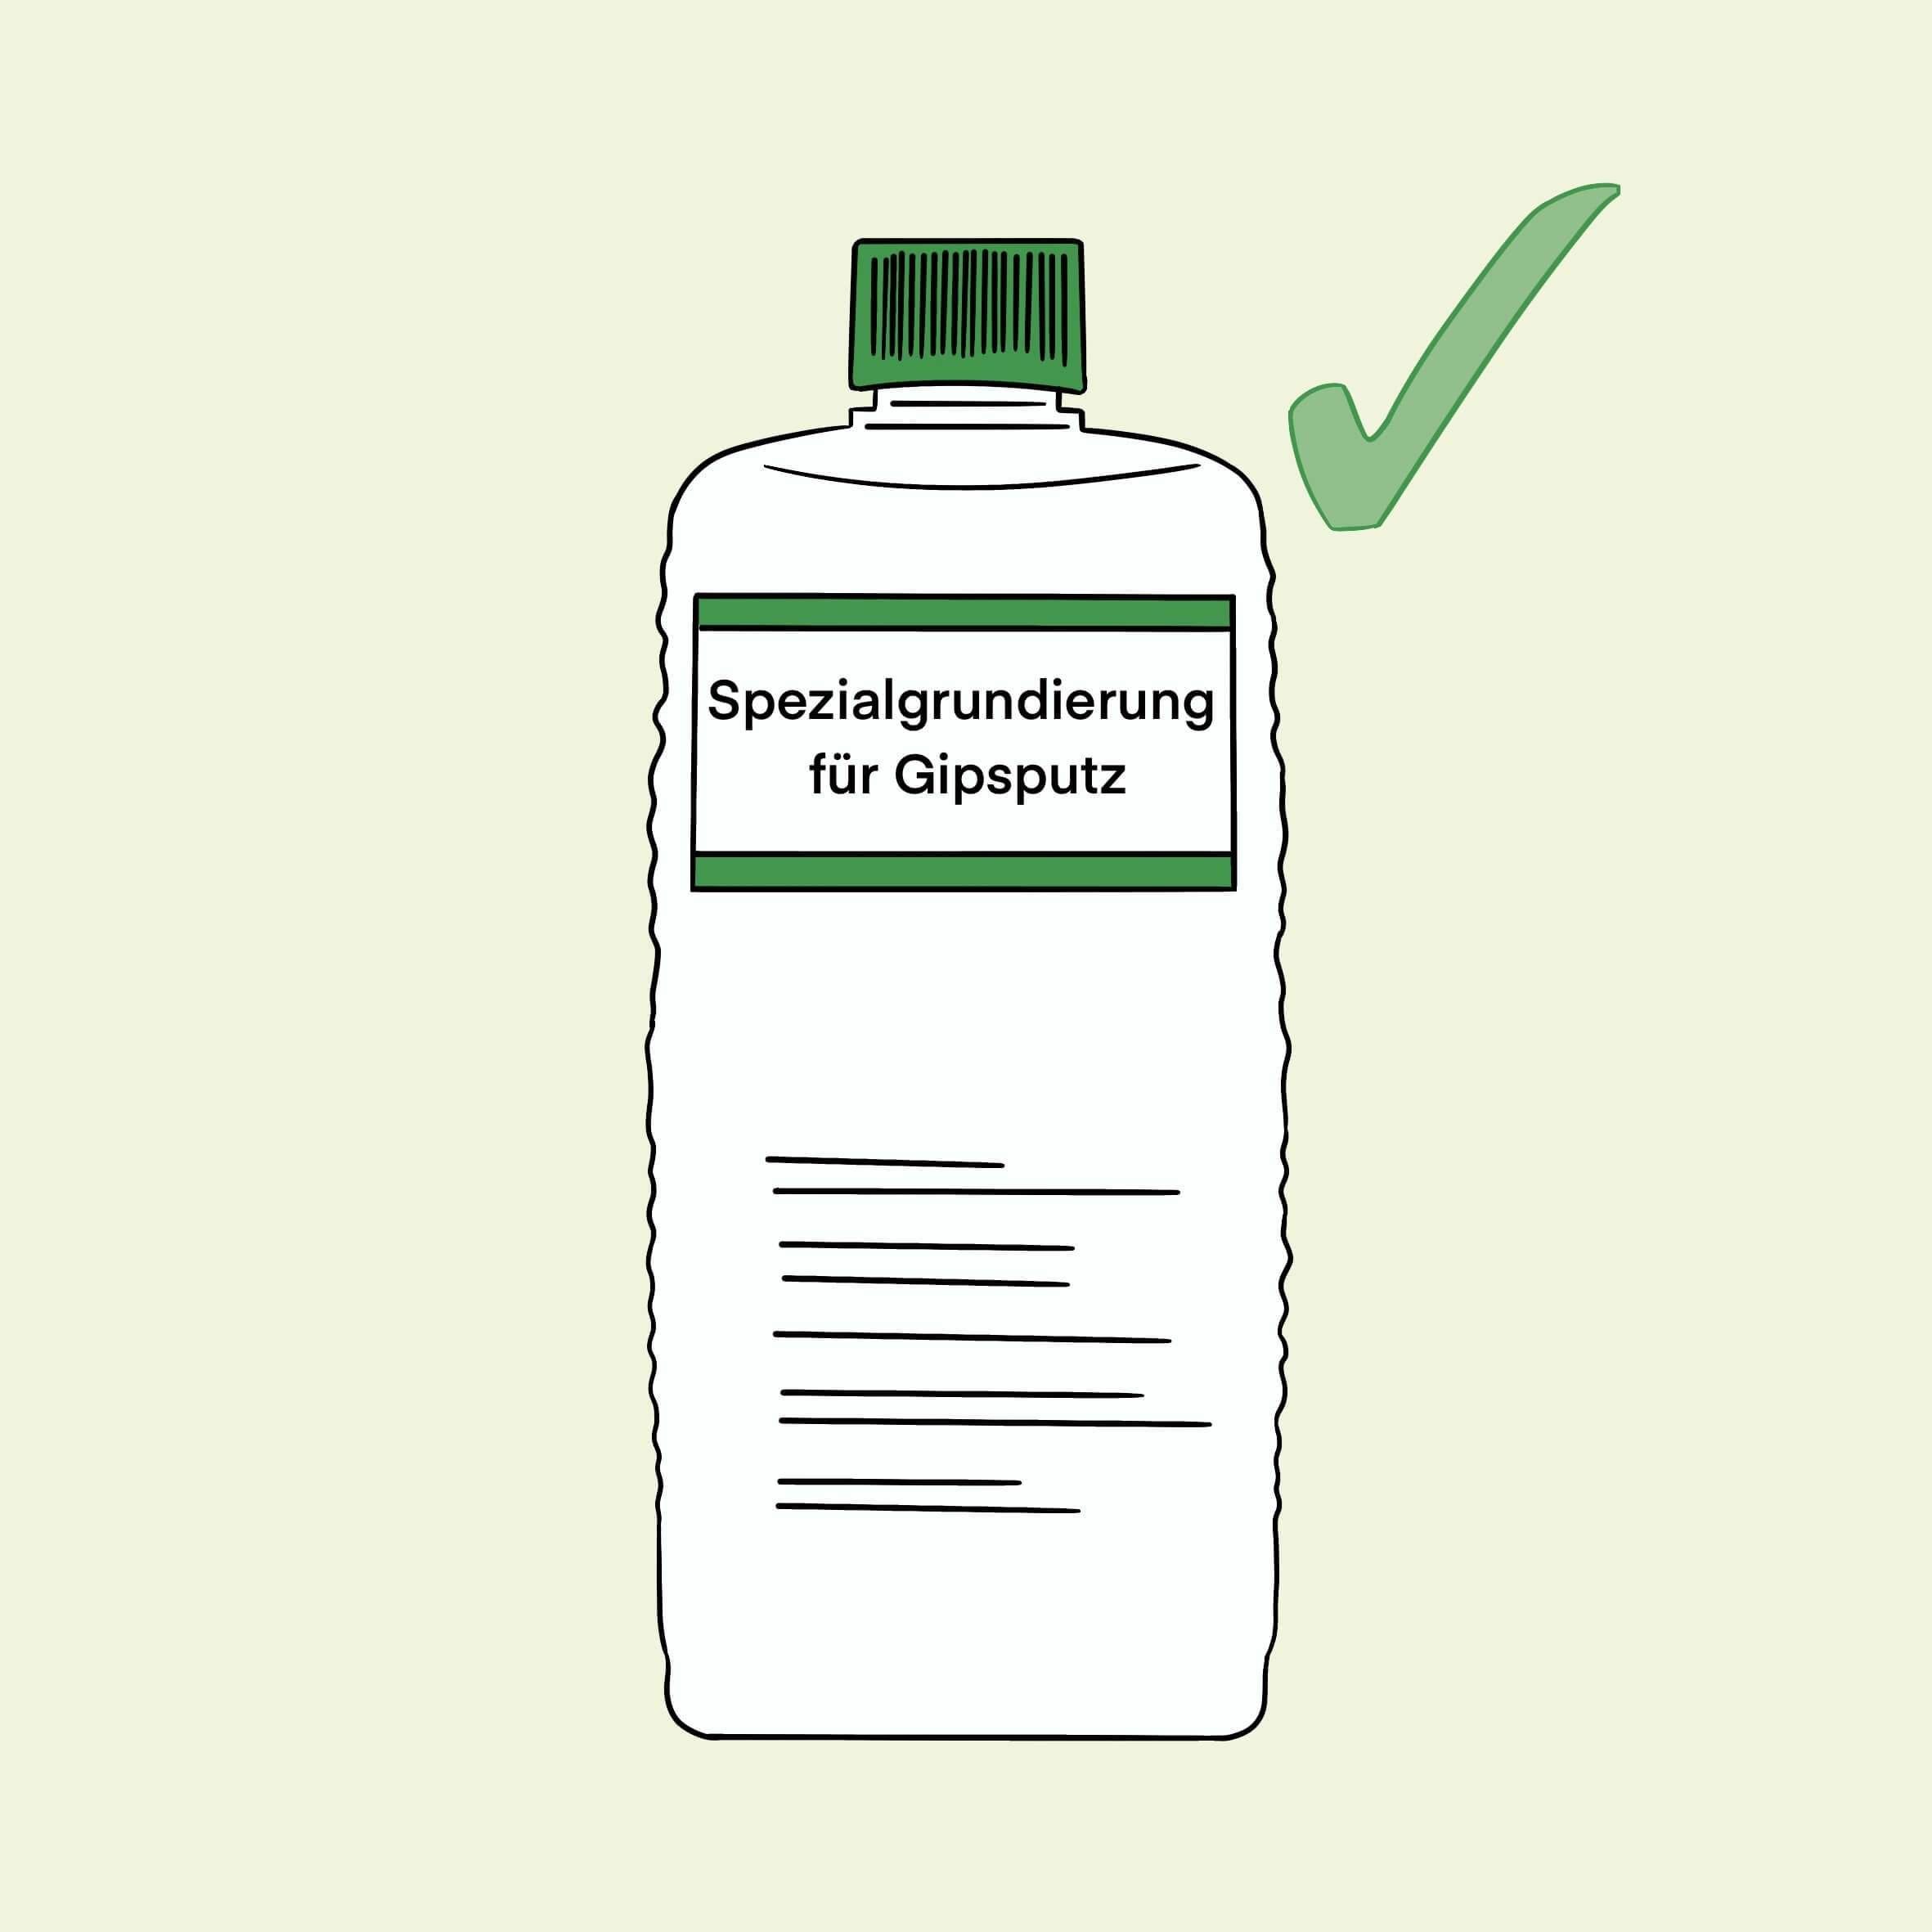
After cleaning the wall, check whether the existing substrate/plaster is suitable for processing and prepare the surface for the panels by priming it with the silicate primer (if necessary diluted 1:5 with water - spray / brush). No waiting time is required, you can continue working immediately after Primer .
Mineral substrates, e.g. sand-lime bricks, bricks, lime plaster, concrete, etc. are ideal substrates for processing calcium silicate boards.
The substrate must be load-bearing and at least 10 mm thick so that the calcium silicate boards can adhere in the long term. Uneven, brittle, hollow areas etc. must be corrected or straightened/levelled so that the panels can lie flat.
Unsure about the surface?
Gypsum plaster is not a suitable substrate, as contact with moisture can lead to the formation of ettringite, which can destroy the plaster and have a negative effect on the adhesion of the board. As a rule, you should therefore remove existing gypsum plaster and glue the boards directly to the masonry. As this is often associated with considerable additional work, we have a solution for you:
If you want to use calcium silicate boards on gypsum plaster or are unsure about the type of substrate, be sure to use our special primer for gypsum plaster (dilute 1:1) to pre-treat your substrate. Only use our special primer with our special adhesive - the products are closely coordinated and therefore only work in this combination for the project!
Holes, cracks, leveling, etc.
Holes and cracks can be filled and repaired with our special KP silicate adhesive. It is safe to apply the adhesive several times for larger repairs. After each application, however, the layer should be completely dry and not exceed a thickness of approx. 10 mm.
For larger unevenness/leveling, we recommend the use of lime-cement plaster, as this can be applied even thicker.
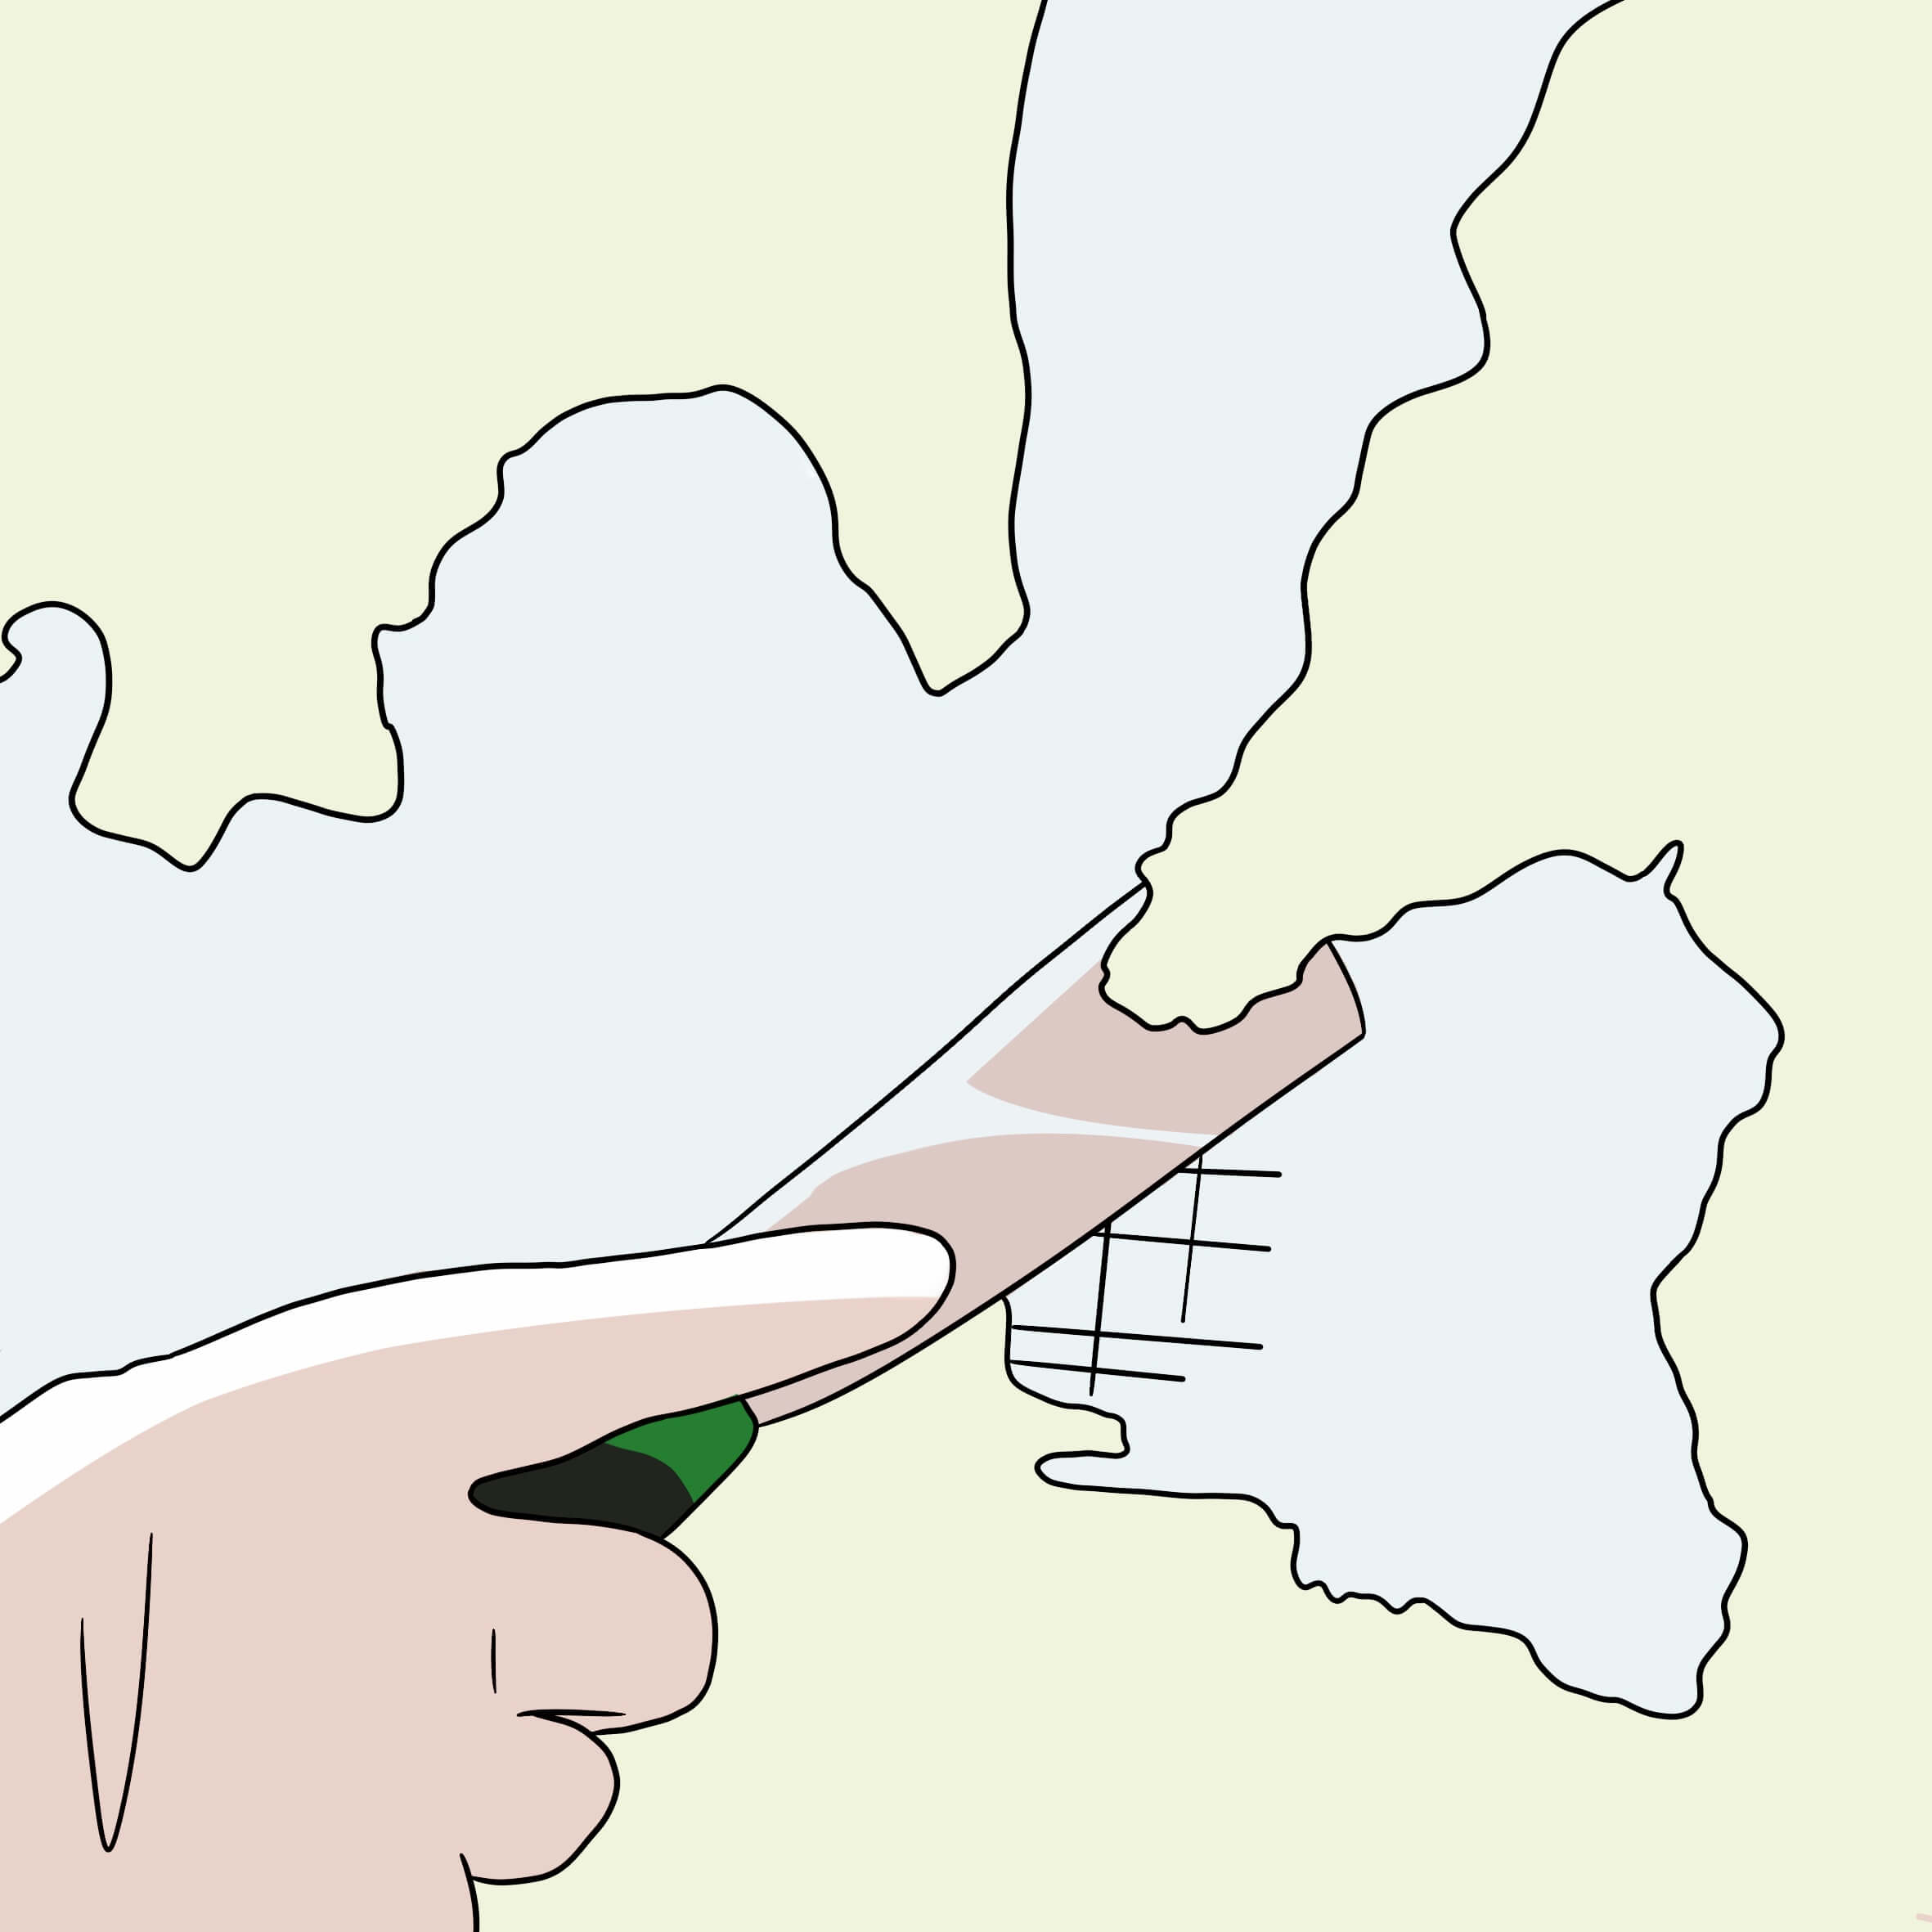
Preparing and cutting calcium silicate boards to size
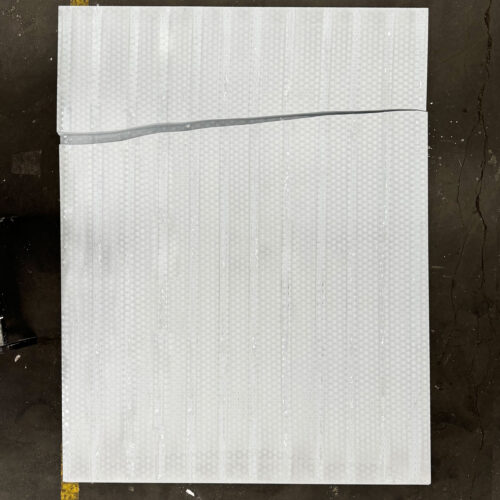
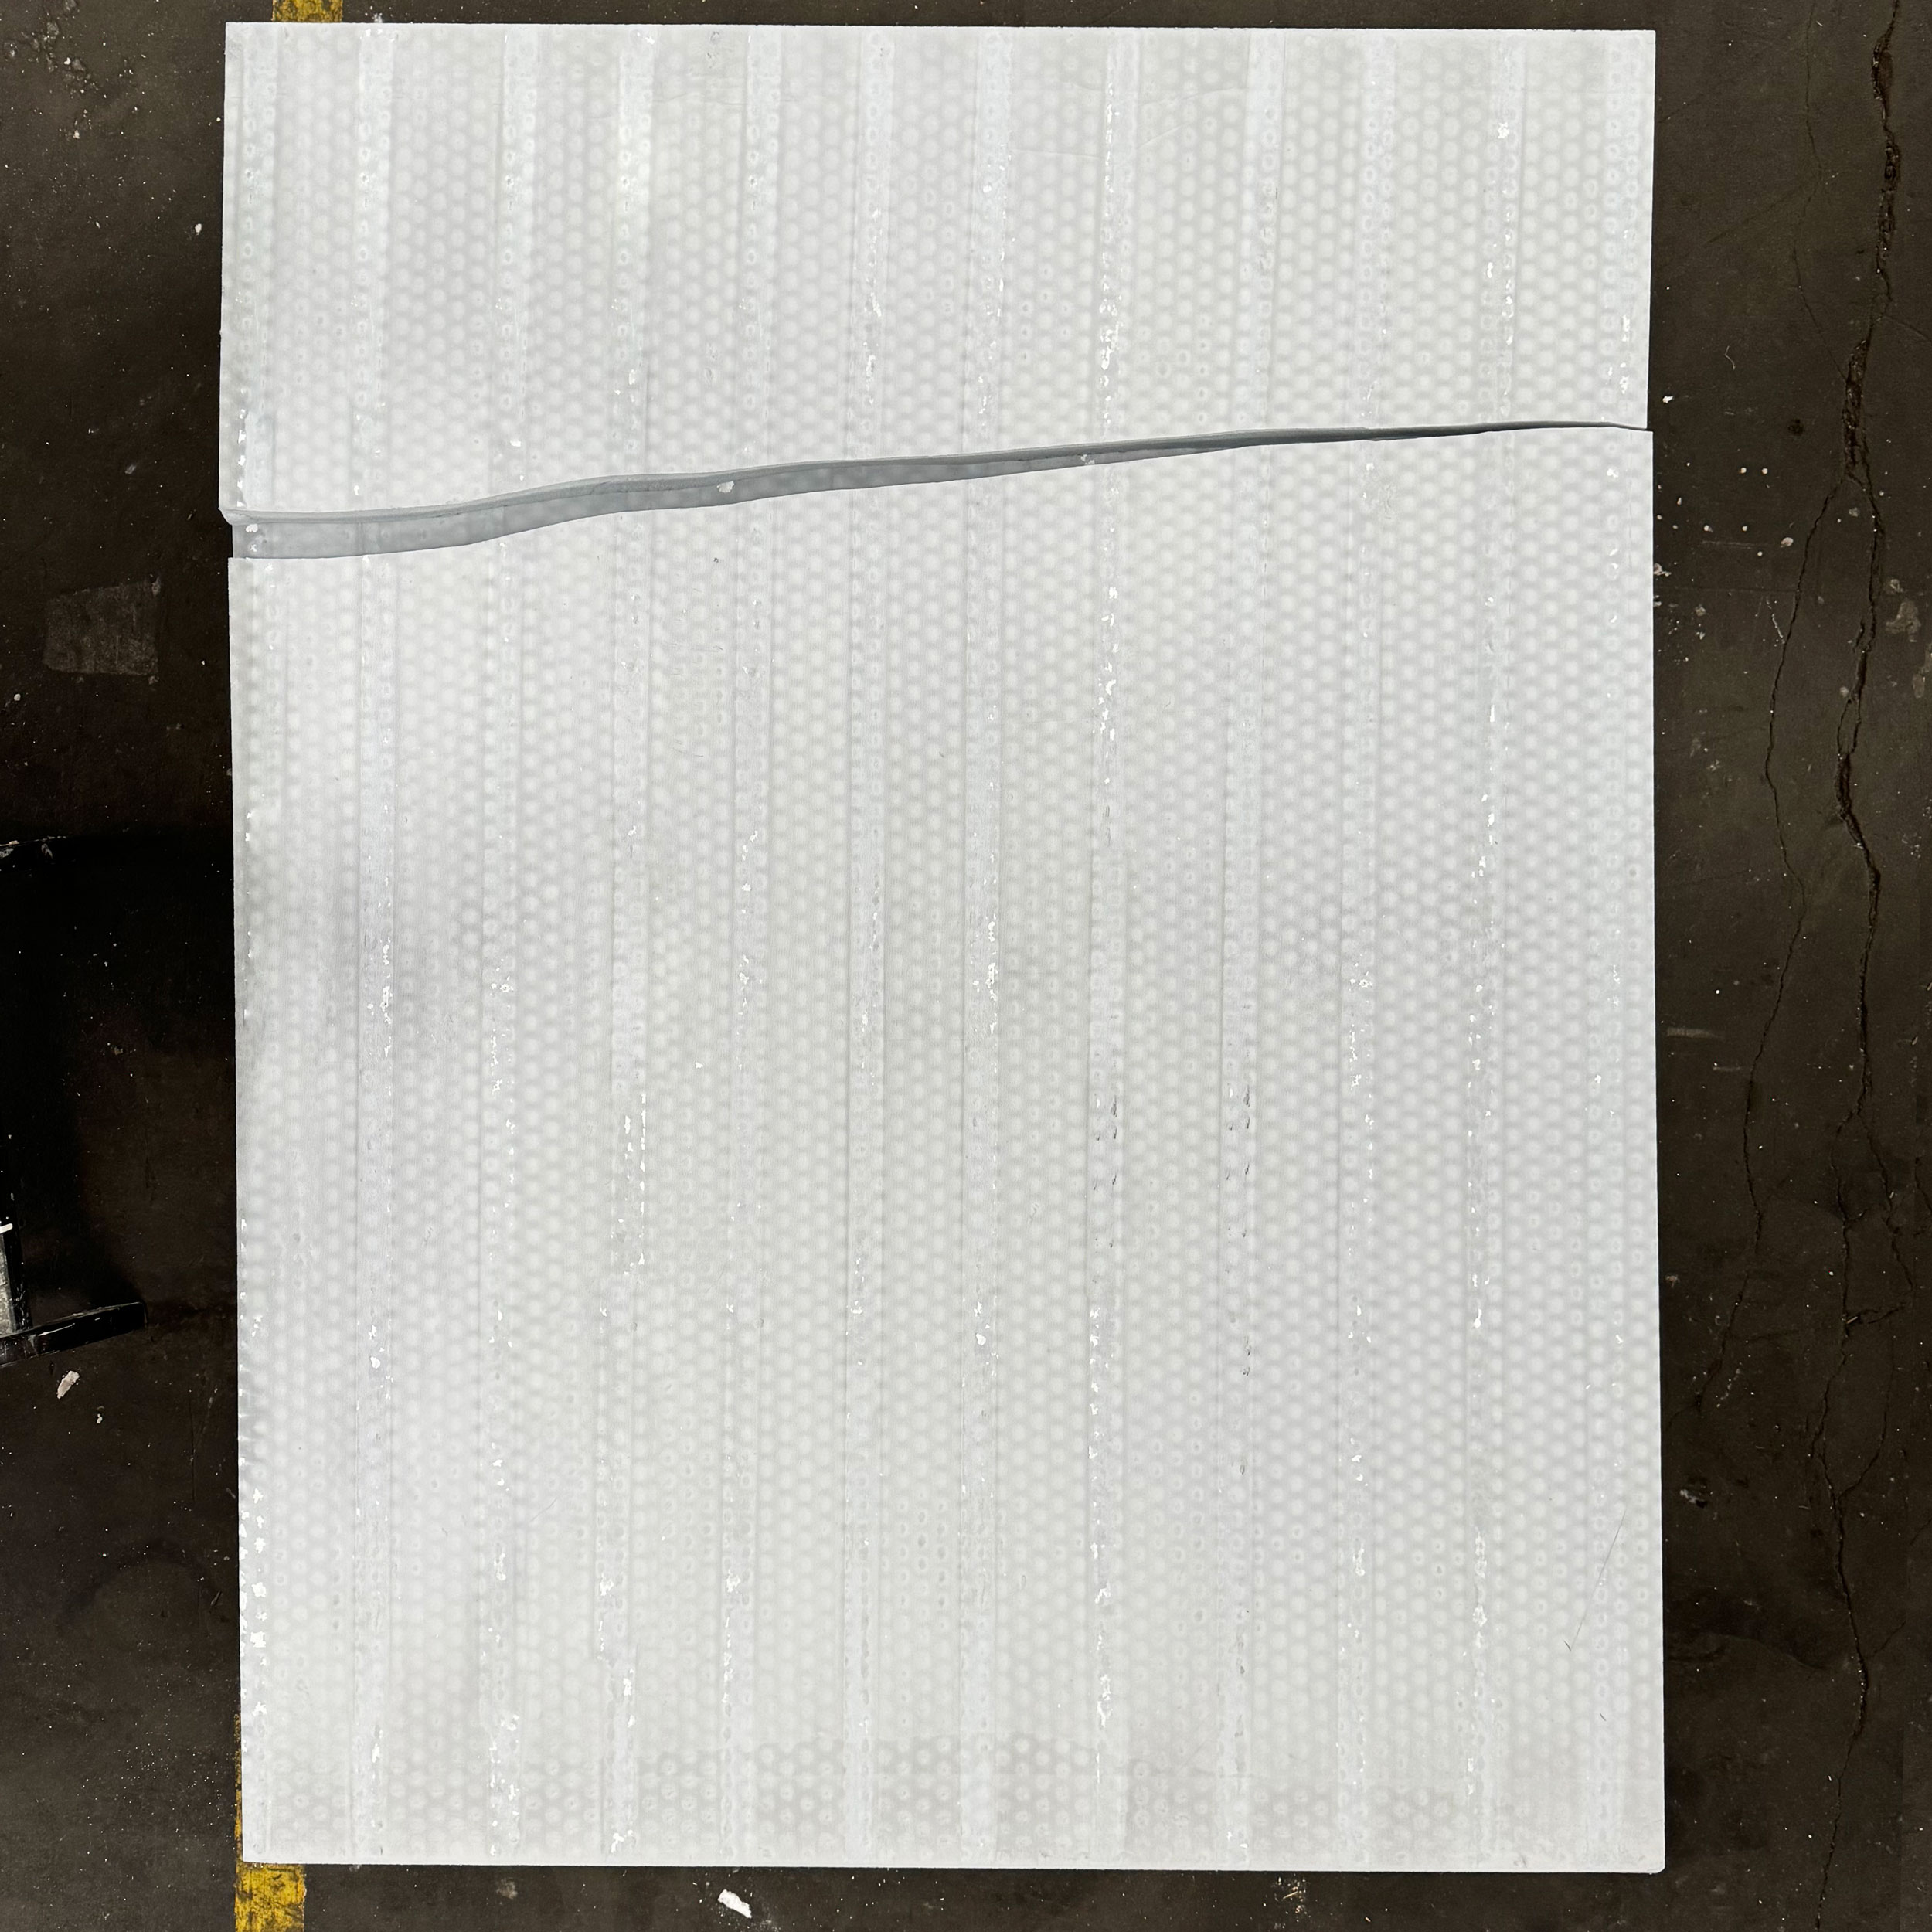
In the next step, the calcium silicate boards are prepared, measured and, if necessary, cut to the correct size. Thinner panels up to 30 mm can be cut with a cutter knife / wallpapering knife, but we always recommend a hand saw with a slightly finer saw blade. We only recommend electric saws (circular saw / foxtail etc.) if you already have experience in working with the panels. If you are processing the panels for the first time, use the hand saw for easy processing.
Please note that the calcium silicate boards are laid in a bond, i.e. in a staggered manner, which means that dividing cuts may be necessary.
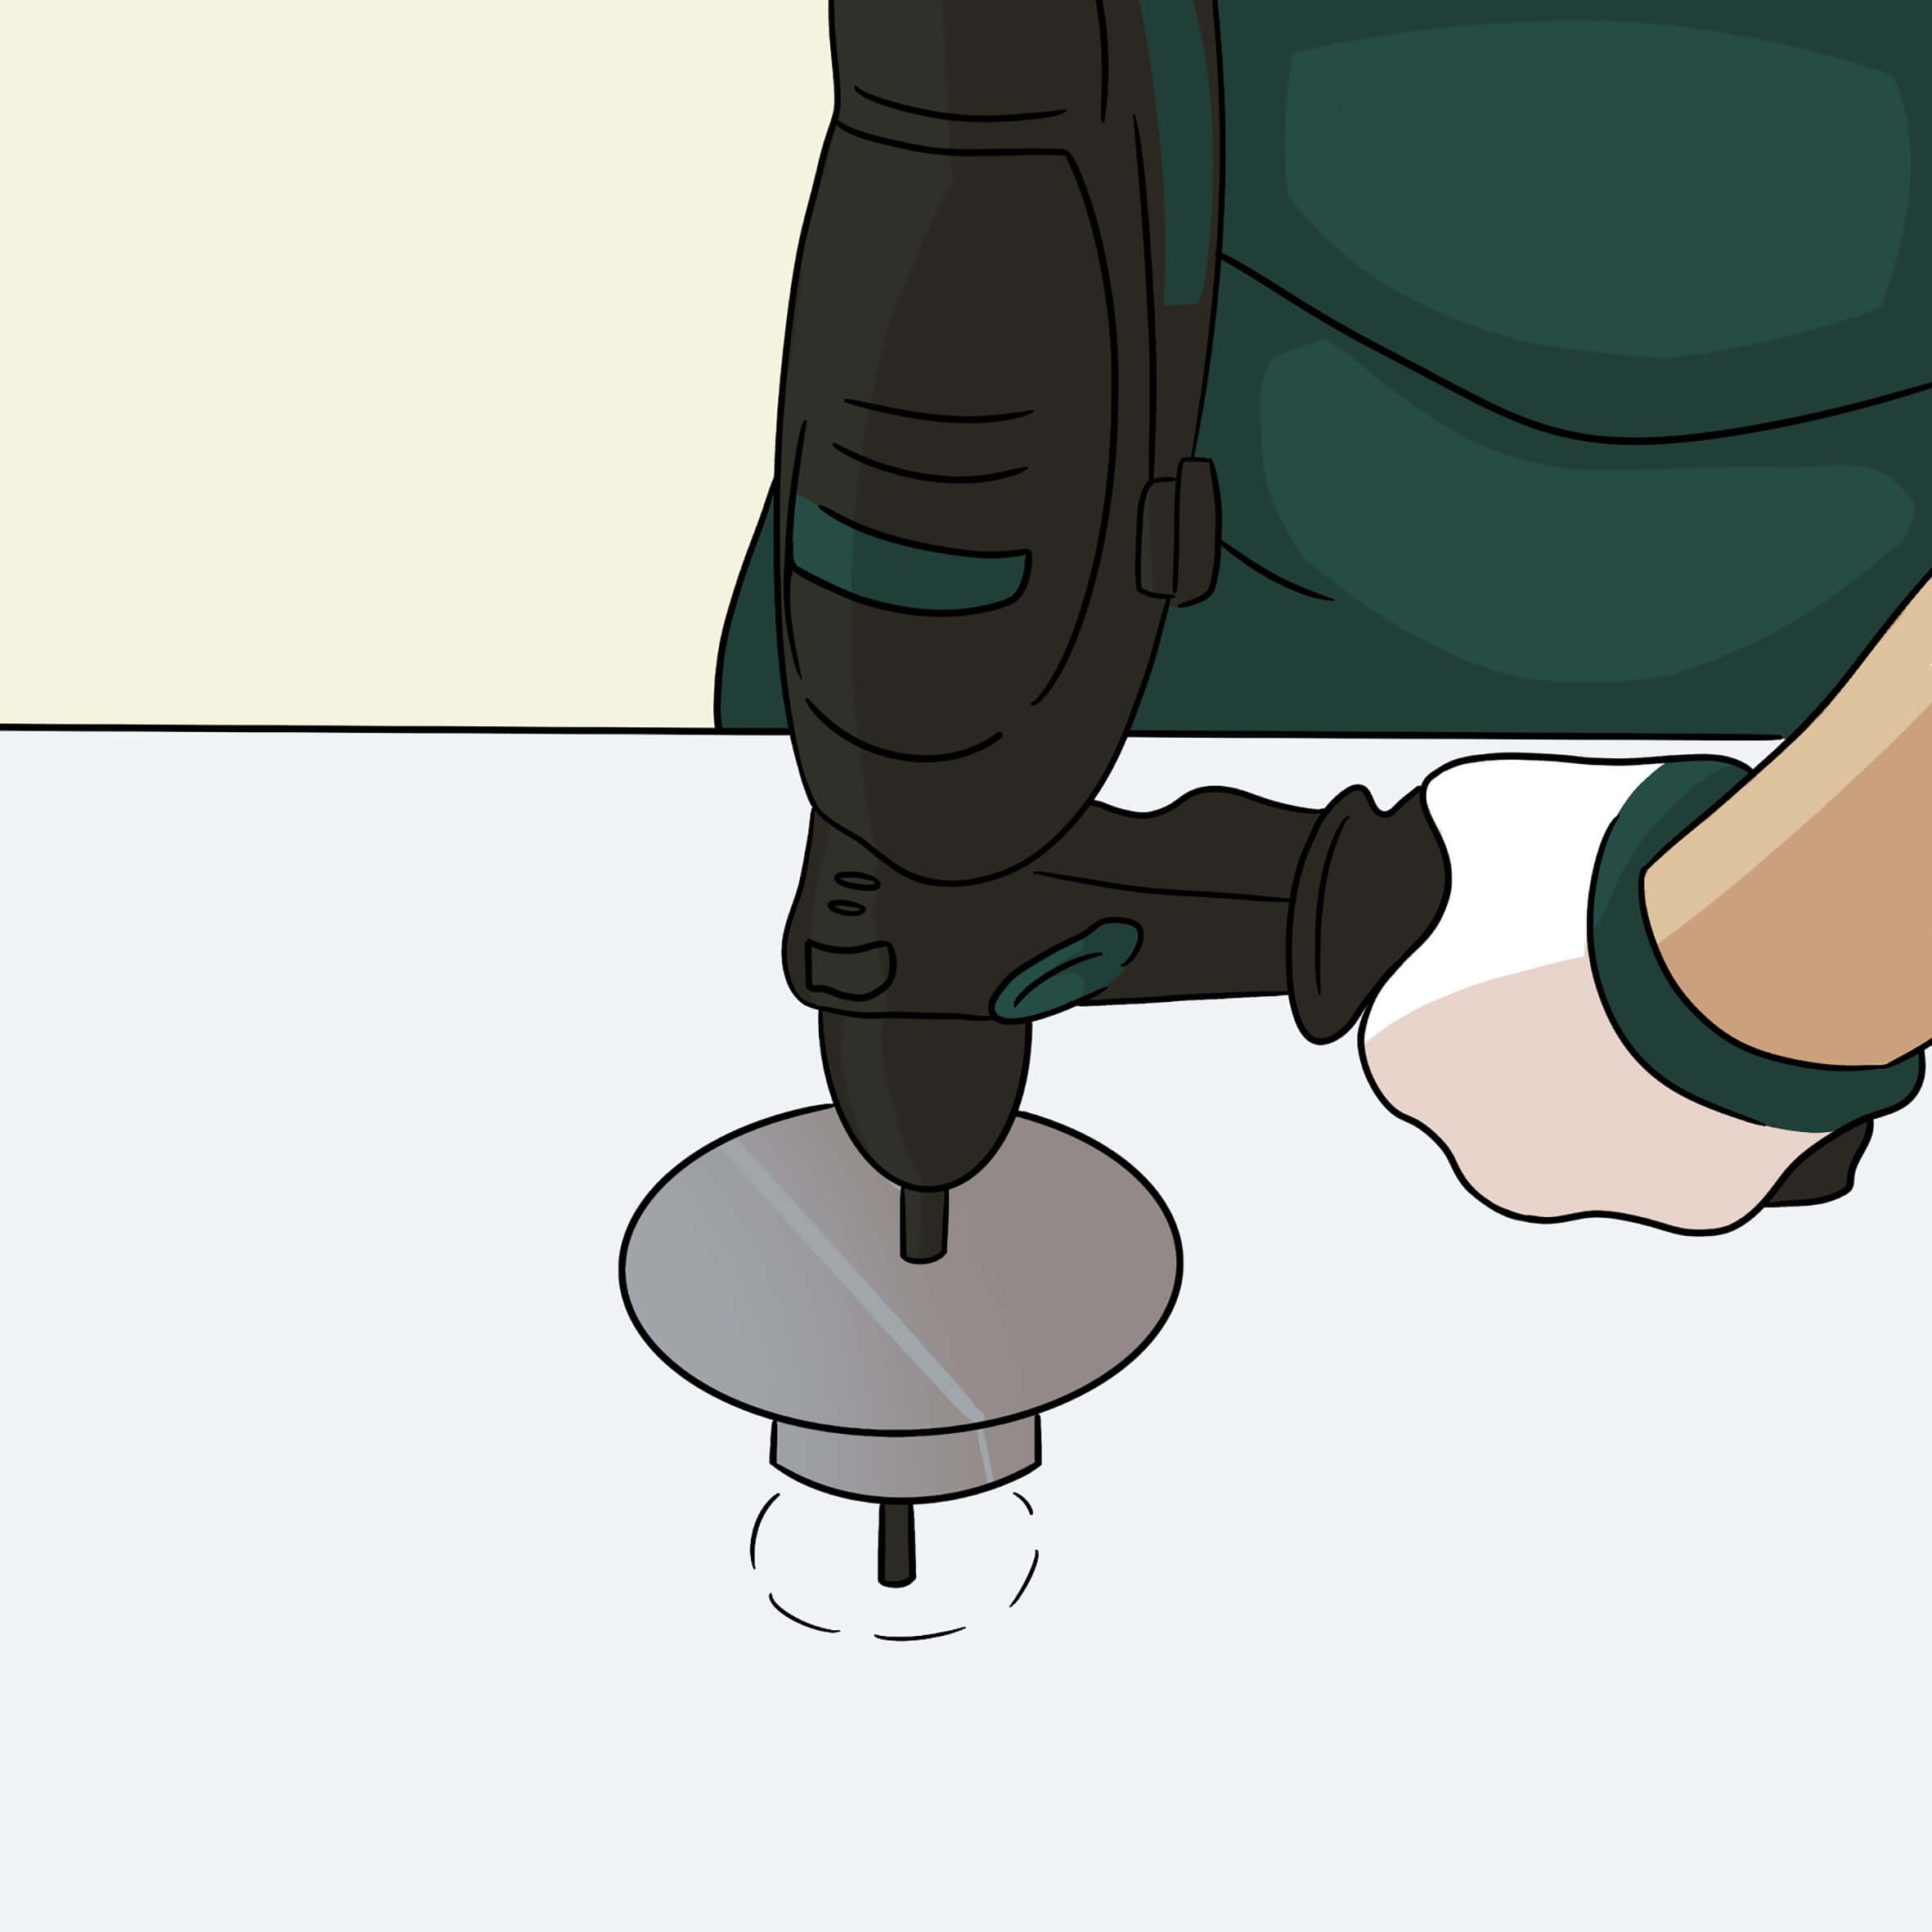
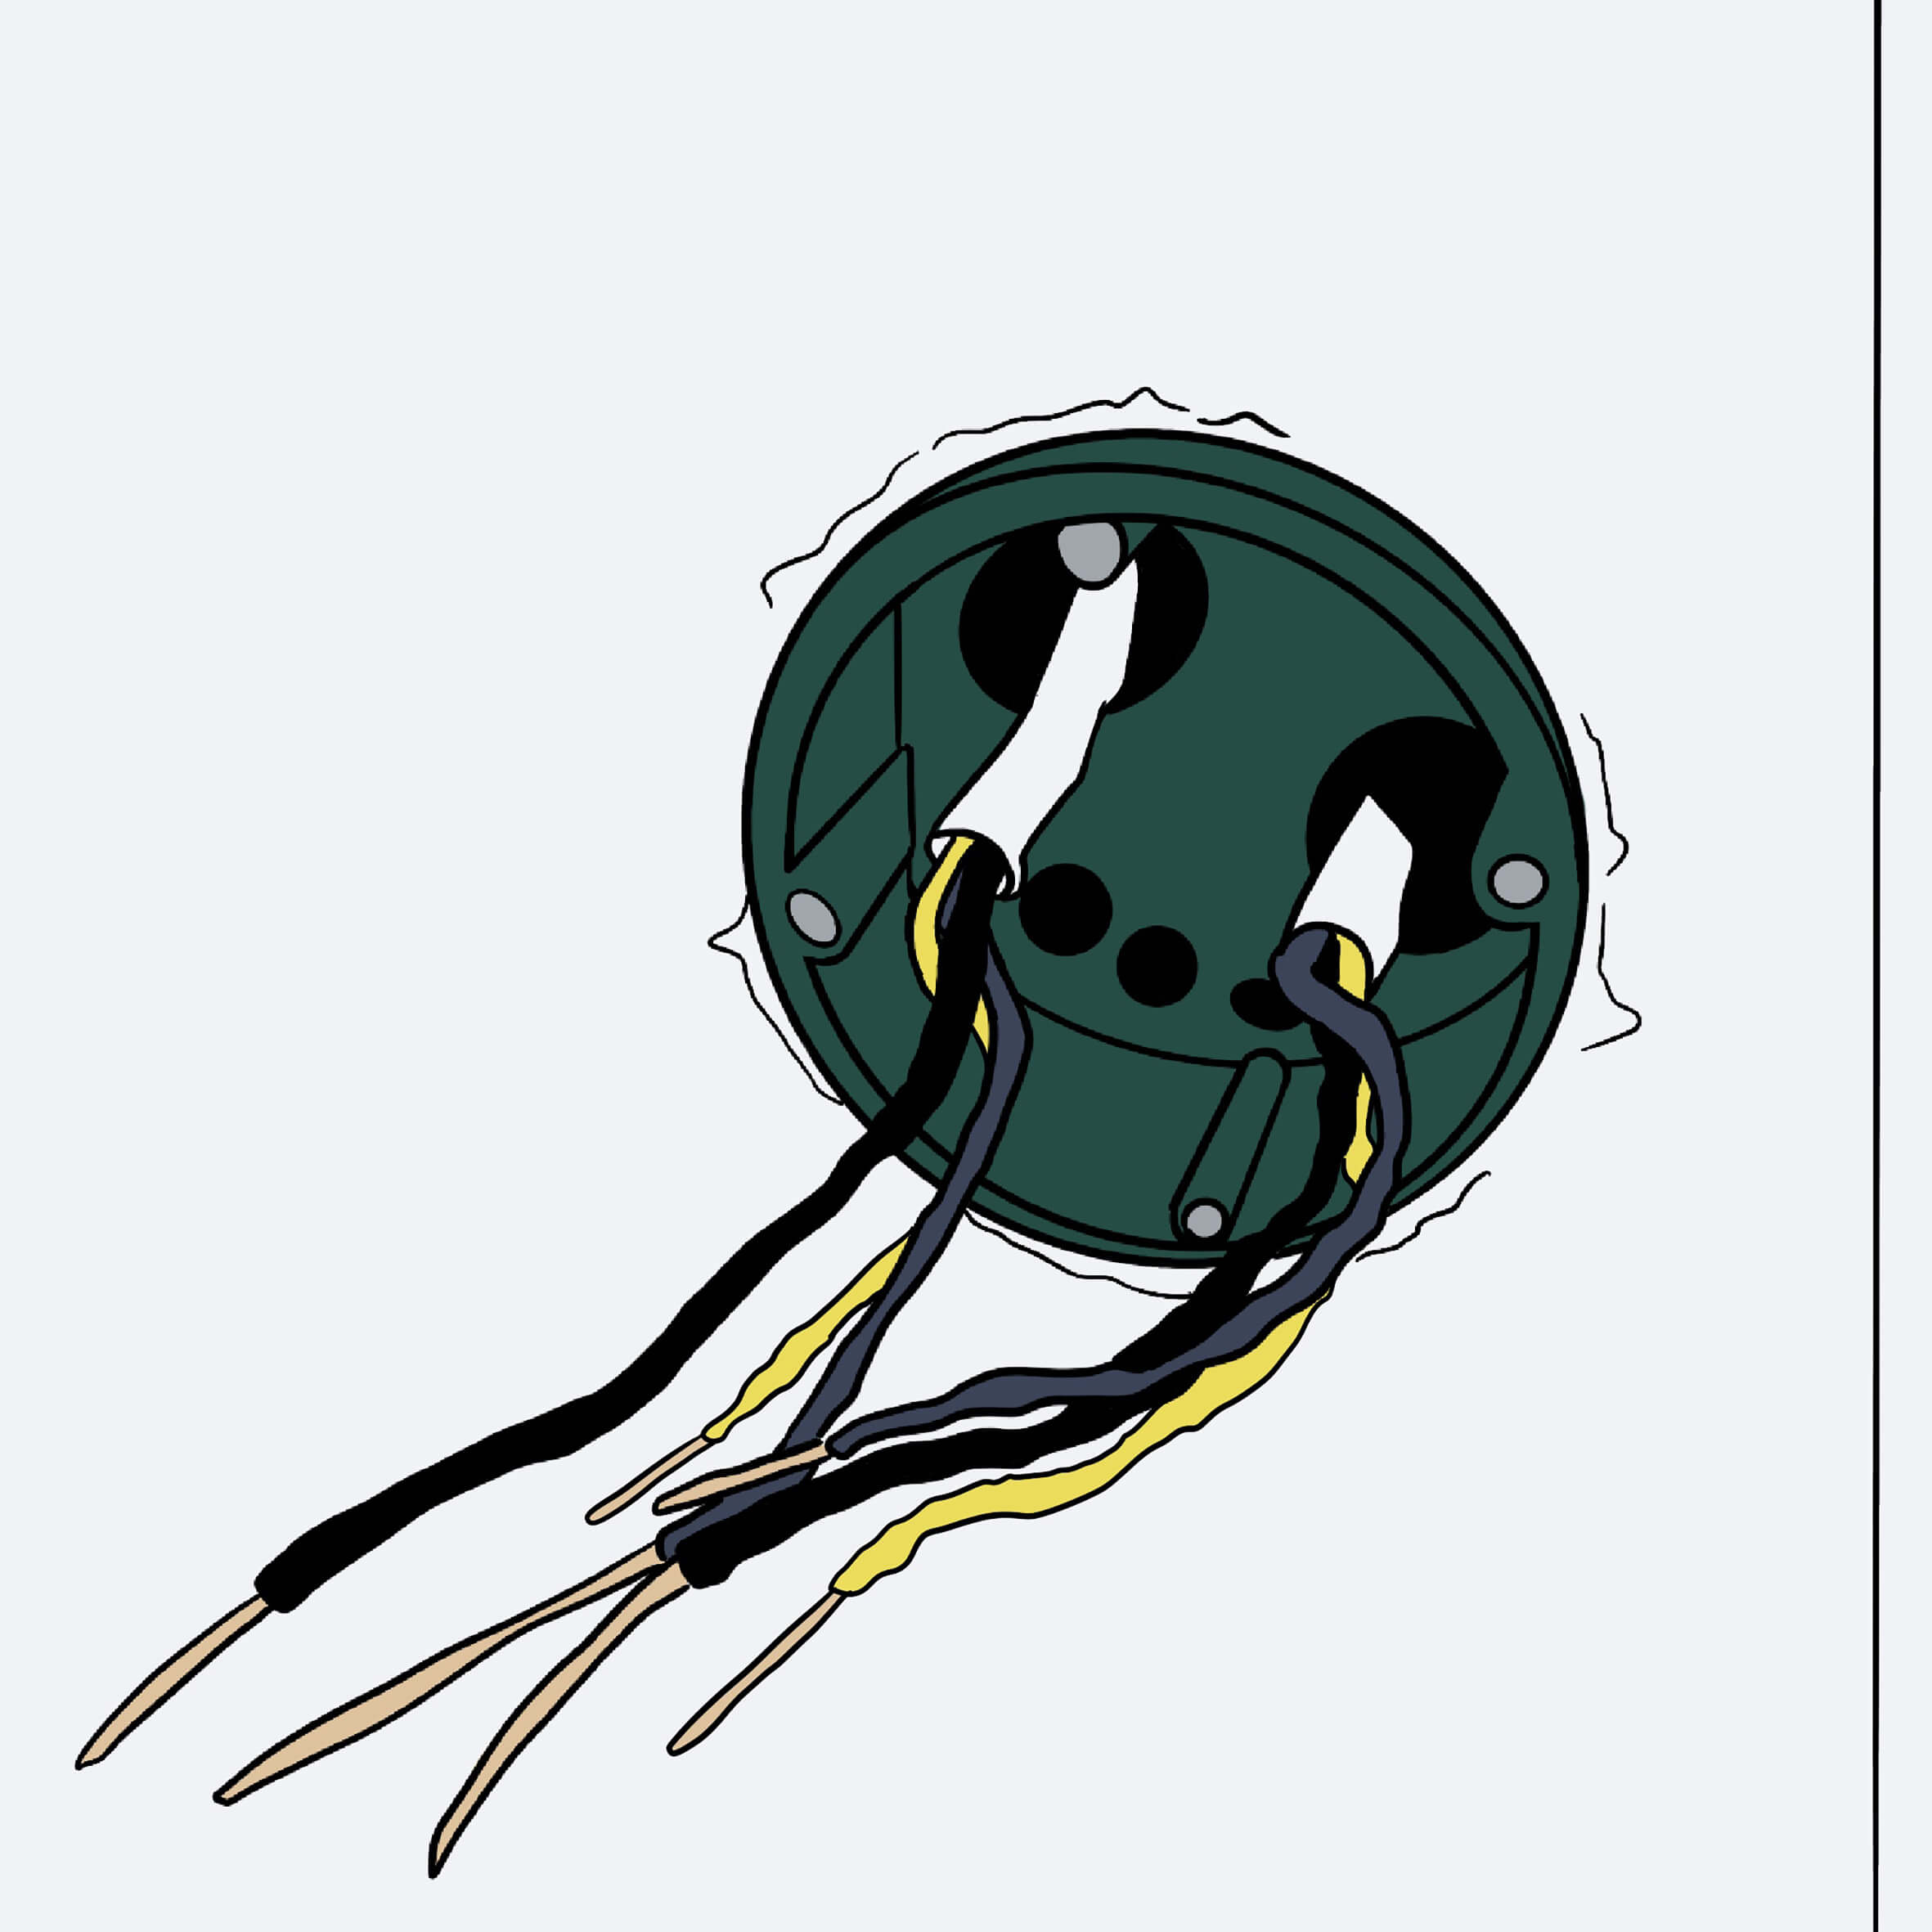
If your surface to be finished has sockets and/or buttons (light switches), you can of course continue to use these with calcium silicate boards. All you need to do is make the appropriate cut-outs with a simple hand saw or a core drill. Plaster compensation rings can then be inserted into the cut-out calcium silicate panel so that everything can be used as usual.
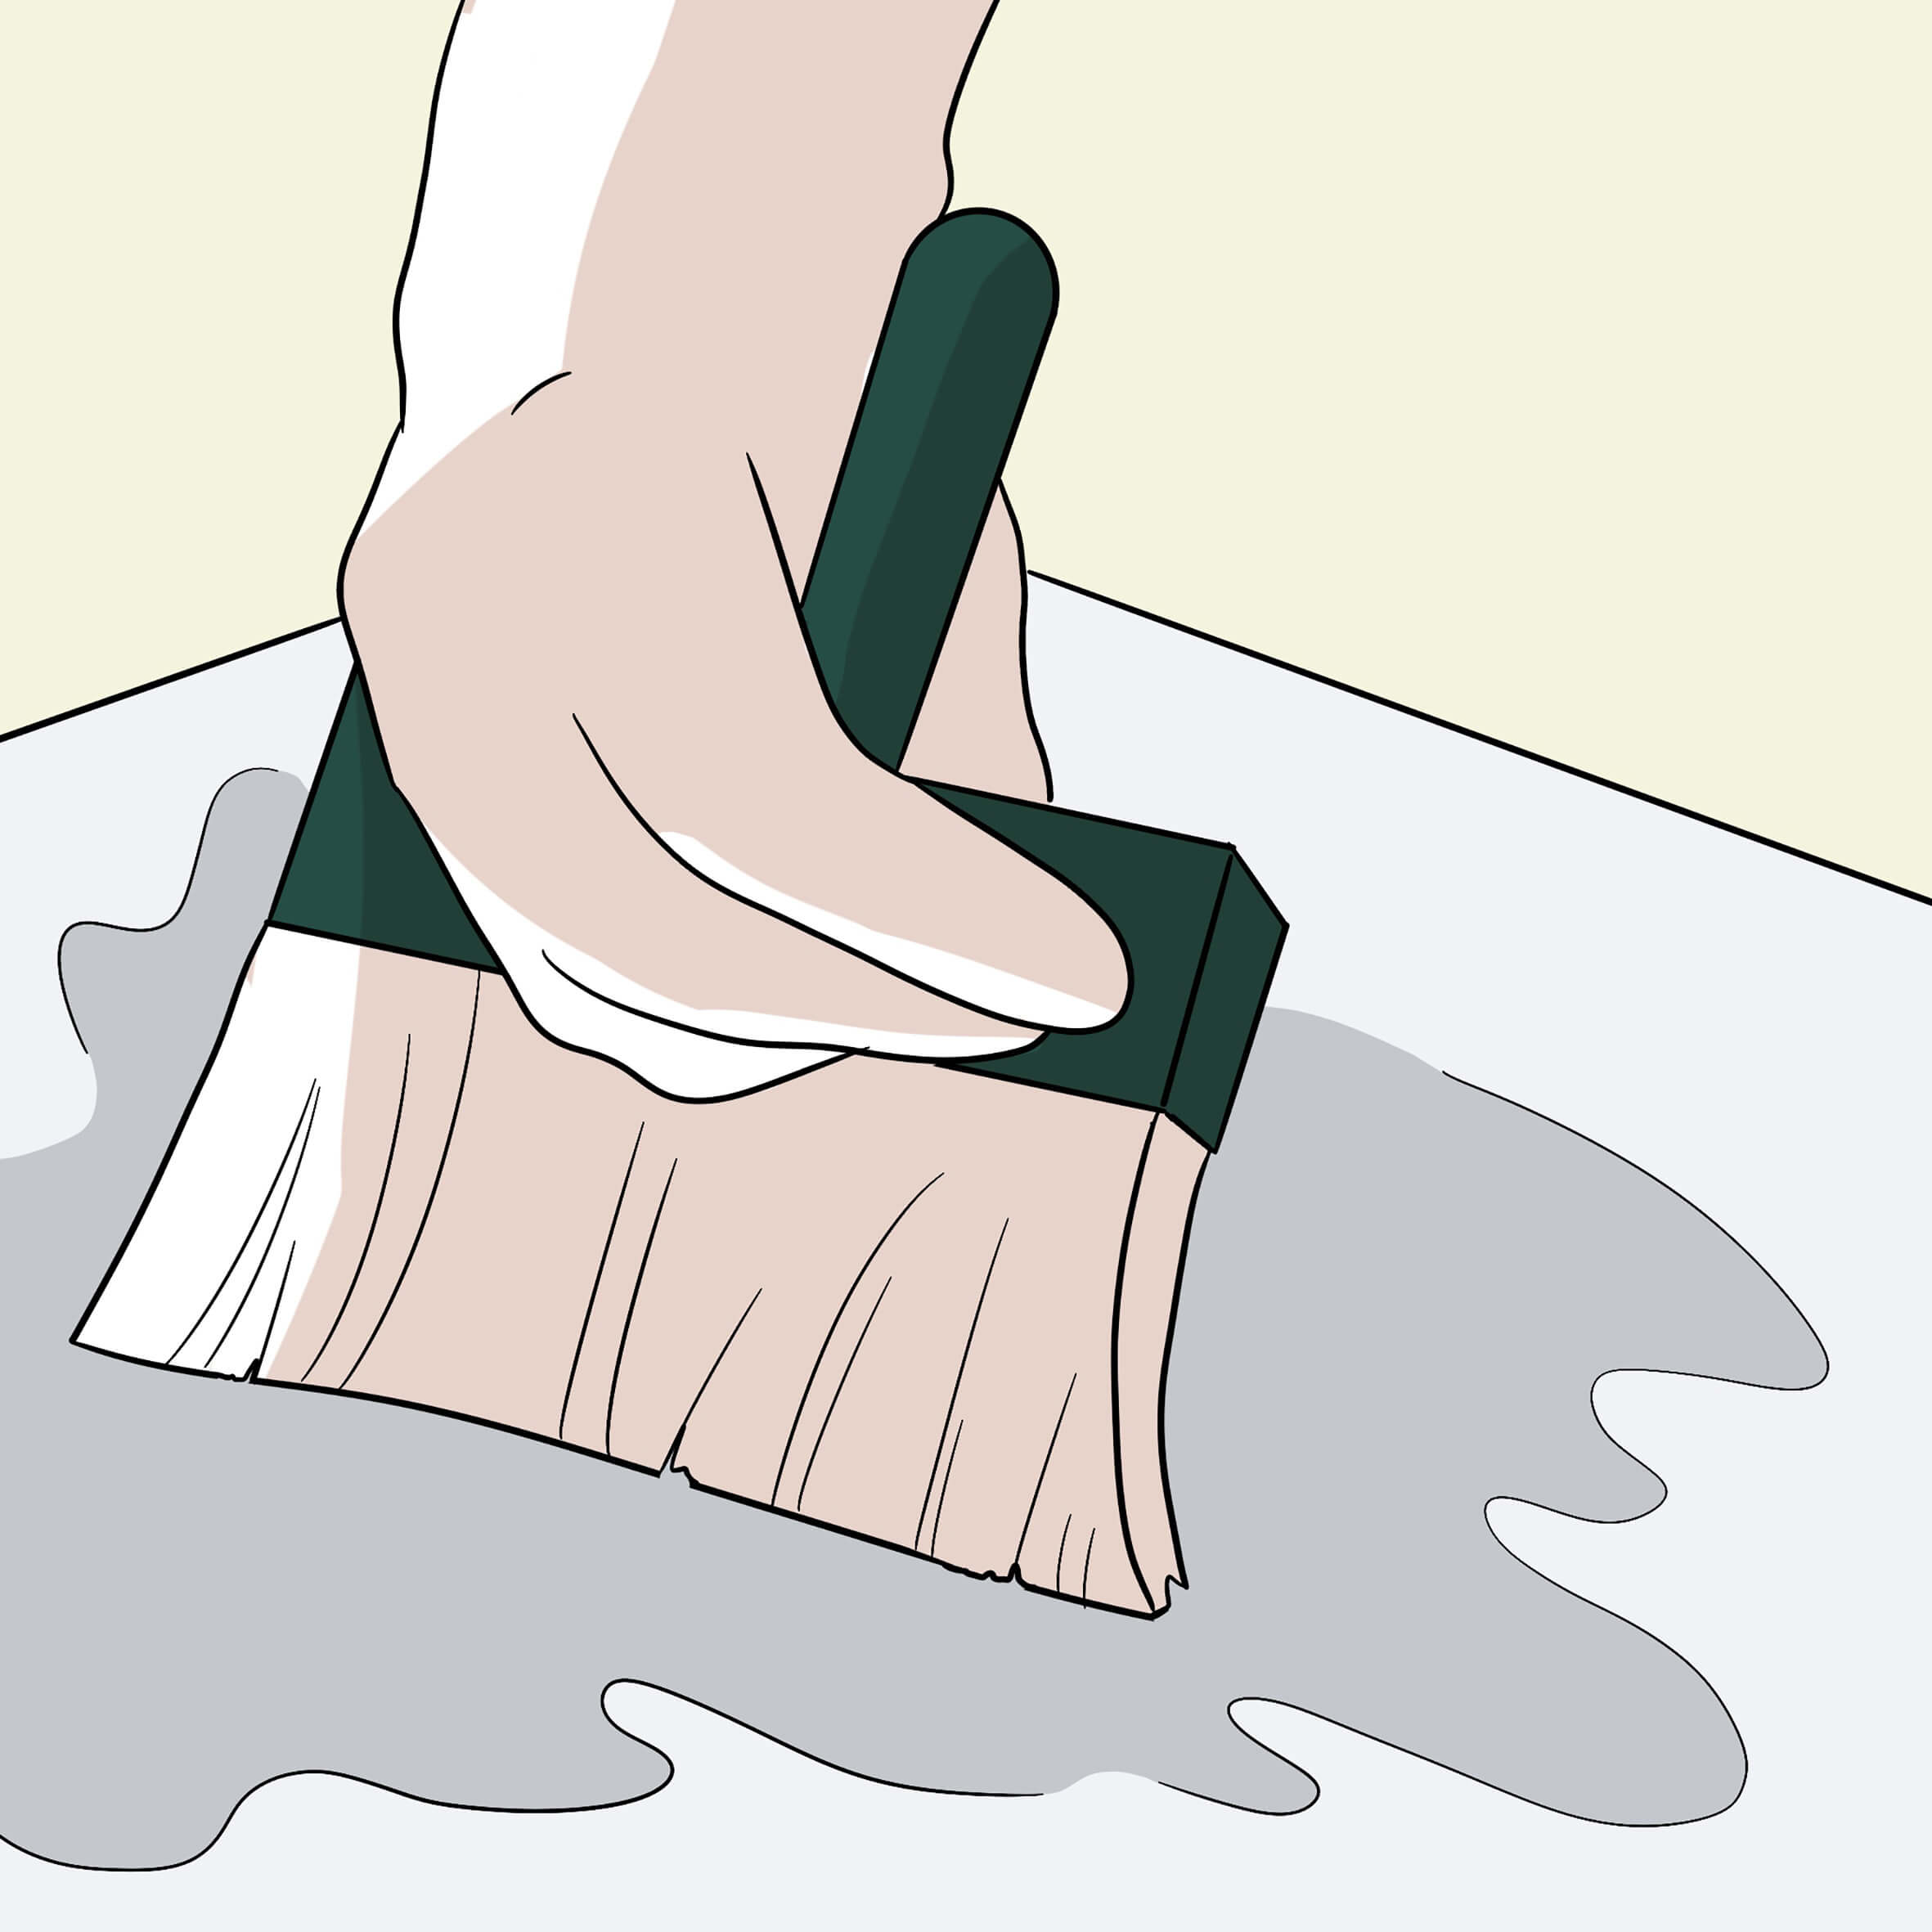
Professional tip: Moisten the boards - even the pre-primed ones - (spray/brush with a brush) to achieve even better adhesion and easier application!
You can also use the silicate primer diluted at a mixing ratio of Primer : 1:5 to 1:10.
You do not need to allow any waiting time here, but can continue working straight away!
Bonding & attaching calcium silicate boards
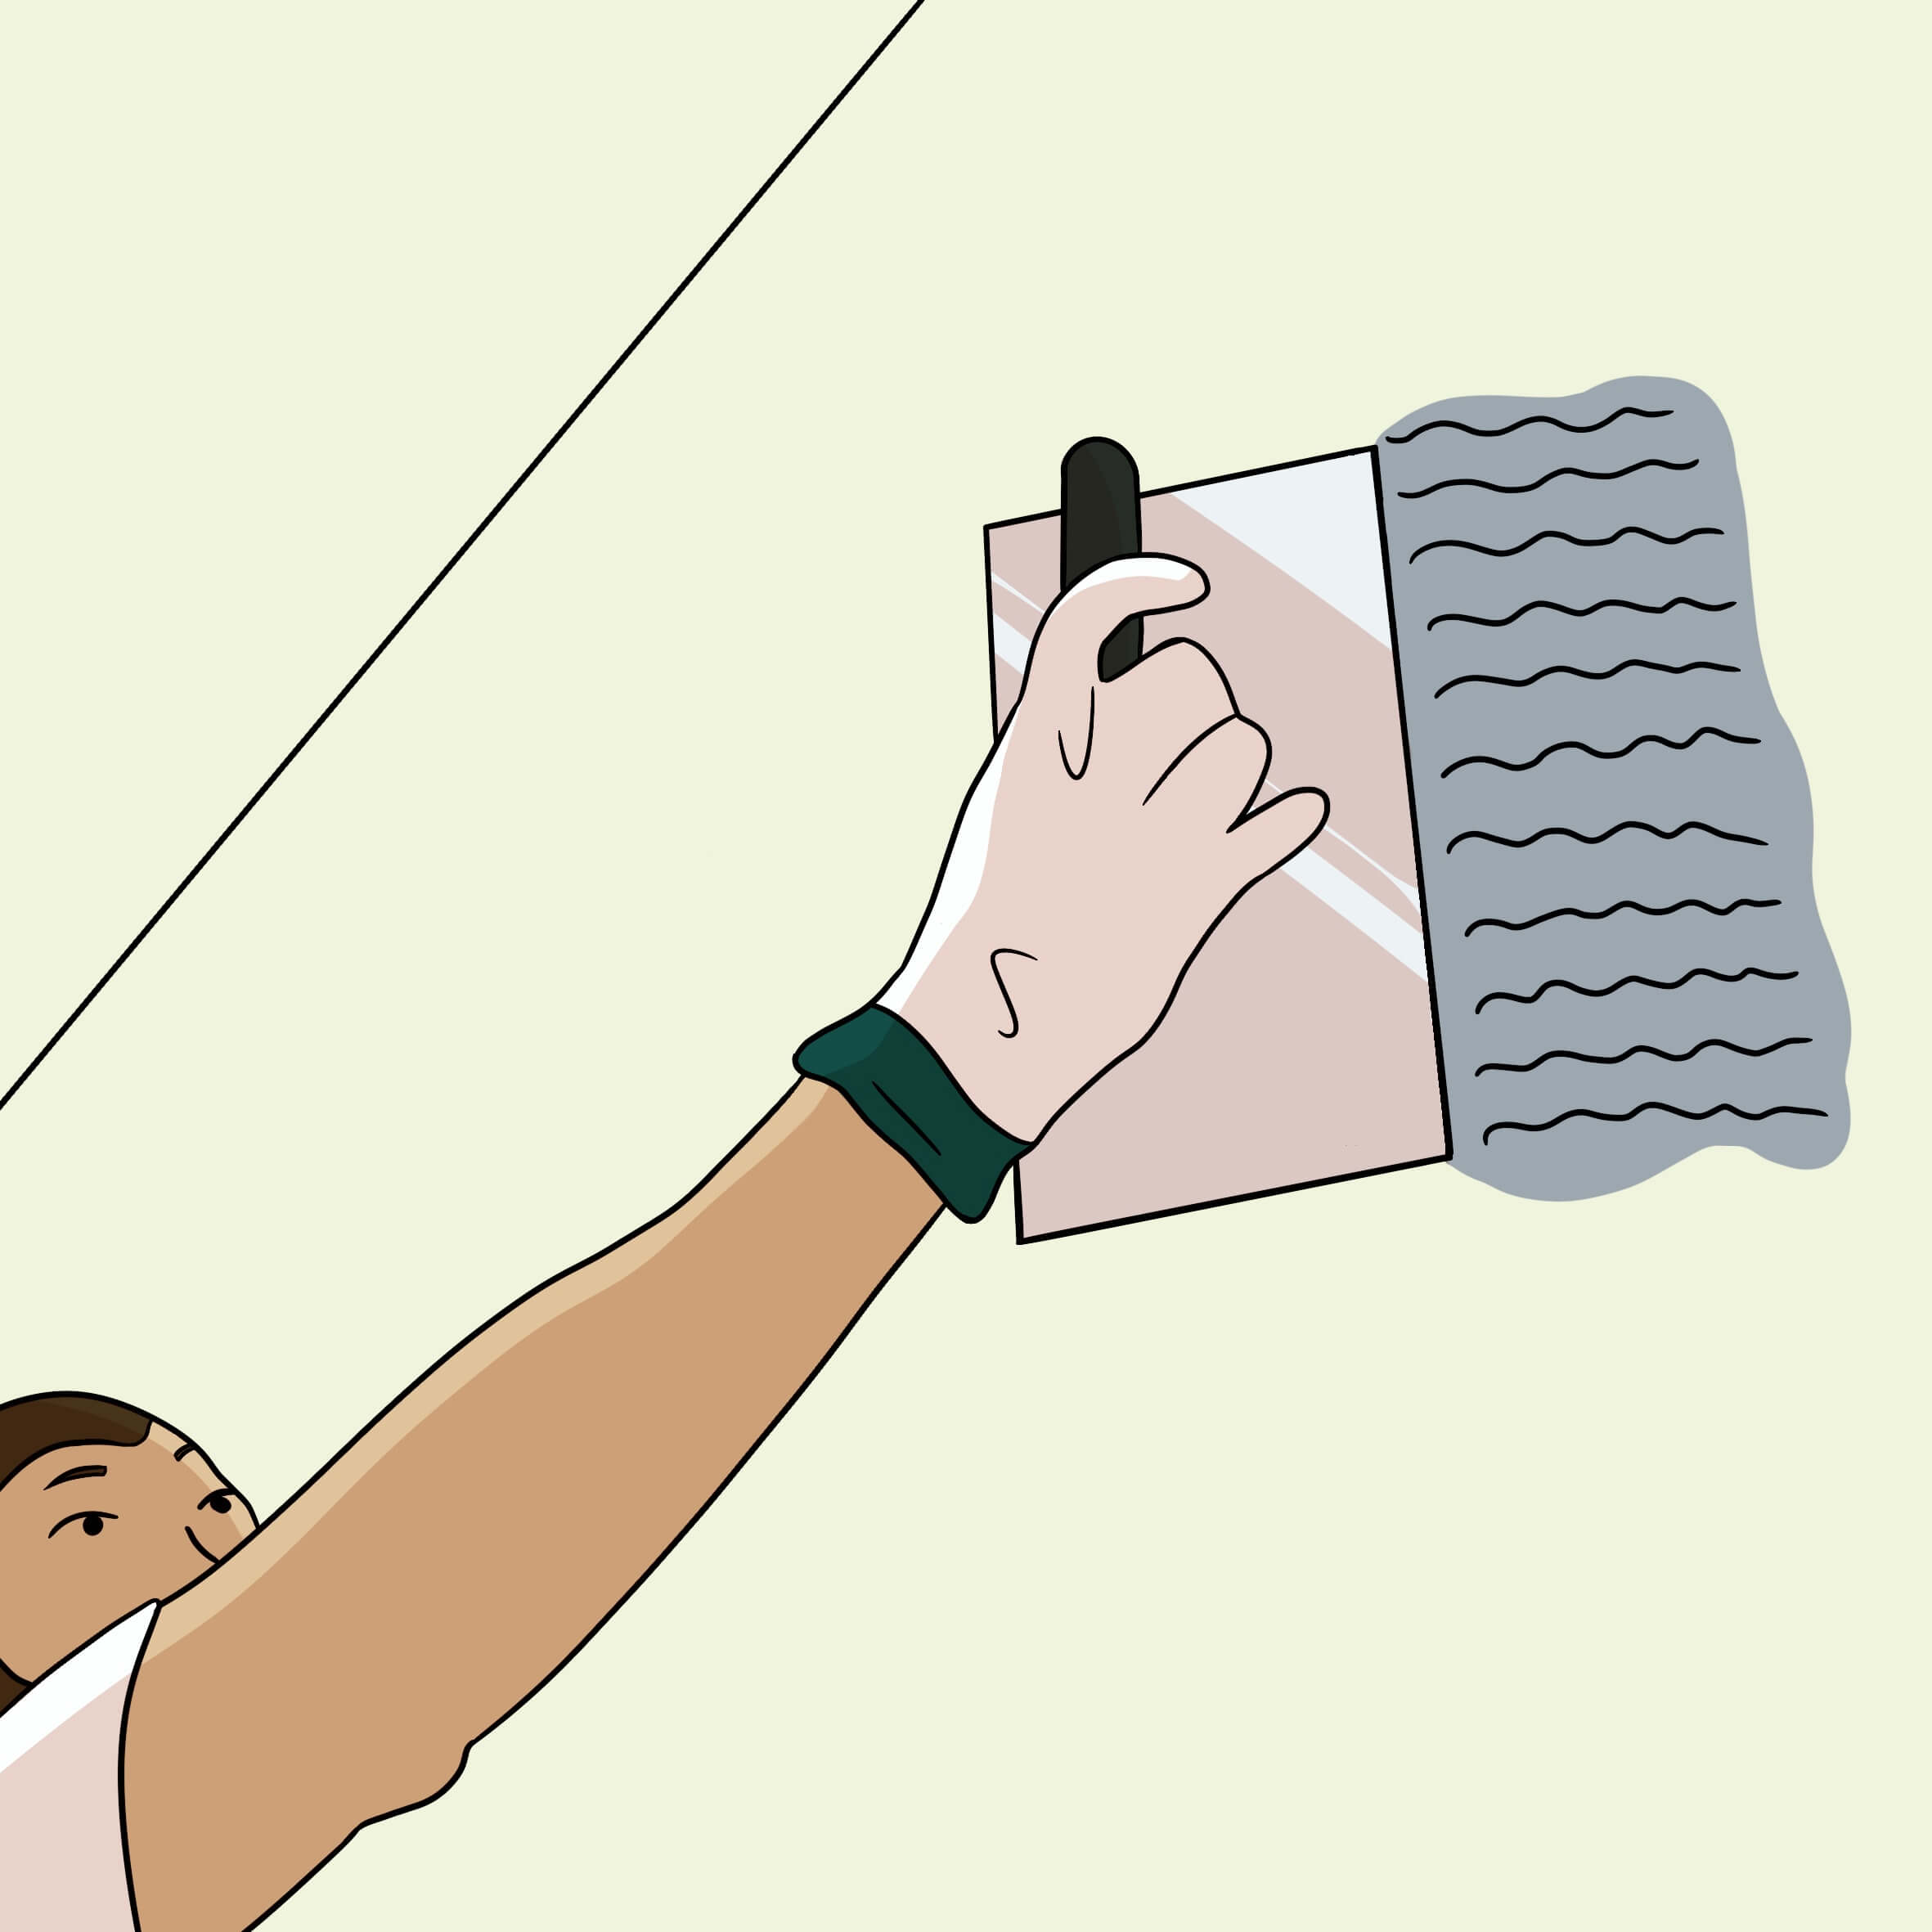
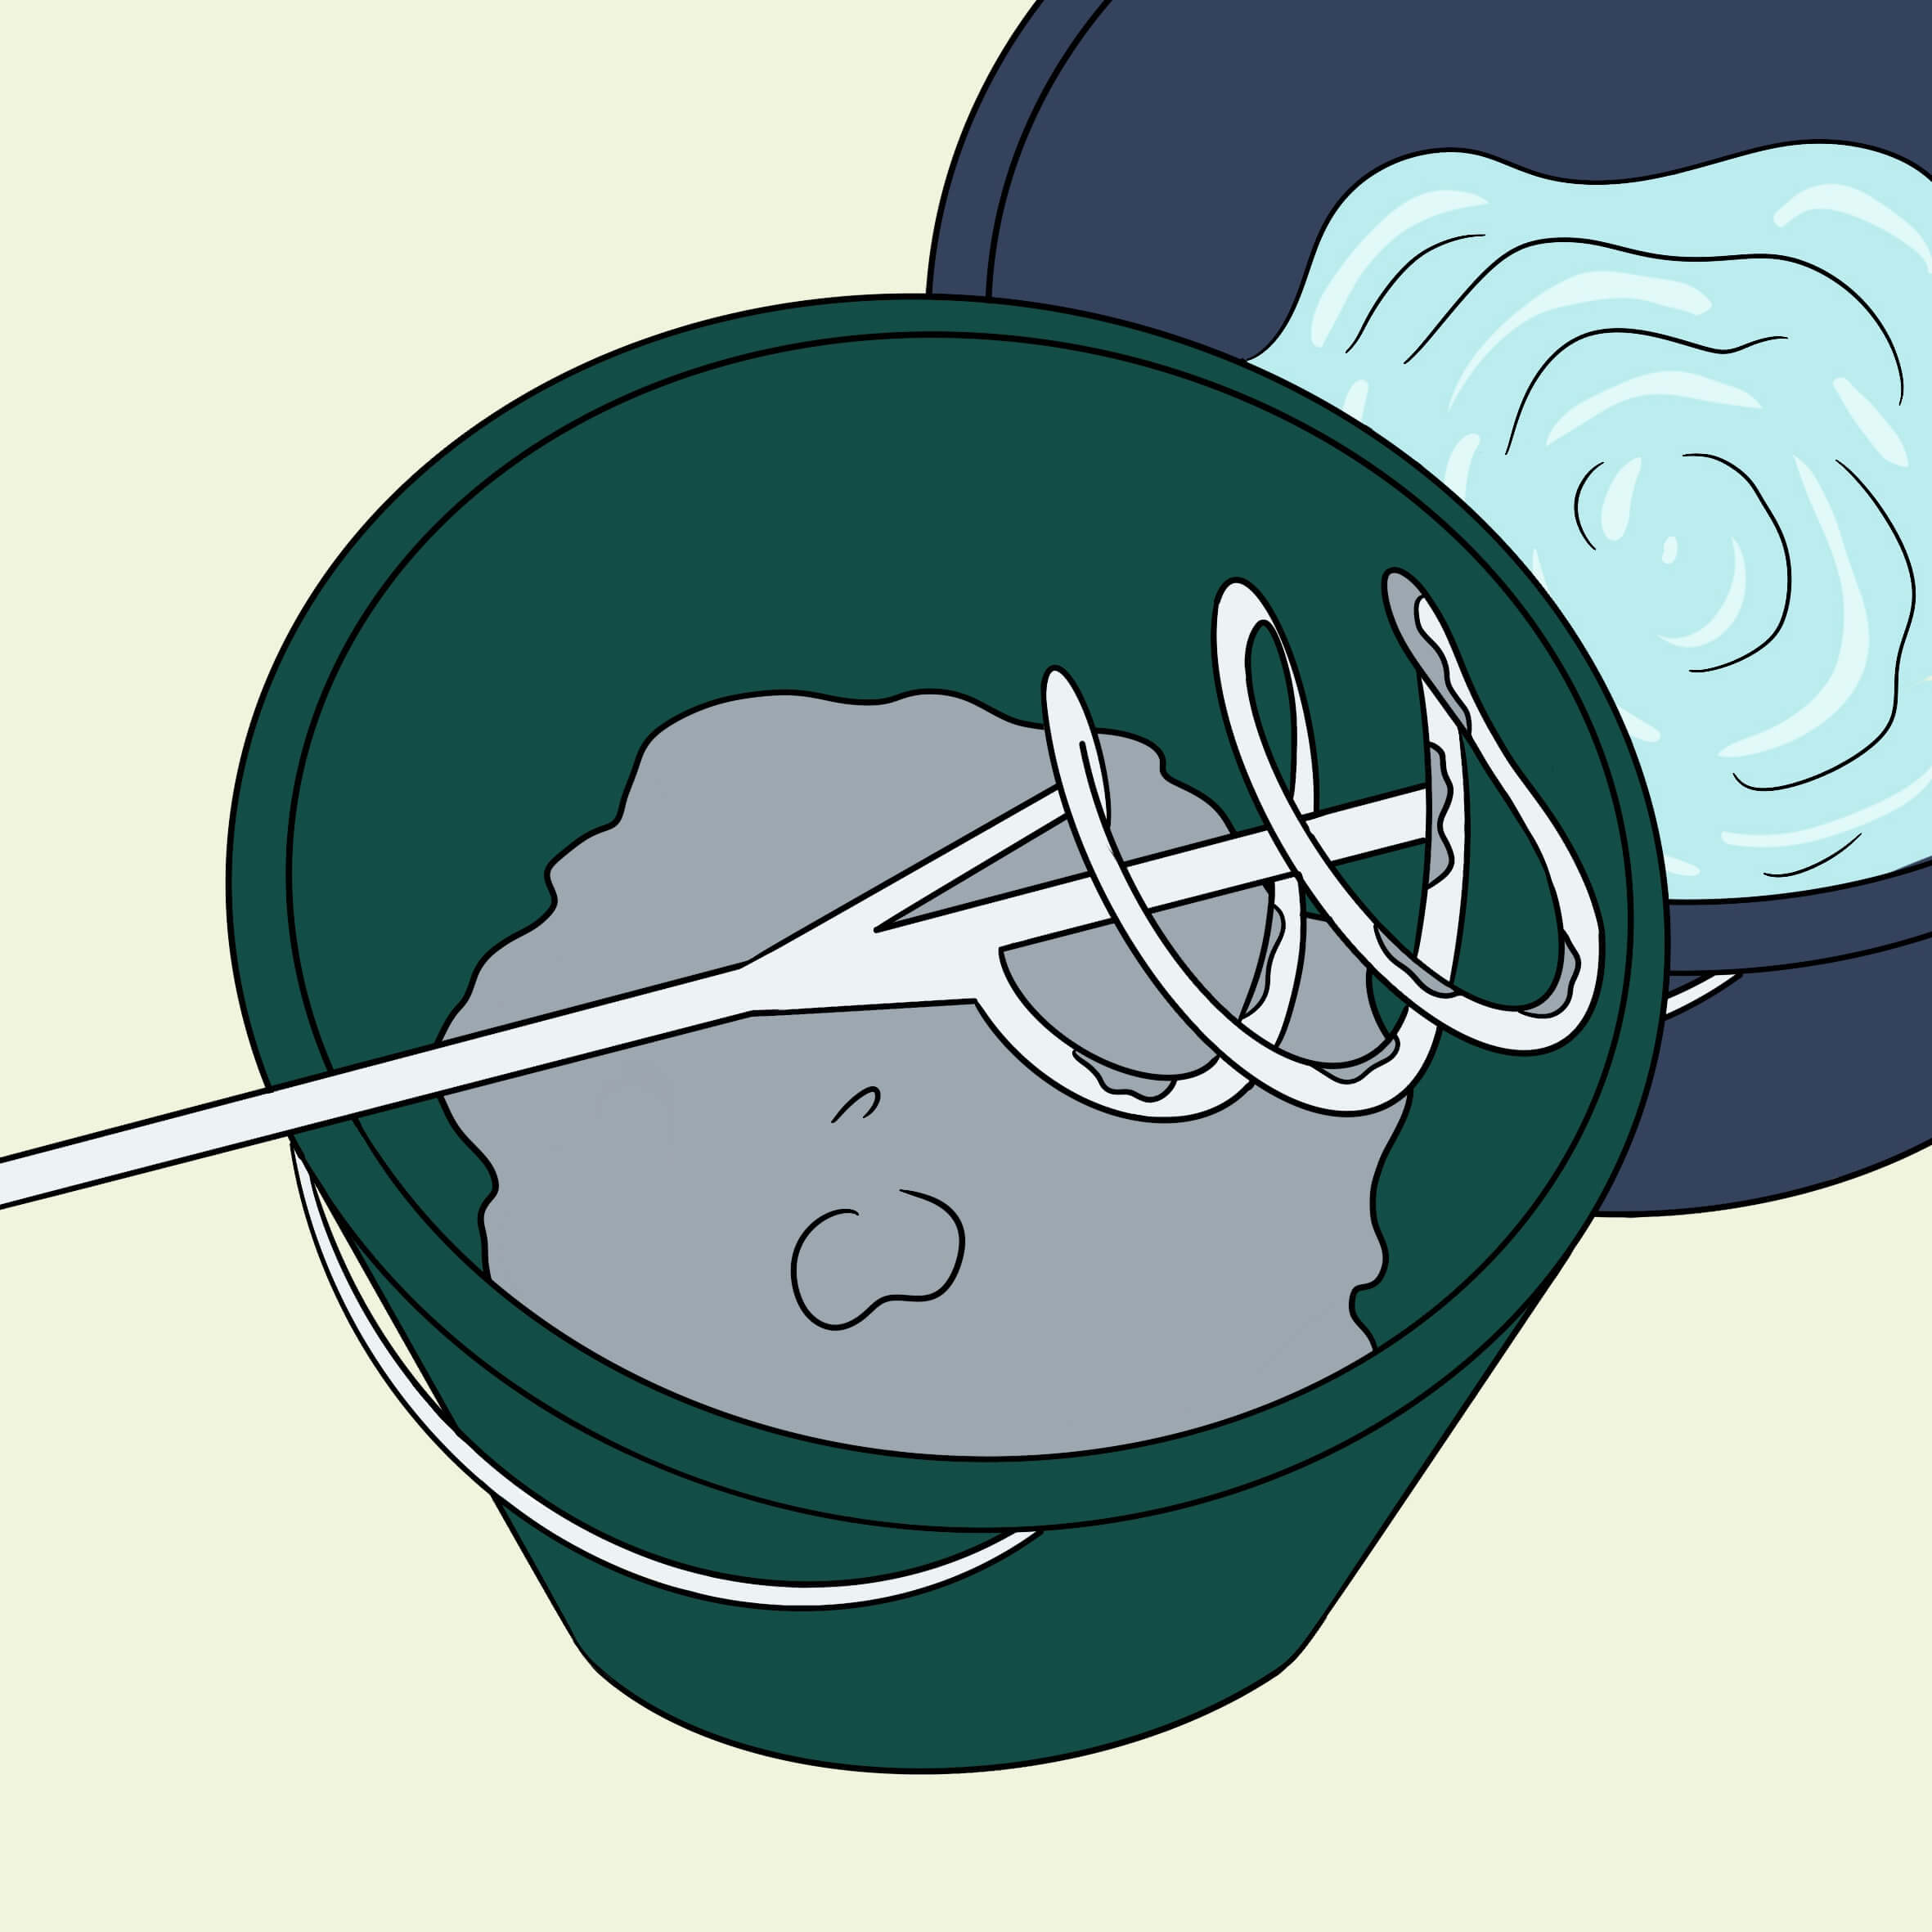
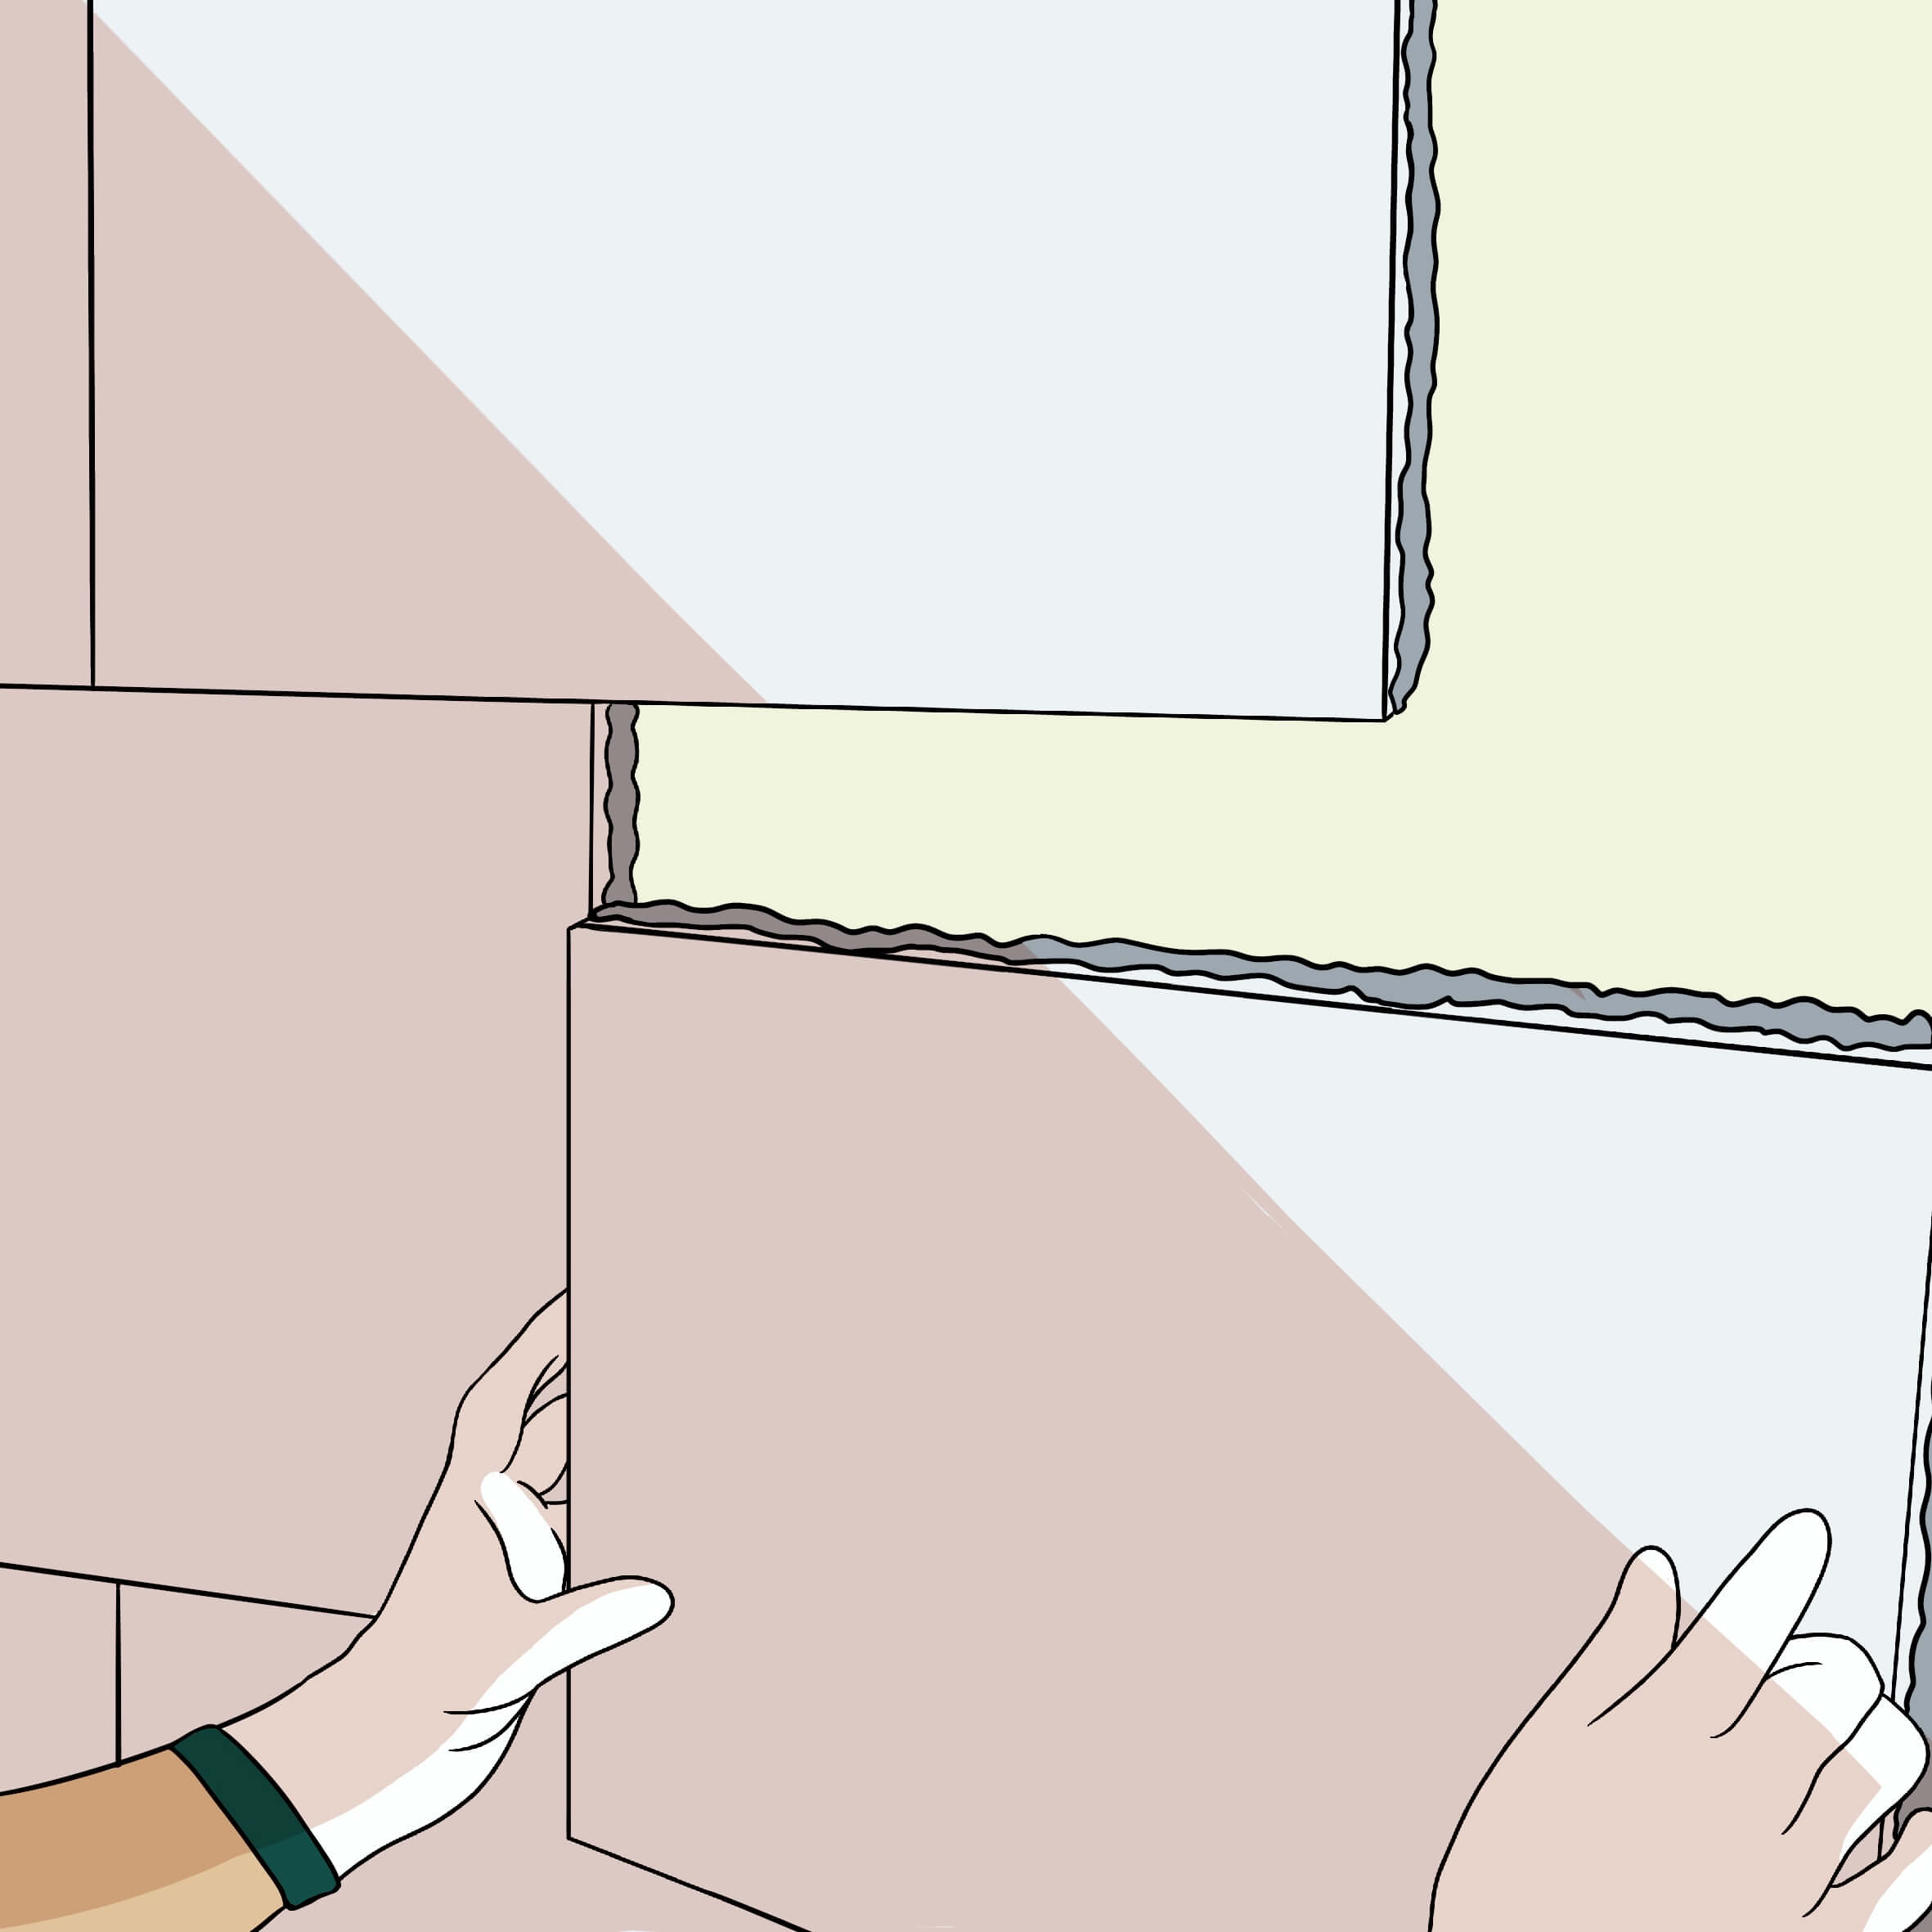
The next step is to stir the adhesive - wait approx. 5 minutes - then stir again. The mixing ratio is 7.5 liters of mixing water to 25 kg bag of adhesive. Apply the special adhesive to the surface to be treated using an 8 to 12 tooth trowel.
If there are slight unevennesses in the wall, apply a thin layer of adhesive to the panel to make it easier to level them out. Then place the panels in position and press them diagonally against the wall. Starting from the bottom, tap the panel into place using either the palm of your hand or a piece of wood and a light rubber mallet. Don't forget to apply a thin layer of adhesive to the edges so that the calcium silicate boards can be glued very tightly butt to butt.
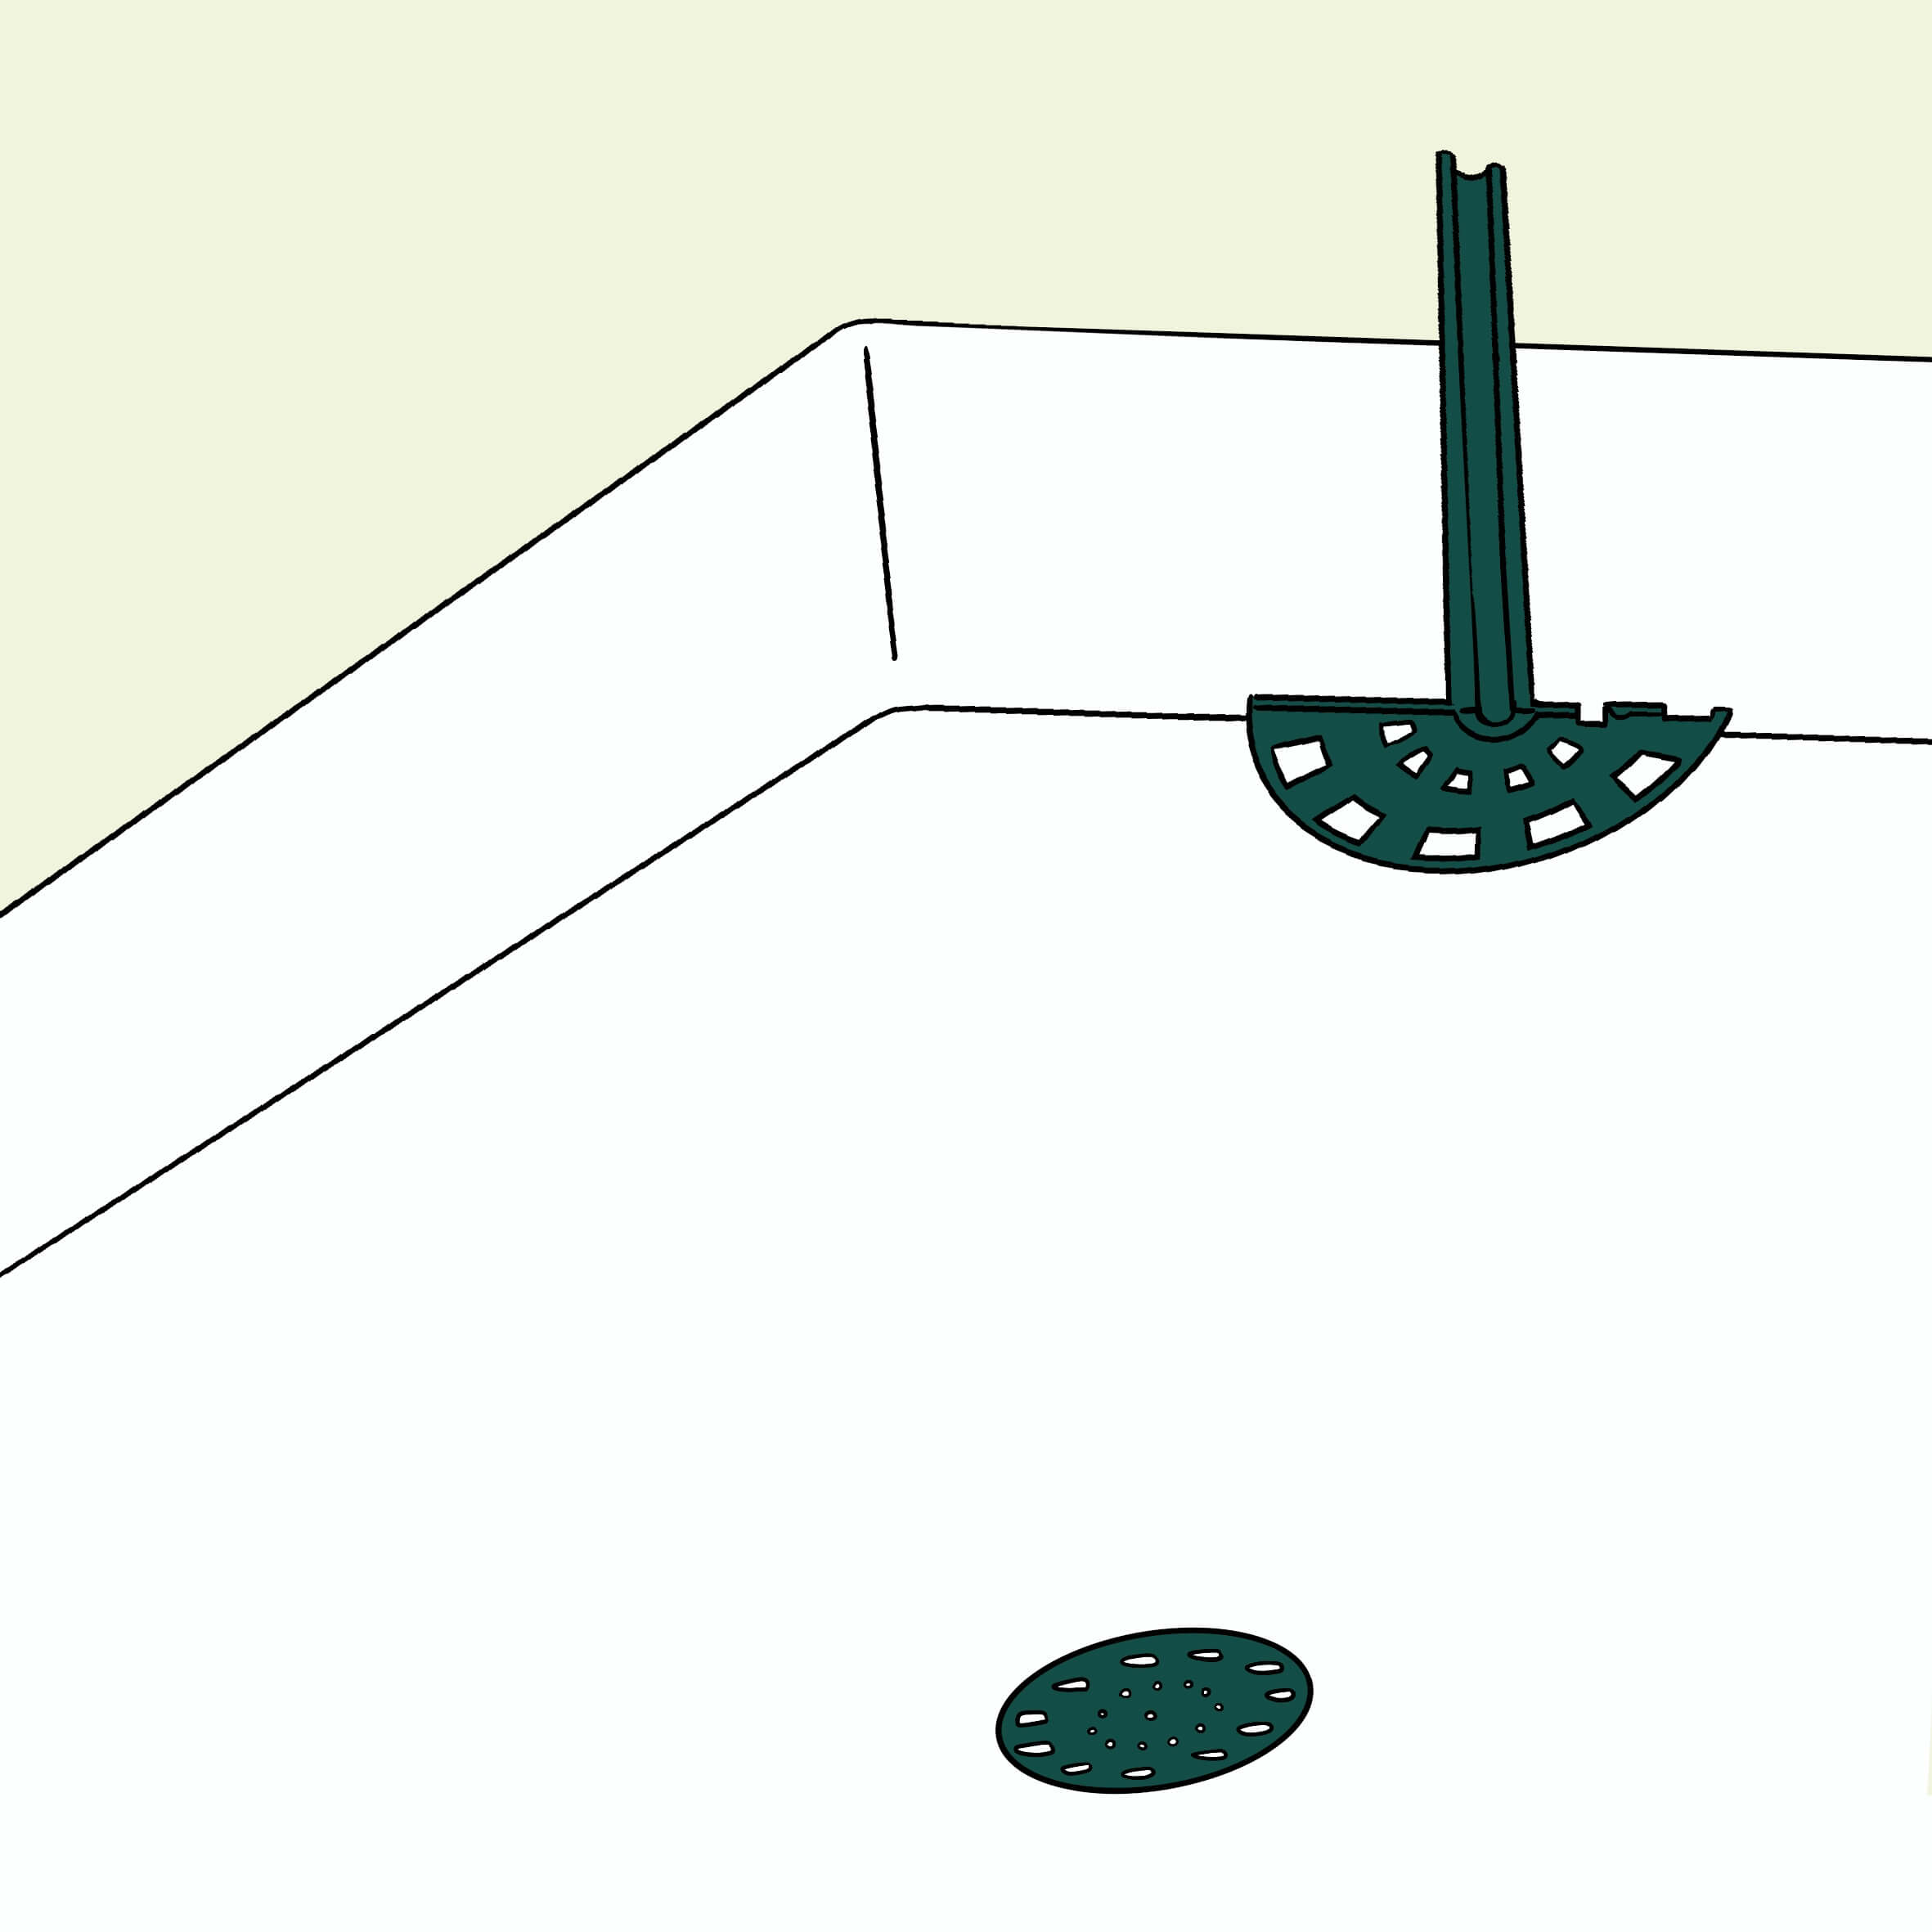
Ceiling or wall mounting over 2.8m
When installing calcium silicate panels on the ceiling, use plate anchors to secure the panels correctly for additional fixing and your own safety. The same applies to wall mounting in rooms over 2.8 m - securing is also required here. The appropriate dowels are of course also available from us.
Professional tip: We recommend moistening the boards again at this point (despite the factory Primer) to make filling even easier. To do this, you can use clean water and add a little silicate primer (1 part Primer to 5 to 10 parts water) to make it even easier to work with. You do not need to allow for any waiting time here, as the boards are already primed and it is only a matter of the fresh surface, which is even easier to work with thanks to the fresh moistening.

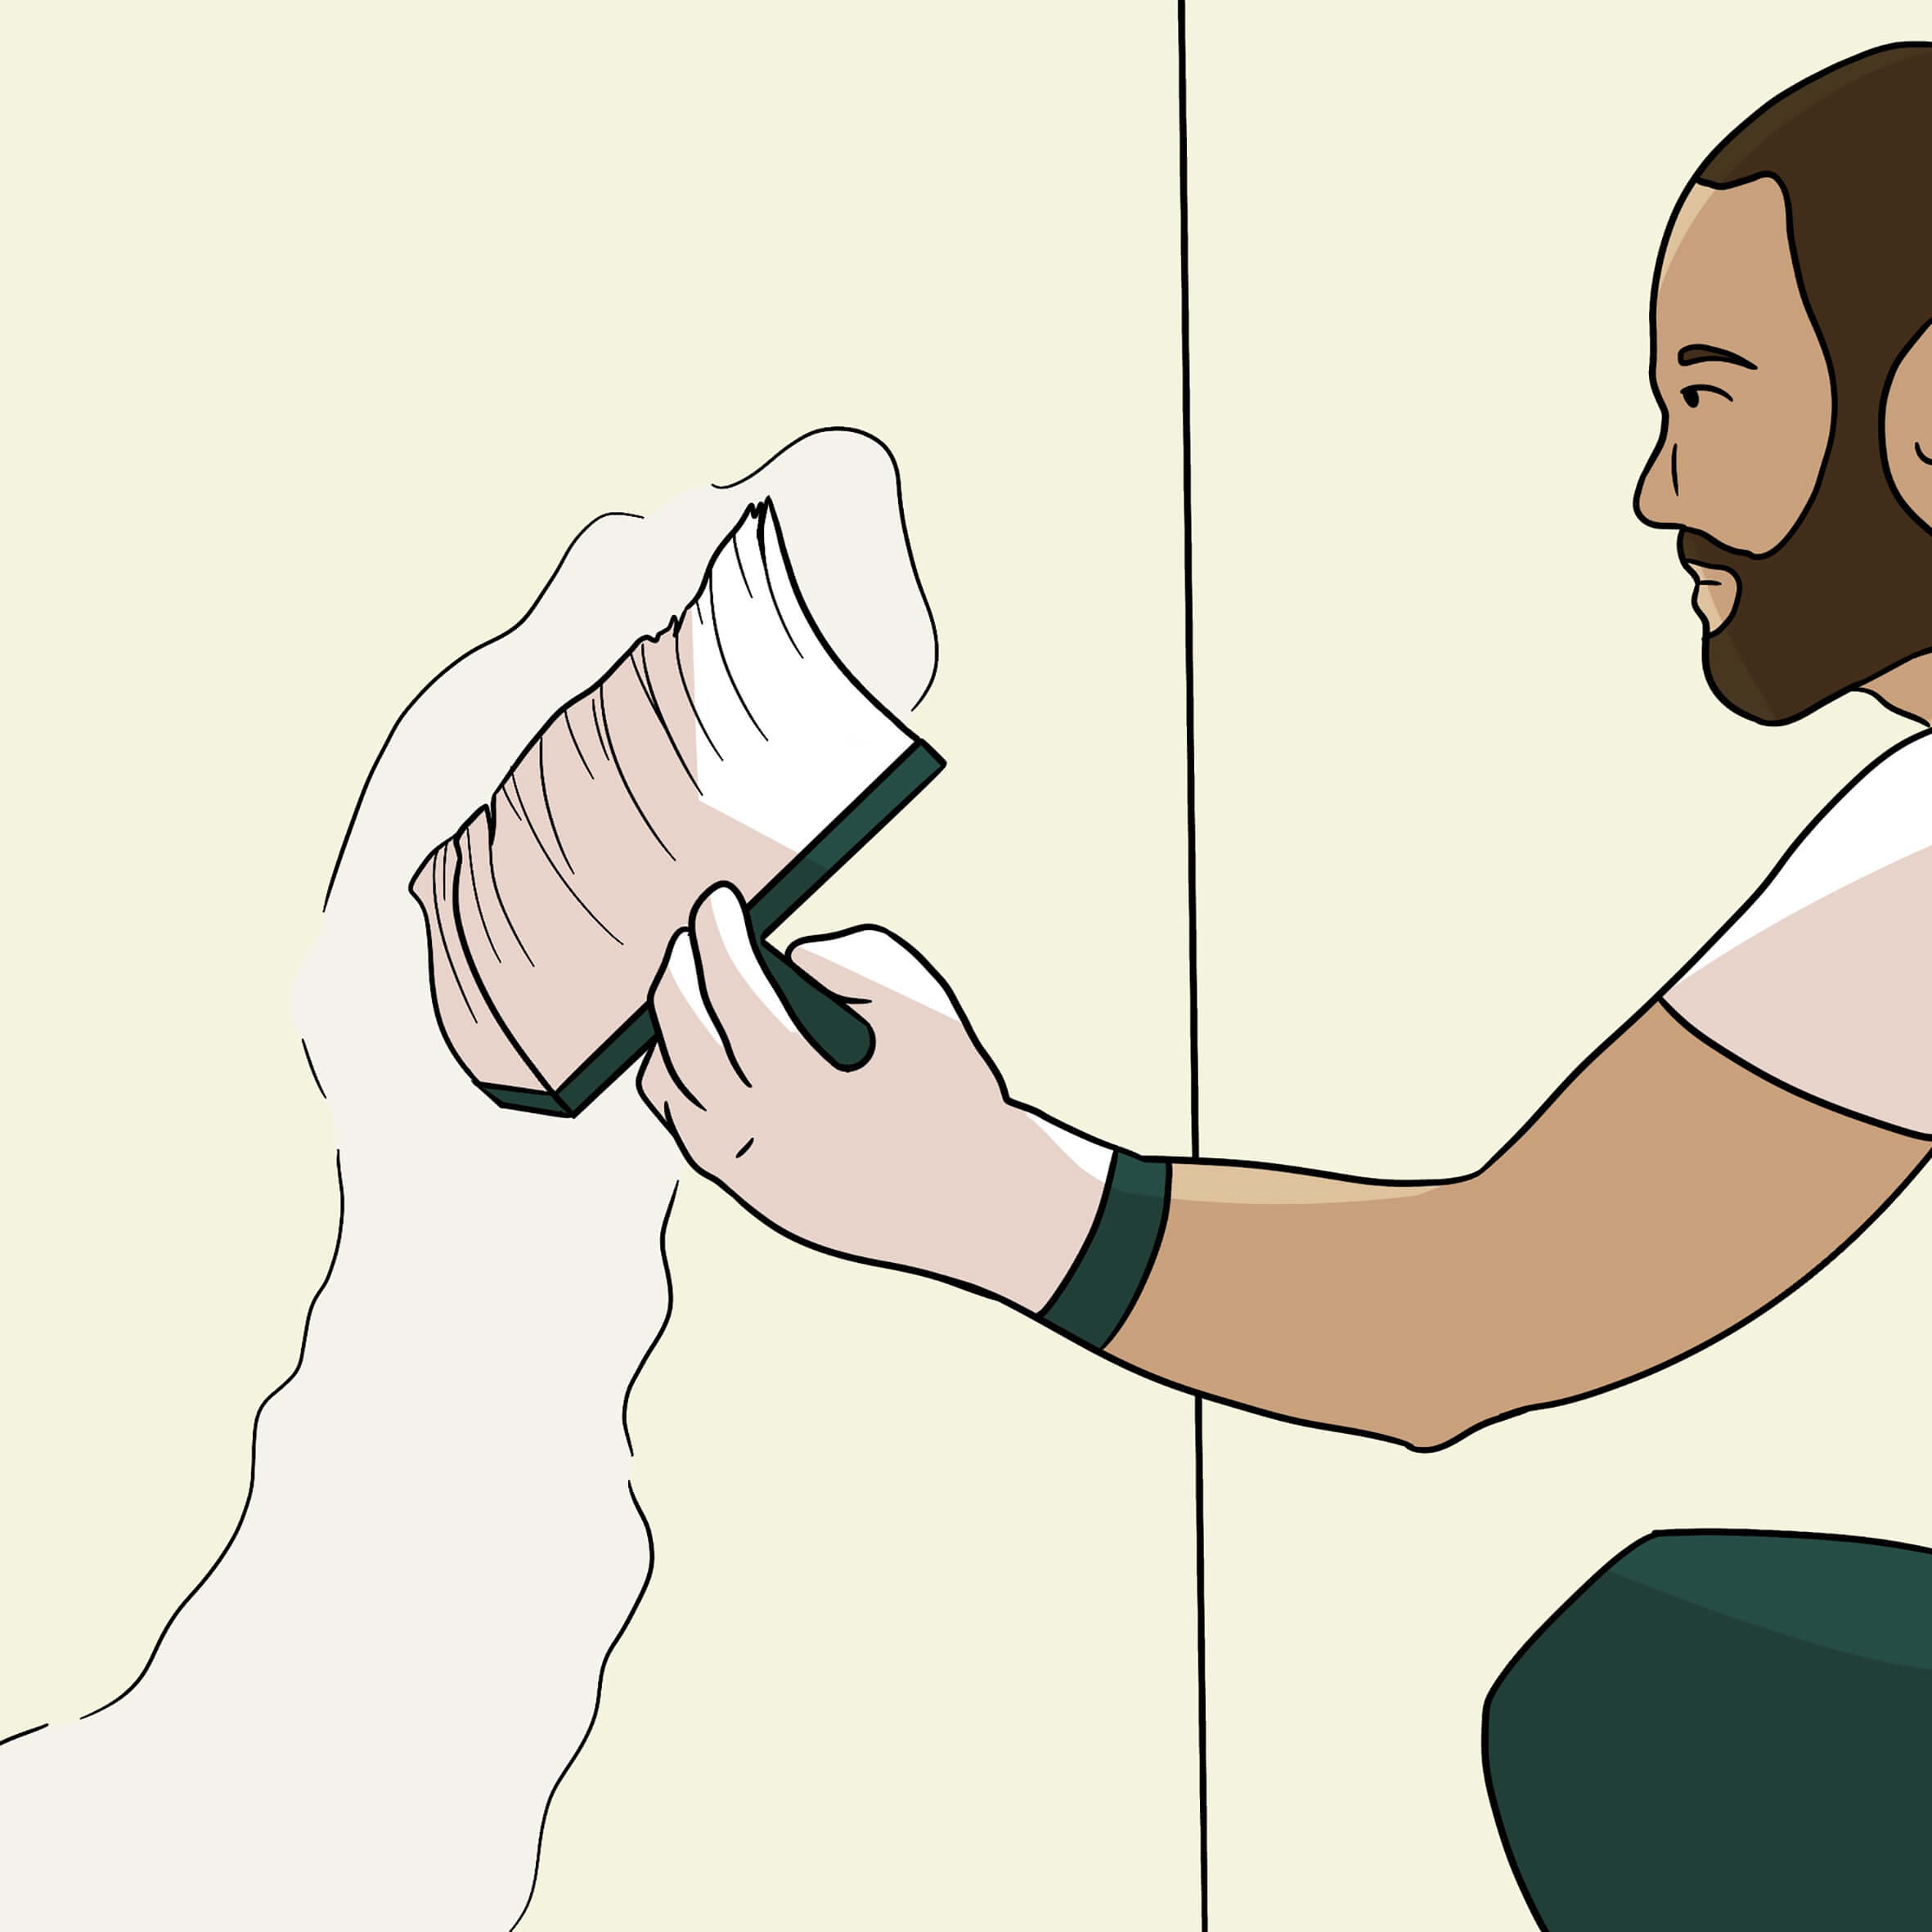
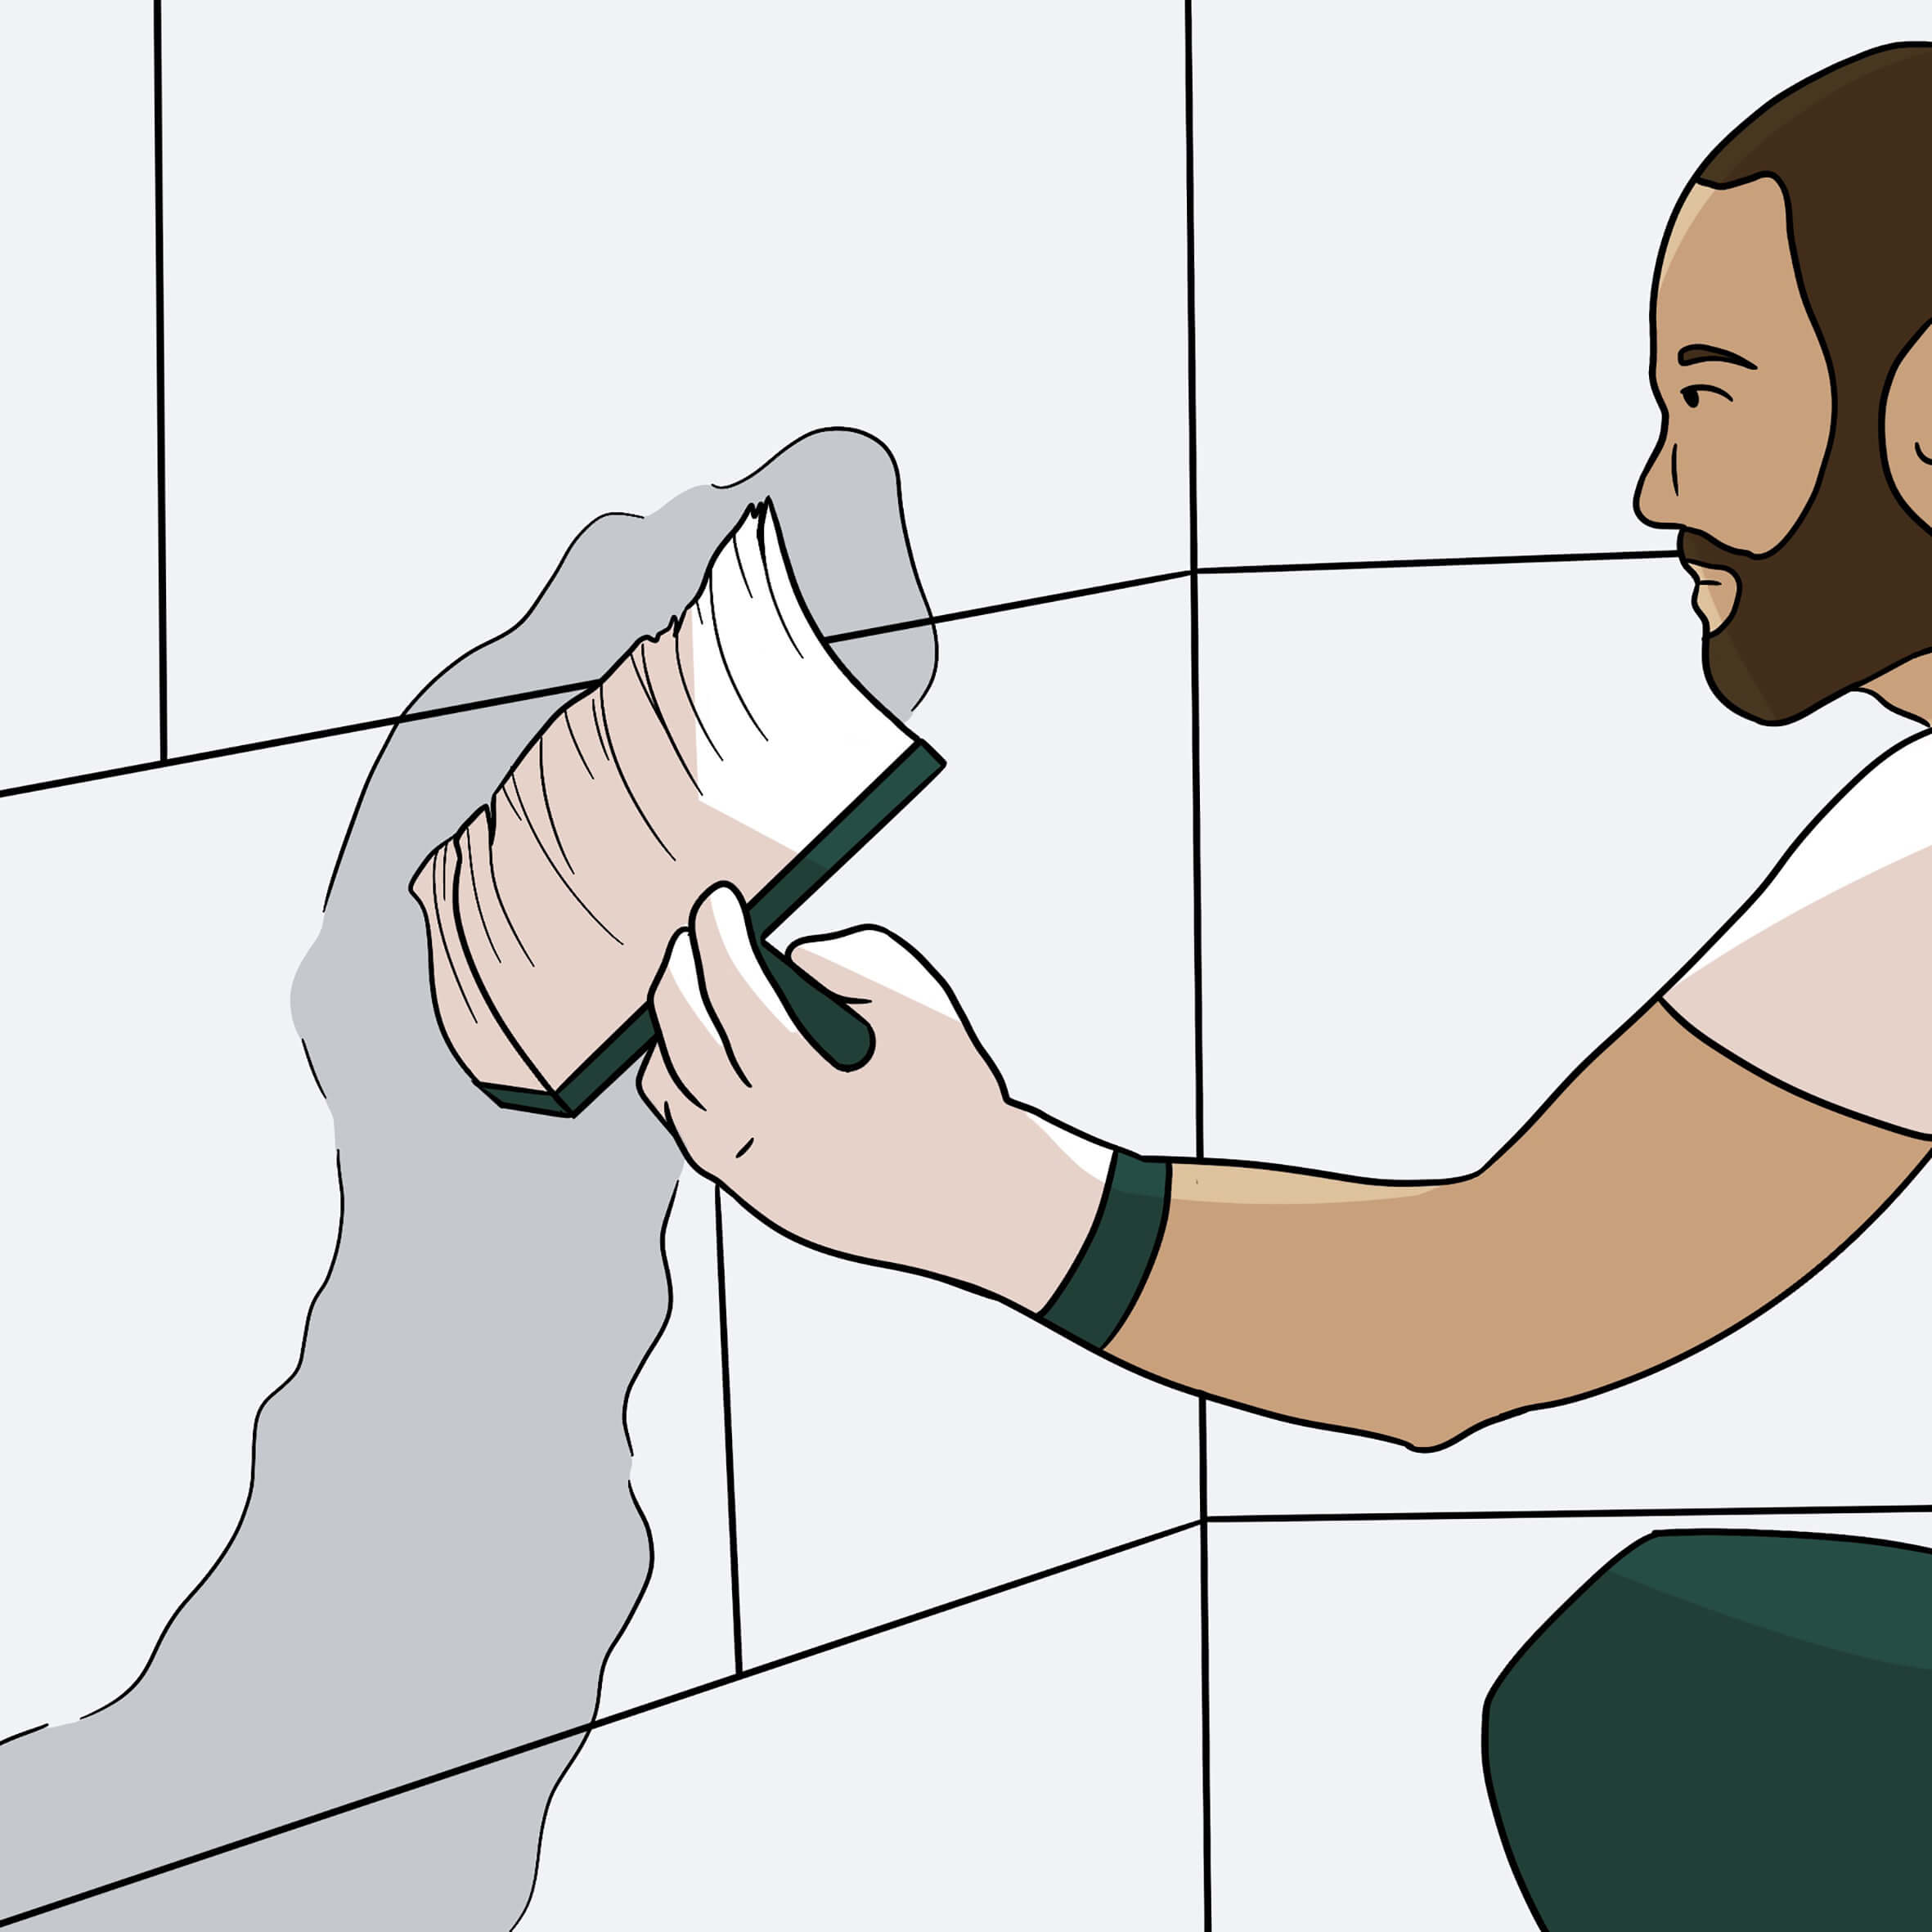
Filling the surface and butt joints
After you have glued on the pre-primed calcium silicate boards, wait until the adhesive is completely dry and then fill the surface with the lime filler.
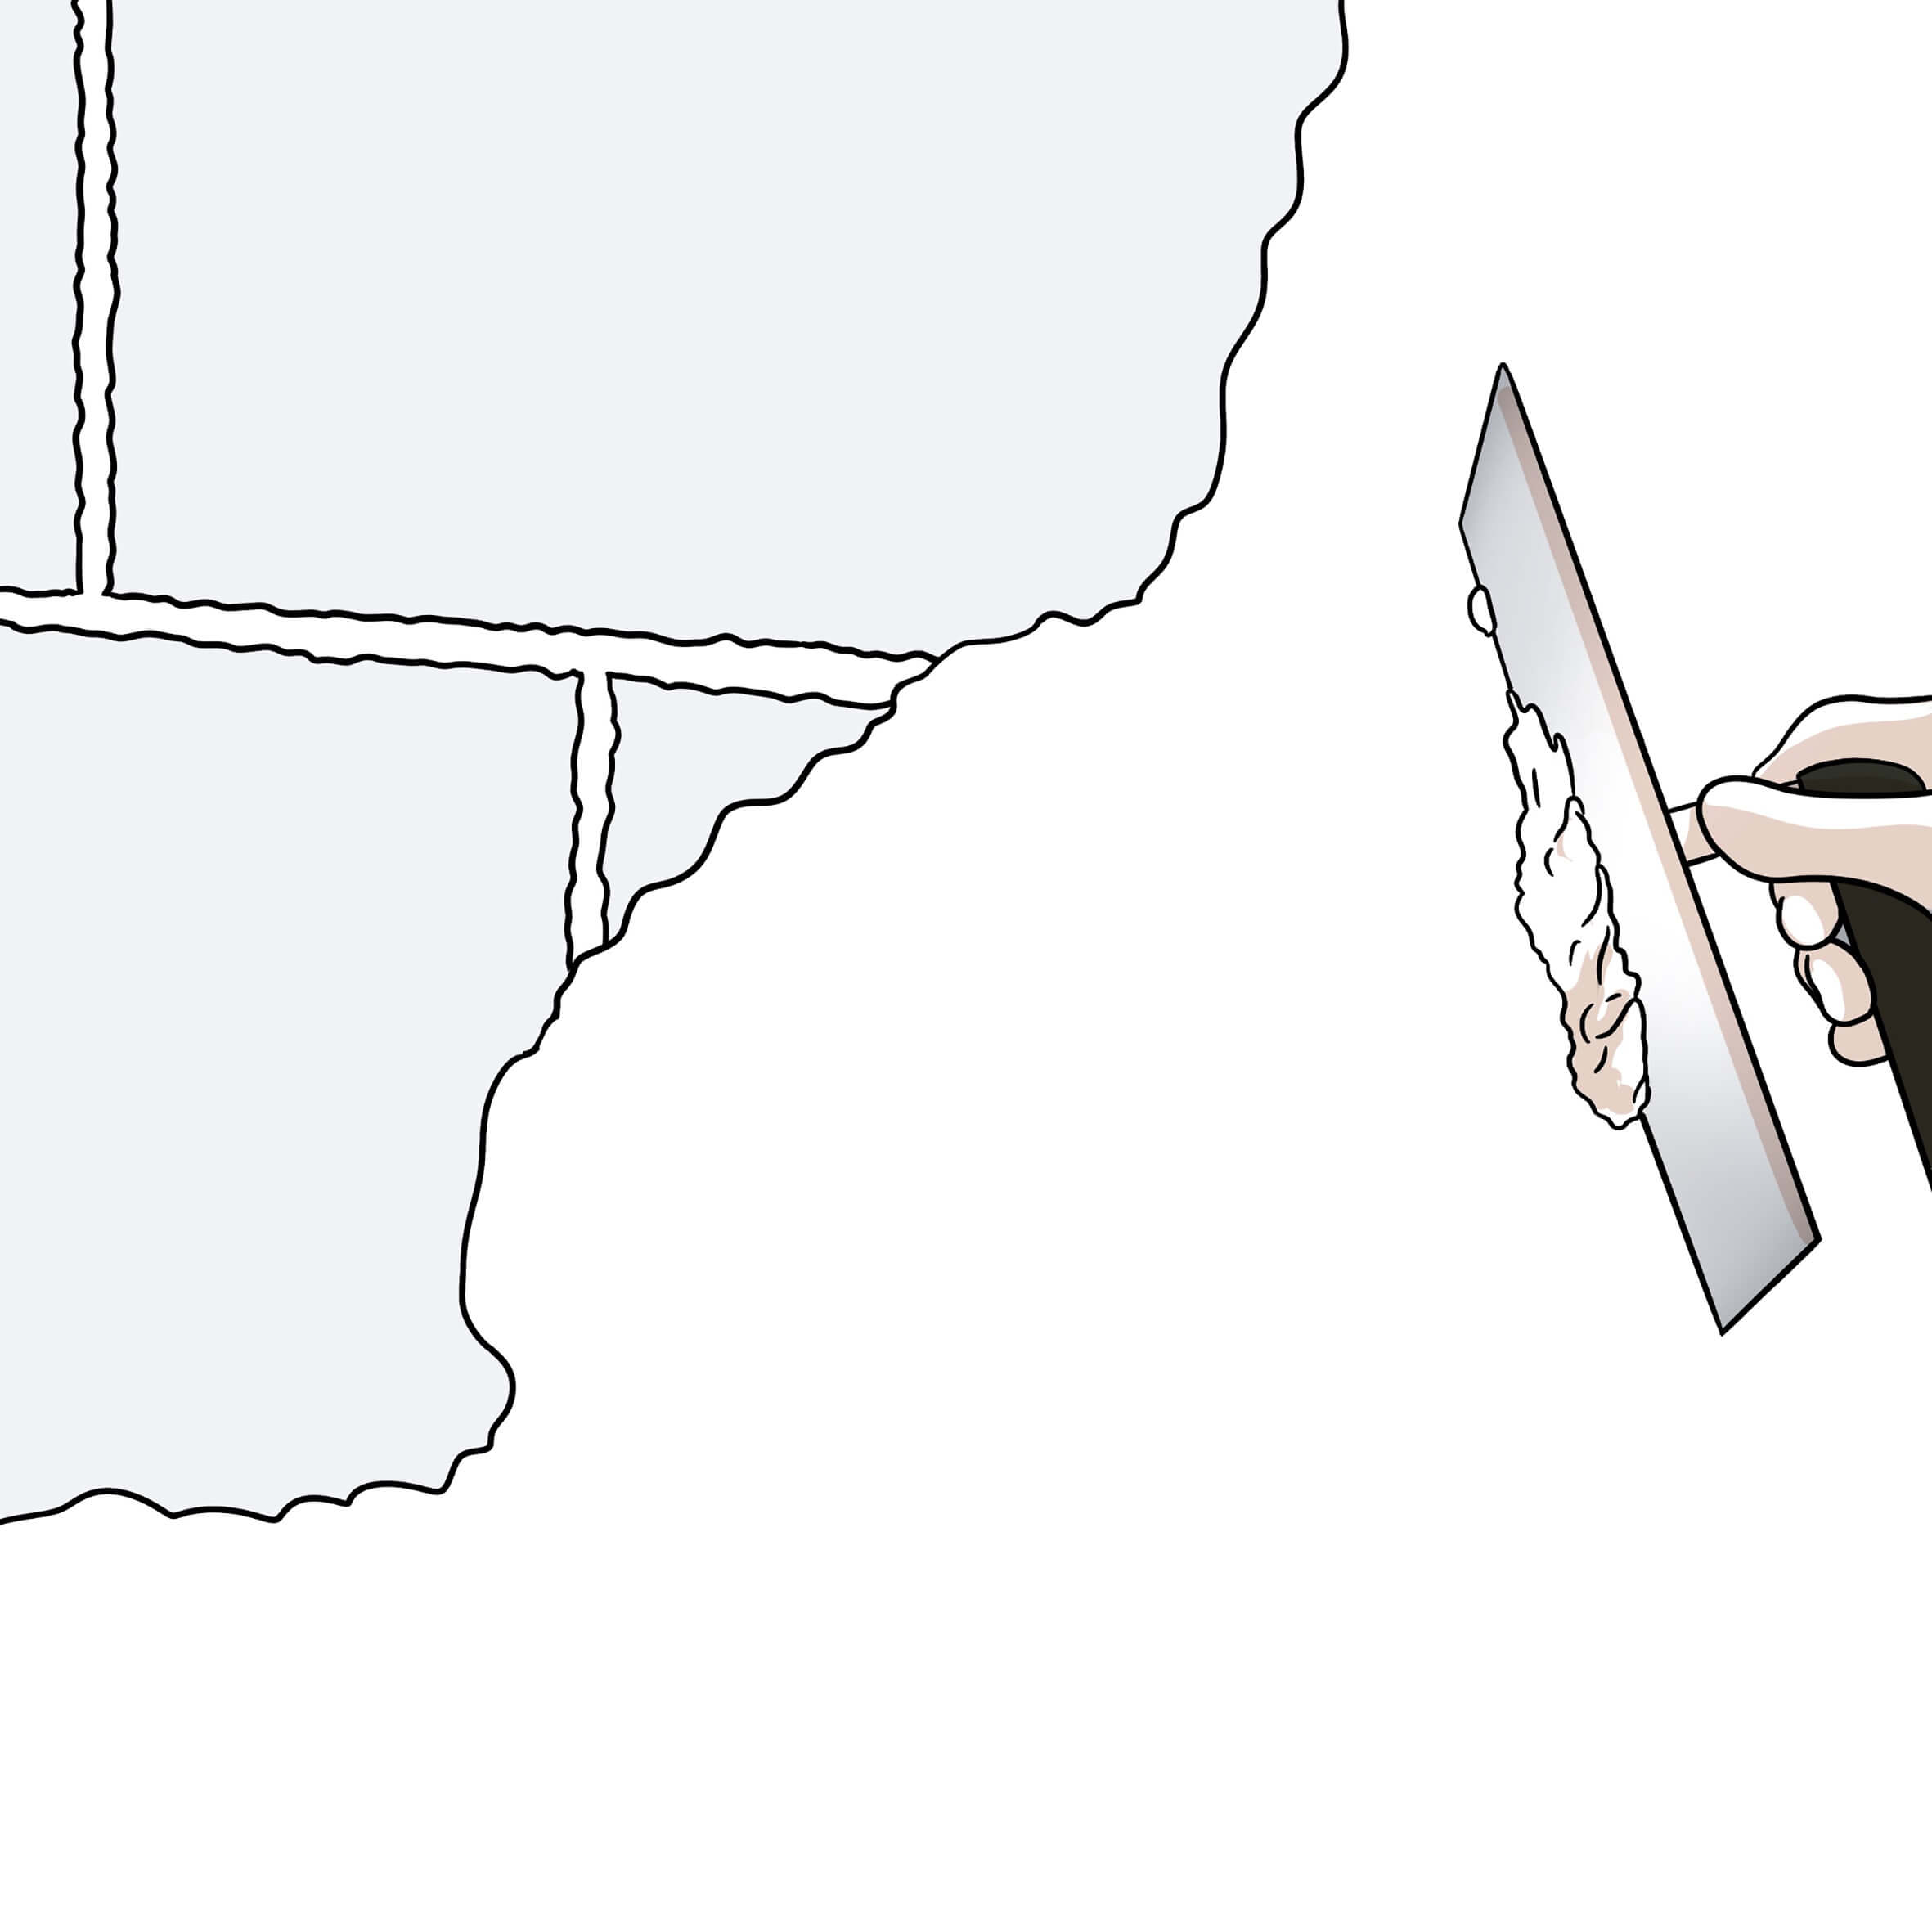
Mix the smoothing filler in a clean bucket with fresh water for approx. 3 minutes at a mixing ratio of 7 liters of mixing water per 20 kg bag of smoothing filler. First, apply a thin layer of the lime filler to the butt joints only. In the second step (without waiting time - you can continue working immediately), mix the filler to a slightly thicker but still creamy consistency and fill the entire surface. Please ensure that you do not exceed the maximum filler thickness of 2 mm. These two steps in the filling process mean that you will have significantly less sanding work to do afterwards. We recommend sanding by hand.
Once you have filled the entire surface, sand it to your satisfaction and desired smoothness. You can also work with sanding equipment, but there is a risk of sanding off too much filler at once, which can lead to unsightly results. It is much easier to control this by hand.
The pure renovation with calcium silicate boards is finished!
Wall finishing in smooth finish with silicate paint
On the one hand, you can now simply paint the smooth wall with the silicate paint and have a beautiful and smooth look.

Wall finishing in rough / textured finish with brush & roller plaster
On the other hand, you can also finish your surface with the brush & roller plaster if you want a light grain or a slightly more textured surface.
Please always stick to the system accessories and do not use any other materials so as not to negatively affect the positive properties of the calcium silicate boards and the coordinated accessories.